62
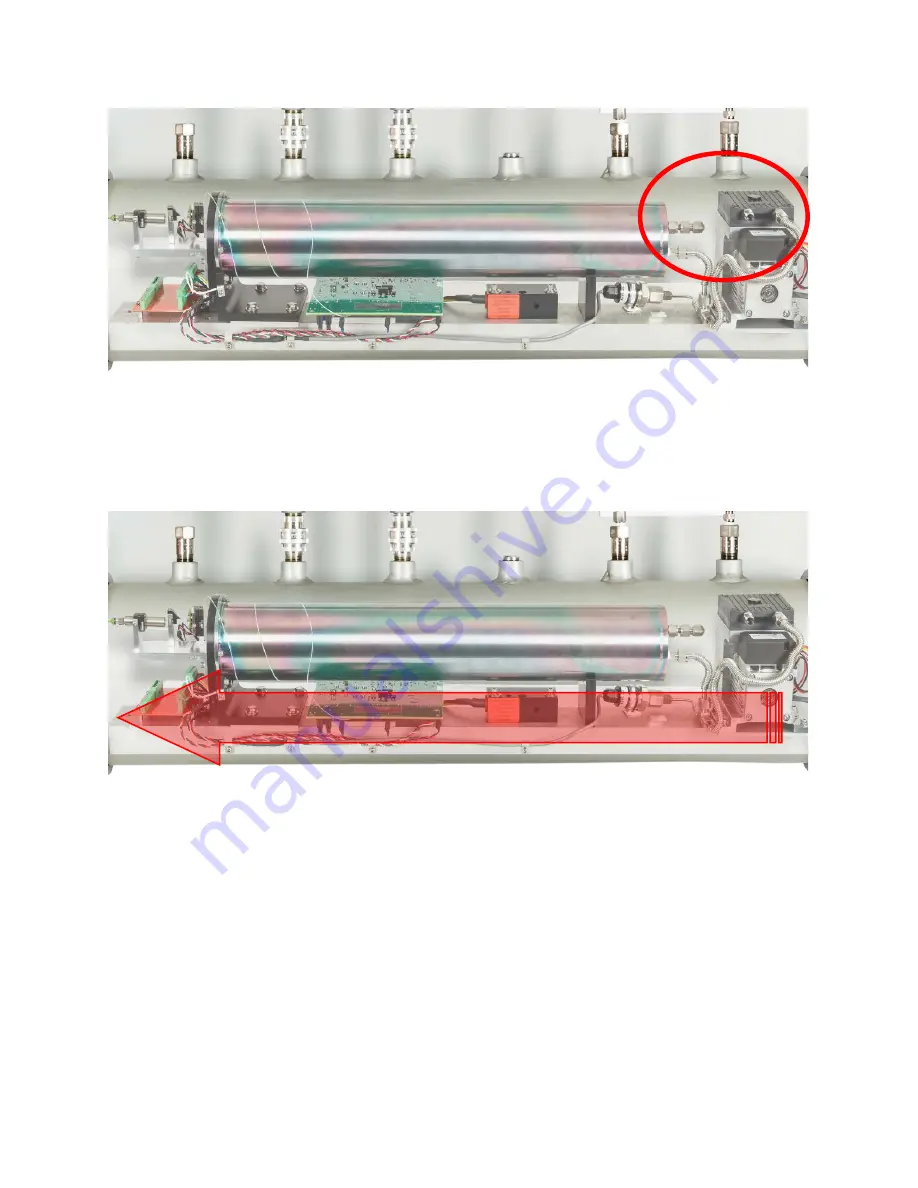
Figure 49: Fittings with Connections to the Enclosure
11.
Disconnect the fittings using the appropriate size wrenches.
12.
Carefully slide the component rail in the opposite direction until it is completely extracted
from the enclosure, see Figure 58. Use caution to avoid any tubing or wiring that may be
obstructing the slide path.
Figure 50: Final Slide Direction
13.
Place the extracted component rail on a clean workbench and proceed with any further
maintenance procedures.
14.
To reassemble the enclosure, simply perform these steps in the reverse order.
5.3 Removing the Herriott Cell from the AccuLase-GPA™
Should access to the Herriott cell be required, the following steps describe how to successfully remove
and isolate the cell from both the D1 and D2 versions of the AccuLase-GPA™.
5.3.1 List of Materials Required
The following list of materials is required to remove the Herriott cell from the AccuLase-GPA™:
•
Set of SAE hex keys
•
Set of SAE wrenches


