2-56
Setup
Rev. C
Confidential
Operation progress
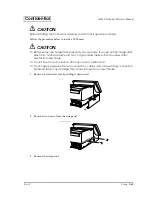
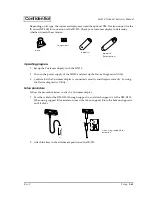
1. Install the dedicated printer unit on the IR-320.
2. Turn on the power supply of the IR-320 and start up the Device Diagnostics Utility.
3. Confirm that the dedicated printer unit is connected correctly and it can print out by using
the Device Diagnostics Utility.
4. The dedicated printer unit can be used.
Note:
Refer to “Printing out by Windows” for printing from the Windows application to the dedicated printer
unit.
Setup procedure
Use the following procedure to connect the printer unit.
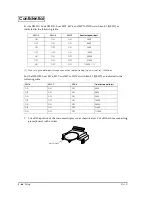
1. Turn on DIP switch 2-7 of the printer unit.
2. When connecting a customer display, set the baud rate to be the same for the dedicated
printer as the customer display by setting their DIP switches.
Note:
The customer display and the baud rate of the dedicated printer unit are set to the same speed at the factory
shipment.
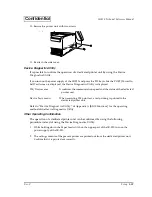
3. Connect one end of the cable to the connector on the rear of the printer unit.
Summary of Contents for IR-320
Page 1: ...Technical Reference Manual IR 320 Issued Date Issued by EPSON English 404368102 ...
Page 2: ......
Page 38: ...1 22 IR 320 System Overview Rev C ...
Page 260: ...4 80 Utilities Rev C ...
Page 294: ...5 34 BIOS Functions Rev C ...
Page 308: ...6 14 Device Diagnostics Utility Rev C Confidential ...
Page 324: ...A 4 Wake On LAN Rev C Confidential ...
Page 332: ...B 8 The IR 310 Compared to the IR 320 Rev C ...
Page 339: ......
Page 340: ...EPSON SEIKO EPSON CORPORATION ...


