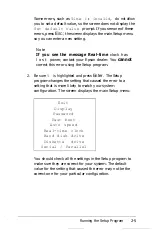


If you want to change the drive types, and the configuration
of the hard disk you are installing does not match one of the
drive types listed in Appendix E, go to step 7.
If you have disconnected the drive or if the drive does not
exist, highlight None and press
Enter.
All the drive
settings become 0. Go to step 8.
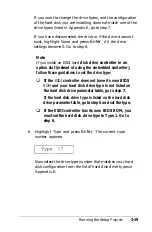
Note
If you install an ESDI hard
disk drive controller in an
option slot (instead of using the embedded controller),
follow these guidelines to set the drive type:
If the
ESDI
controller does not have its own BIOS
ROM
and your hard disk drive type is not listed on
the hard disk drive parameter table, go to step 7.
If the hard disk drive type is listed on the hard disk
drive parameter table, go to step 6 and set the type.
If the ESDI controller has its own BIOS ROM, you
must set the hard disk drive type to Type 1. Go to
step 6.
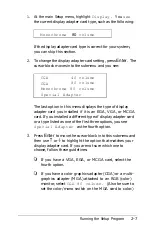
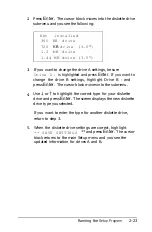
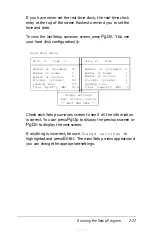
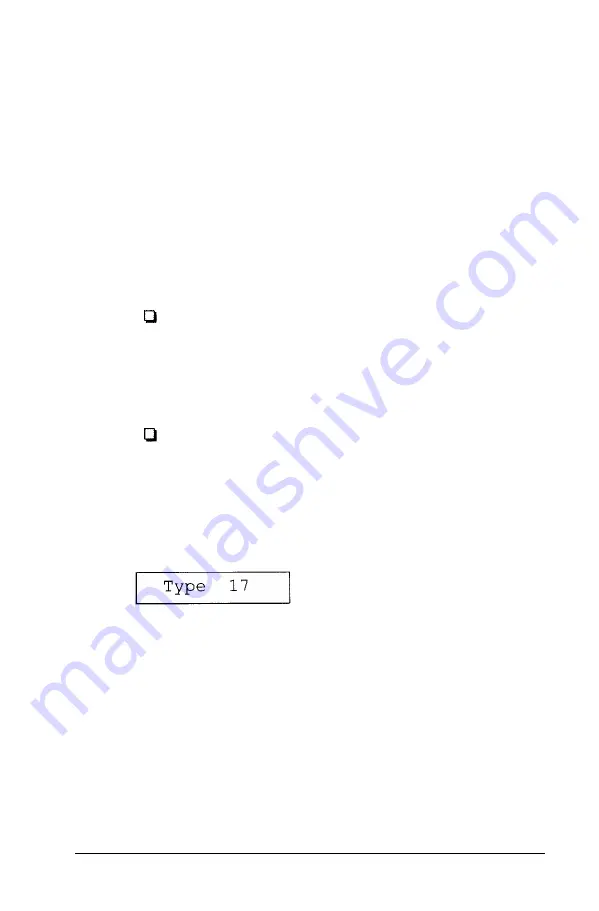
6. Highlight Type and press
Enter.
The current type
number appears:
Now select the drive type number that matches your hard
disk configuration from the list of hard disk drive types in
Appendix E.
Running the Setup
Program
2-19
Summary of Contents for Equity 386SX PLUS
Page 1: ...m u cl3 0 z E 5 J I 1 al y 8 c 7 5 w ii u l X ...
Page 4: ...EPSON E Q U I T Y 3 8 6 S X User s Guide Y19299100100 ...
Page 20: ...6 Introduction ...
Page 38: ...1 18 Setting Up Your System ...
Page 69: ......
Page 70: ...2 32 Running the Setup Program ...
Page 96: ... 7 R _ ri h 14 3 26 Using the Equity 386SX ...
Page 168: ...5 26 dling Options ...
Page 192: ...B 4 Power on Diagnostics ...
Page 232: ...C 40 Performing System Diagnostics ...
Page 246: ... D 14 Physically Formatting a Hard Disk ...
Page 250: ...E 4 Hard Disk Drive Types ...
Page 282: ...8 I n d e x ...
Page 284: ......