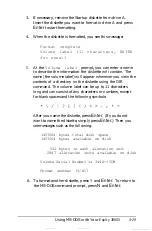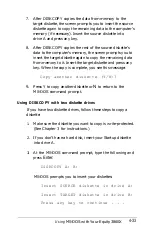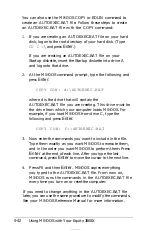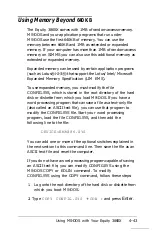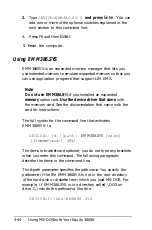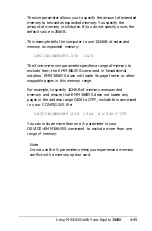
7. After DISKCOPY copies the data from memory to the
target diskette, the screen prompts you to insert the source
diskette again to copy the remaining data to the computer’s
memory (if necessary). Insert the source diskette into
drive A and press any key.
8. After DISKCOPY copies the rest of the source diskette’s
data to the computer’s memory, the screen prompts you to
insert the target diskette again to copy the remaining data
from memory to it. Insert the target diskette and press any
key. When the copy is complete, you see this message:
Copy another diskette (Y/N)?
9. Press Y to copy another diskette or
N
to return to the
MS-DOS command prompt.
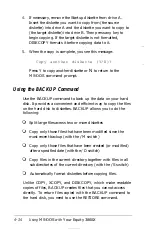
Using DISKCOPY with two diskette drives
If you have two diskette drives, follow these steps to copy a
diskette:
1. Make sure the diskette you want to copy is write-protected.
(See Chapter 3 for instructions.)
2. If you don’t have a hard disk, insert your Startup diskette
into drive A.
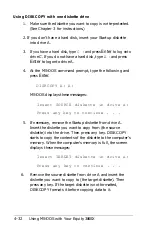
3. At the MS-DOS command prompt, type the following and
press
Enter:
DISKCOPY A: B:
MS-DOS prompts you to insert your diskettes:
Insert SOURCE diskette in drive A:
Insert TARGET diskette in drive B:
Press any key to continue . . .
Using
MS-DOS with Your Equity 386SX
4-33
Summary of Contents for Equity 386SX PLUS
Page 1: ...m u cl3 0 z E 5 J I 1 al y 8 c 7 5 w ii u l X ...
Page 4: ...EPSON E Q U I T Y 3 8 6 S X User s Guide Y19299100100 ...
Page 20: ...6 Introduction ...
Page 38: ...1 18 Setting Up Your System ...
Page 69: ......
Page 70: ...2 32 Running the Setup Program ...
Page 96: ... 7 R _ ri h 14 3 26 Using the Equity 386SX ...
Page 168: ...5 26 dling Options ...
Page 192: ...B 4 Power on Diagnostics ...
Page 232: ...C 40 Performing System Diagnostics ...
Page 246: ... D 14 Physically Formatting a Hard Disk ...
Page 250: ...E 4 Hard Disk Drive Types ...
Page 282: ...8 I n d e x ...
Page 284: ......


