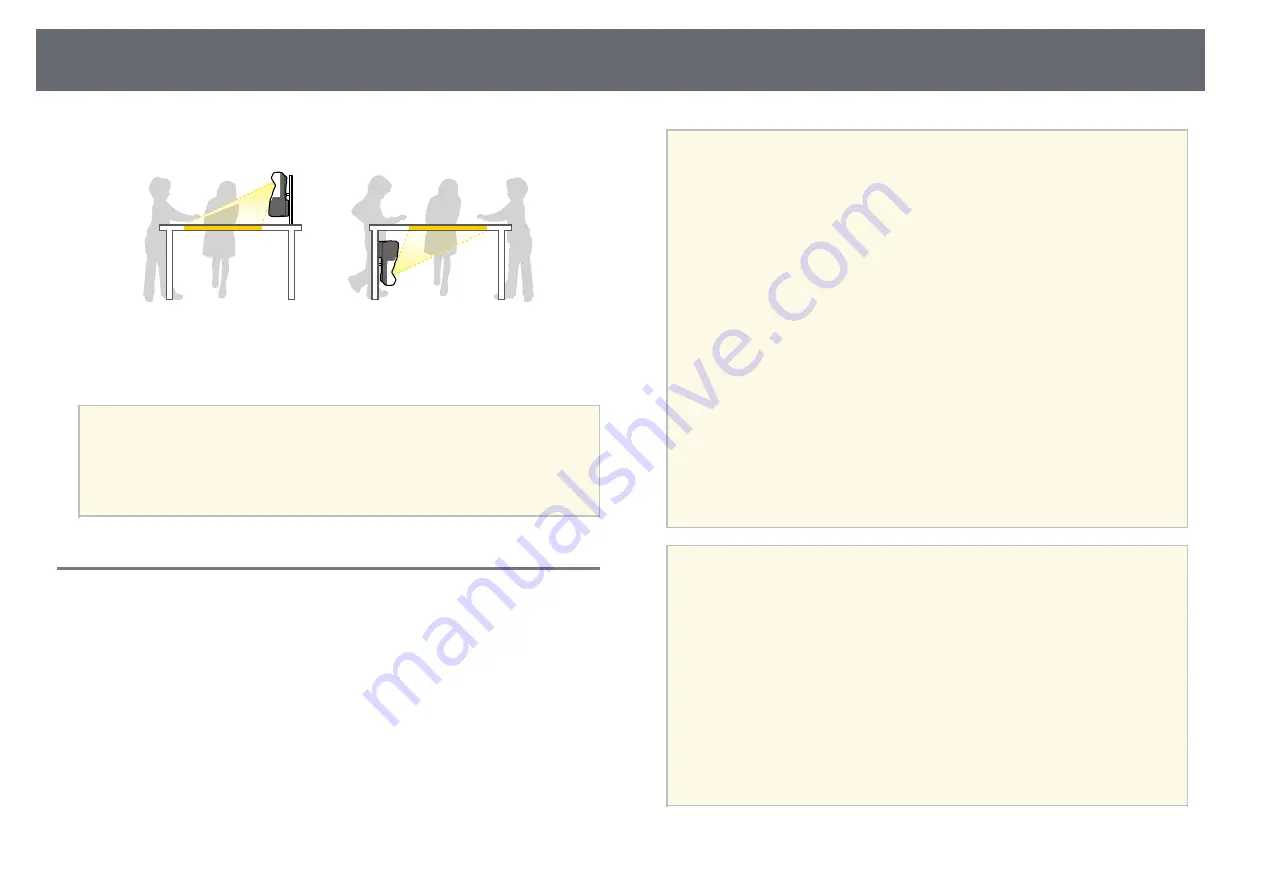
Projector Placement
28
Front Upside Down/Rear Upside Down (Vertically)
Make sure you select the correct Projection option in the projector's
Extended menu according to the installation method being used.
a
• The default Projection setting is Front/Upside Down.
• You can change the Projection setting as follows by pressing down
the [A/V Mute] button on the remote control for about five seconds.
• Switch Front to/from Front/Upside Down
• Switch Rear to/from Rear/Upside Down
Settings when Using the Interactive Features
When using the interactive features, project from in front of the screen.
Set Projection to Front/Upside Down or Front.
Attention
The interactive features are operated using infrared communication. Note the
following points when installing the projector.
• Do not install the projector tilted at an angle of 3˚ or more. The interactive
features may not operate correctly.
• Make sure there is no strong light or sunlight shining on the interactive pen
receiver, the projection screen, the projector itself, or the rear of the projector.
• Do not install the projector where it could be subjected to direct sunlight
through a window. This could cause the interactive features to malfunction.
• Install the projector so that the interactive pen receiver is not too close to
fluorescent lights. If the surrounding area is too bright, the interactive features
may not operate correctly.
• If there is any dust stuck to the interactive pen receiver, it could interfere with
infrared communication and the interactive features may not operate correctly.
Clean the receiver if it is dirty.
• Do not put paint or any stickers on the cover of the interactive pen receiver.
• When using the interactive features, do not use an infrared remote control or
microphone in the same room. The interactive pen could malfunction.
• Do not use devices that generate powerful noise, such as rotary devices or
transformers, near the projector, as the interactive features may not operate
correctly.
a
• We recommend using a smooth, board type screen without any
unevenness. If the projection screen is uneven, there may be
distortions in the projected image.
• Distortions may occur in the projected image depending on the
material of the screen and the installation method.
• When using the interactive features, install the projector so that the
projected screen is a rectangle without any distortion.
• When using the interactive features in the same room as multiple
projectors, interactive pen operations may become unstable. In this
case, connect the optional remote control cable set to the projectors,
and change Sync of Projectors to Wired from the projector's
Extended menu.
s
Extended > Easy Interactive Function > General > Advanced >
Sync of Projectors
Summary of Contents for EB-1470Ui
Page 1: ...User s Guide ...


