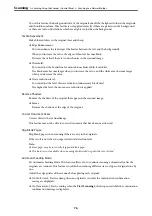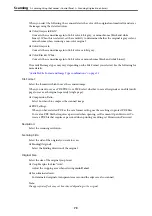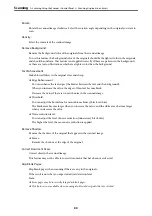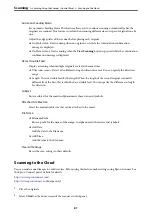
3.
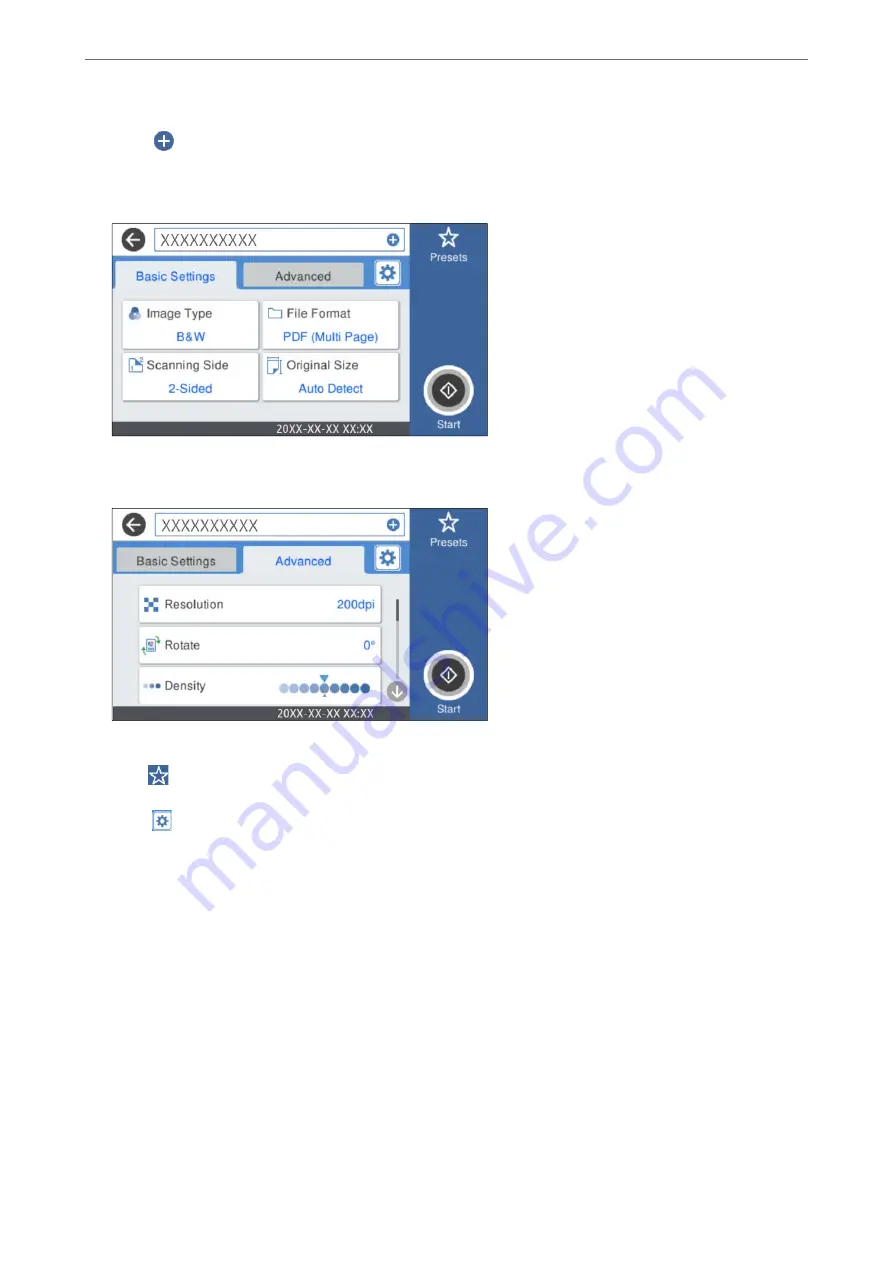
Select
on the top of the screen, and then select a destination.
4.
Set items on
Basic Settings
tab, such as the save format.
5.
Select
Advanced
, and then check settings, and change them if necessary.
Note:
Select
to save your settings as a preset.
6.
Select
, check the
Scanner Settings
, and then change them if necessary.
You can change the settings such as
Slow
or
DFDS Function
.
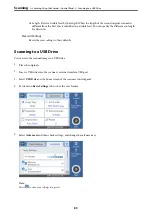
7.
Tap
x
.
Basic Menu Options for Scanning to the Cloud
Note:
The items may not be available depending on other settings you made.
Image Type:
Select the color of the output image.
When you select the following, the scanner detects the color of the originals automatically and saves
the images using the detected colors.
>
Scanning Using the Scanner's Control Panel
>
82

