


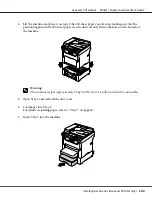


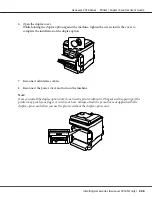


8. When installing Tray 2 without installing the duplex option, also install the locking pins (one in
each opening on the left and right sides at the back of Tray 2).
While holding the grip of the locking pin vertical, insert the locking pin into the opening on either
the left or right side of the 500-sheet paper cassette unit and, while pushing it in, turn it to either the
left or the right. The locking pin is installed when its grip is horizontal.
Installing the left and right locking pins secures the 500-sheet paper cassette unit to the machine so
it cannot be removed.
Note:
❏
This step can be skipped if the duplex option is to be installed after installing Tray 2.
❏
To uninstall the 500-sheet paper cassette unit from the machine, remove the locking pins on the
left and right side at the back of Tray 2, and then remove the 500-sheet paper cassette unit. To
remove a locking pin, turn it to either the left or the right so that its grip is vertical, and then pull
out the locking pin to remove it.
9. Reconnect all interface cables.
10. Reconnect the power cord, and turn on the machine.
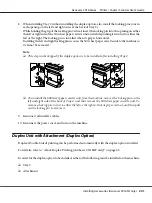
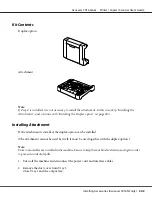
Duplex Unit with Attachment (Duplex Option)
Duplex (Double-Sided) printing can be performed automatically with the duplex option installed.
For details, refer to “About Duplex Printing (AcuLaser CX16NF only)” on page 65.
In order for the duplex option to be installed, either of the following must be installed on the machine.
❏
Tray 2
❏
Attachment
AcuLaser CX16 Series Printer / Copier / Scanner User’s Guide
Installing Accessories (AcuLaser CX16NF only)
201


