77
Omega 2
SELECT THE DIMMER TO BE ASSIGNED:
Press the number of the selected dimmer, then
Press
The cursor highlight will position on the selected
dimmer.
ASSIGN THE PROFILE:
Press
The Profile number will appear as brown. With this task complete,
press the appropriate screen key for the next operation.
ASSIGNING PROFILES TO DIMMERS
TO ASSIGN A PROFILE TO A DIMMER:
Press
The Patch Screen will appear.
A Profile allows the output level to be defined in 20 discrete steps.
You can select from the preconfigured Profile options at the bottom
of the display, or create a custom profile on the screen.
PATCH SCREEN
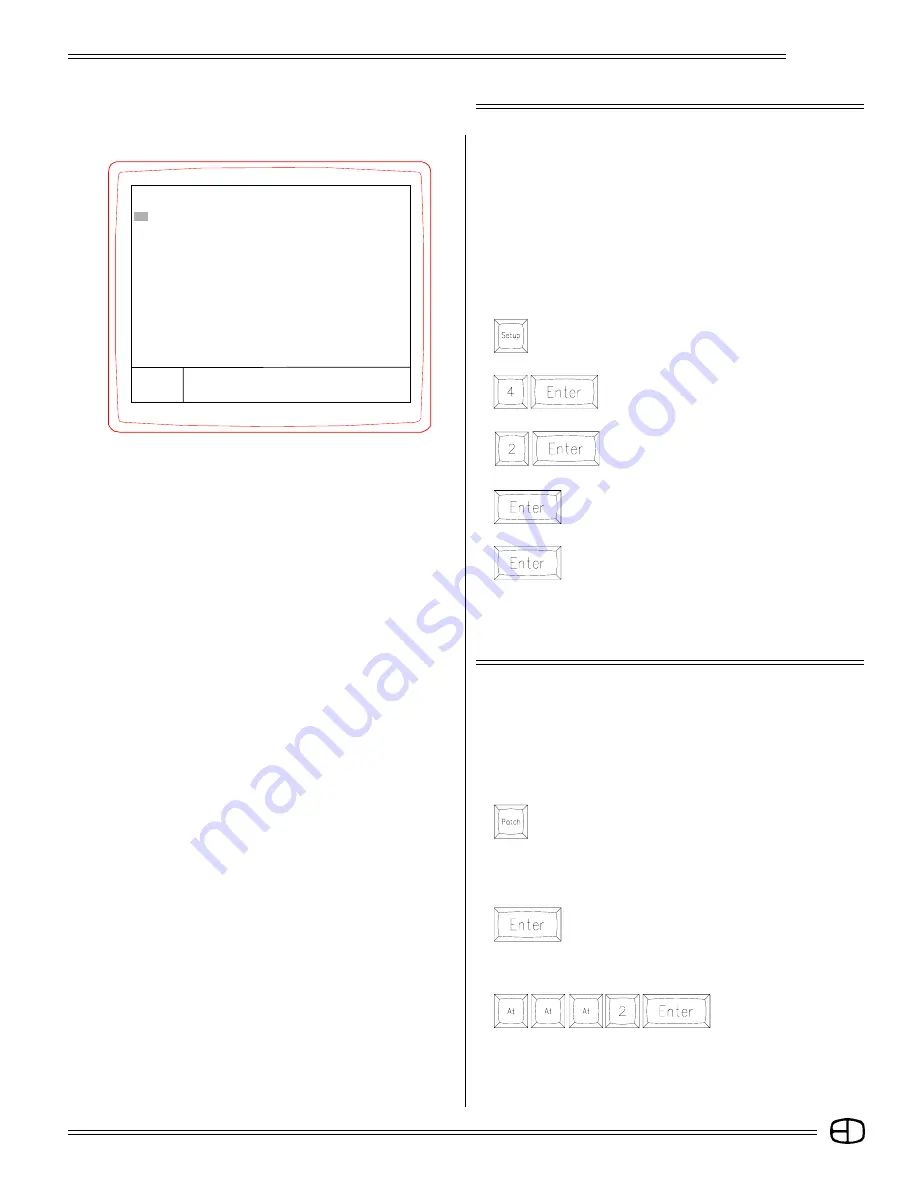
CREATE A UNITY PATCH:
Press
The Main Menu in the Setup Screen will appear.
Press
The Patch Menu will appear.
Press
or press the [DOWN] cursor key. The cursor
moves to the #2 position.
Press
The Command Line prompts "Are You Sure?"
Press
The action (Unity Patch) is now complete.
Press any Screen key to reposition the point of view. Press the
[PATCH] Screen key to examine the Unity Patch. Notice that all
items are reset one-on-one to the console's channel capacity.
UNITY PATCH
Unity Patch resets the dimmer to channel assignments on a one-
to-one basis. This assignment is ideal when the control channel
capacity matches the system dimmer capacity on a one-to-one
basis. When the dimmer capacity exceeds the channel capacity,
Unity Patch offers a ready-made platform for the additional dimmers
to be assigned to the channels.
To create a Unity Patch, follow these steps.
PATCH
1> Return to main menu
2>
Create patch unity (one to one)
3> Set channel bypassing grandmaster
4> Patch page in use by dimmers . . . . . . . . . .
1
Enter:
〉
SETUP
Version 1.22
Grandmaster FL
9:01:00
Profile 2 will be assigned
to the channel.
Summary of Contents for Omega 2
Page 94: ...94 Omega 2 NOTES ...


