


Getting Started with Digi 002 & Digi 002 Rack
86
Monitoring MIDI Instruments Without a Mixer
To monitor your MIDI instrument’s analog out-
put, you can use an Auxiliary Input. Auxiliary
Inputs function as inputs for both internally
bussed signals and external audio sources.
To configure an Auxiliary Input for MIDI
monitoring:
1
Connect the MIDI instrument’s audio output
to the appropriate inputs on your Digi 002 or
Digi 002 Rack.
2
Choose File > New Track and specify 1 mono
or stereo Auxiliary Input, then click Create.
3
Click the Input selector of the Auxiliary Input
channel and choose the input to which your
MIDI instrument is connected.
4
Adjust the level of the Auxiliary Input with its
volume fader.
QuickPunch Recording
With QuickPunch recording you can punch in
and out of audio recording on armed tracks. Re-
cording can be triggered from the Transport
window, or using a standard footswitch. You can
use a standard footswitch (such as a keyboard
sustain pedal) with QuickPunch to
punch in
when recording audio. You can also punch in
when recording MIDI, without enabling Quick-
Punch.
To connect a footswitch to Digi 002 or
Digi 002 Rack:
1
Turn off the Digi 002 or Digi 002 Rack unit.
2
Plug the footswitch into the Footswitch con-
nector on the back panel of Digi 002 or
Digi 002 Rack.
3
Power on the Digi 002 or Digi 002 Rack unit.
To punch in with QuickPunch when recording
audio:
1
Select Operations > QuickPunch.
2
Set input routing and click the Record button
on each audio track you want to punch in. You
can punch in on up to 8 audio tracks while play-
ing back 32 tracks, or you can punch in on up to
16 tracks while playing back 24 tracks.
3
Click Play in the Transport window.
4
Click Record in the Transport window or step
on the footswitch to begin recording (punch in)
on all record-enabled tracks.
5
Click Record in the Transport window or step
on the footswitch again to stop recording
(punch out).
Note that the session continues to play, and you
can continue to punch in and out as many times
as you want.
For more information on QuickPunch and
punch recording, see the
Pro Tools Reference
Guide
.
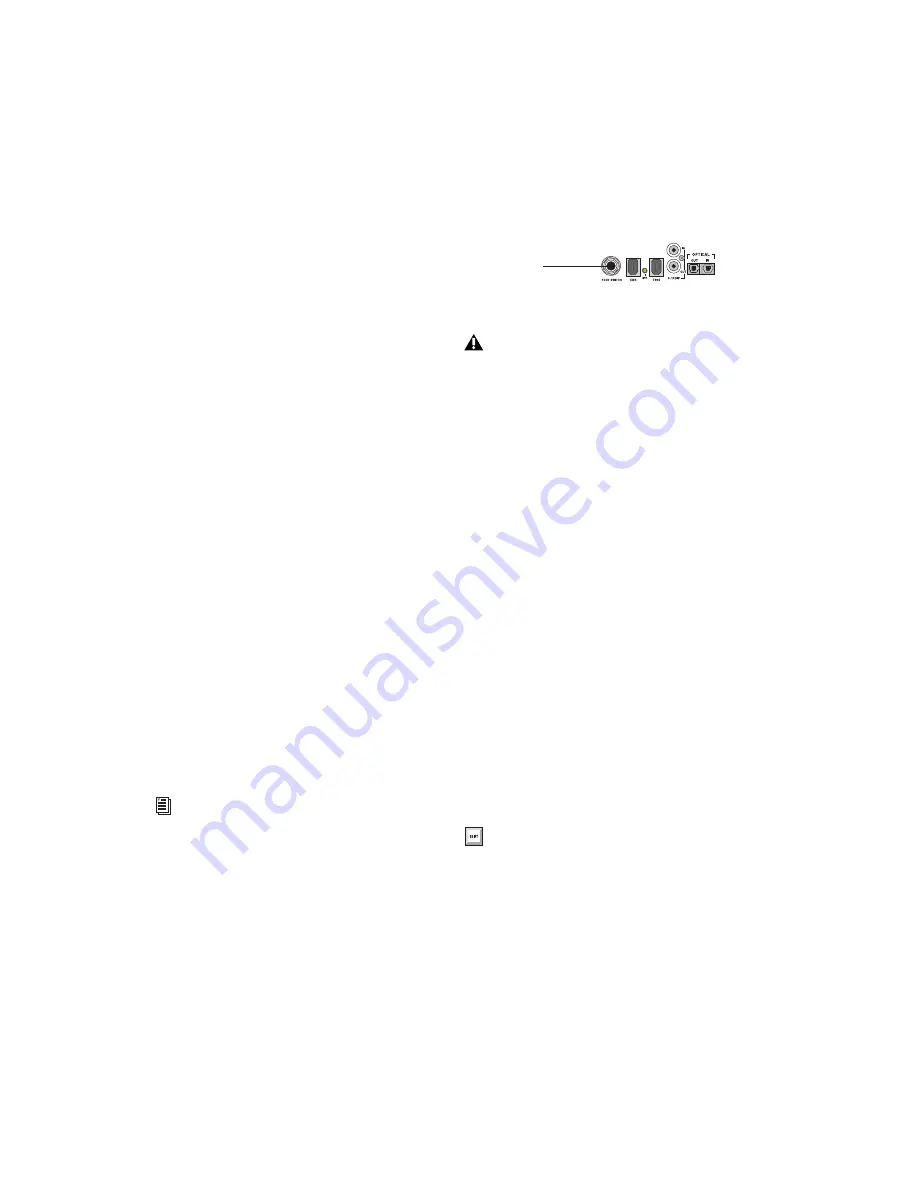
Footswitch jack (back panel)
Footswitch polarity is detected by Digi 002
or Digi 002 Rack firmware when you power
up the unit. Make sure the footswitch is
connected and not pressed when turning on
the Digi 002 or Digi 002 Rack.
With QuickPunch enabled, press Ctrl+Spa-
cebar (Windows) or Spacebar
(Macintosh) to punch in and punch out.
Footswitch jack
Summary of Contents for Digi 002
Page 28: ...Getting Started with Digi 002 Digi 002 Rack 20 ...
Page 54: ...Getting Started with Digi 002 Digi 002 Rack 46 ...
Page 58: ...Getting Started with Digi 002 Digi 002 Rack 50 ...
Page 76: ...Getting Started with Digi 002 Digi 002 Rack 68 ...
Page 124: ...Getting Started with Digi 002 Digi 002 Rack 116 ...
Page 128: ...Getting Started with Digi 002 Digi 002 Rack 120 ...
Page 136: ...Getting Started with Digi 002 Digi 002 Rack 128 ...
Page 148: ...Getting Started with Digi 002 Digi 002 Rack 140 ...


