


Getting Started with Digi 002 & Digi 002 Rack
124
Buffer Size
You may select from the following buffer sizes
(depending on your Digidesign hardware):
• 64 samples
• 128 samples
• 256 samples
• 512 samples
• 1024 samples
• 2048 samples
Small buffers have the advantage of low latency
in the record monitor path, but also are more
taxing on your computer’s CPU and could con-
tribute to dropouts in your audio during record
or playback. (Latency is the time delay between
a signal entering the audio inputs and leaving
the outputs during recording.)
Larger buffers have the advantage of making the
Digidesign CoreAudio Driver more immune to
audio dropouts during playback and recording,
but can cause a noticeable delay when monitor-
ing your inputs in the recording process. In
some CoreAudio-client applications, perform-
ing various tasks will interrupt the CoreAudio
Driver and may result in clicks and pops in au-
dio playback or recording. Choosing medium or
large buffers (such as 512 or 1024) can help alle-
viate this problem.
Changing the Buffer Size for the Digidesign
CoreAudio Driver does not affect the H/W
Buffer Size settings in the Pro Tools Playback En-
gine dialog.
To configure Digidesign CoreAudio Hardware
Buffer Size:
1
Launch Digidesign CoreAudio Manager (lo-
cated in /Applications/Digidesign).
2
From the Buffer Size pop-up menu, select the
desired CoreAudio buffer size (in samples). Gen-
erally, smaller buffer sizes are preferable. How-
ever, if you experience any problems with
performance (such as clicks and pops during re-
cording or playback), try increasing the Core-
Audio Buffer Size setting. You can also change
the buffer size from within the client applica-
tion if it is the only client attached to the Core-
Audio driver. Once two or more clients are
active, you will not be able to change the sample
rate or the buffer size.
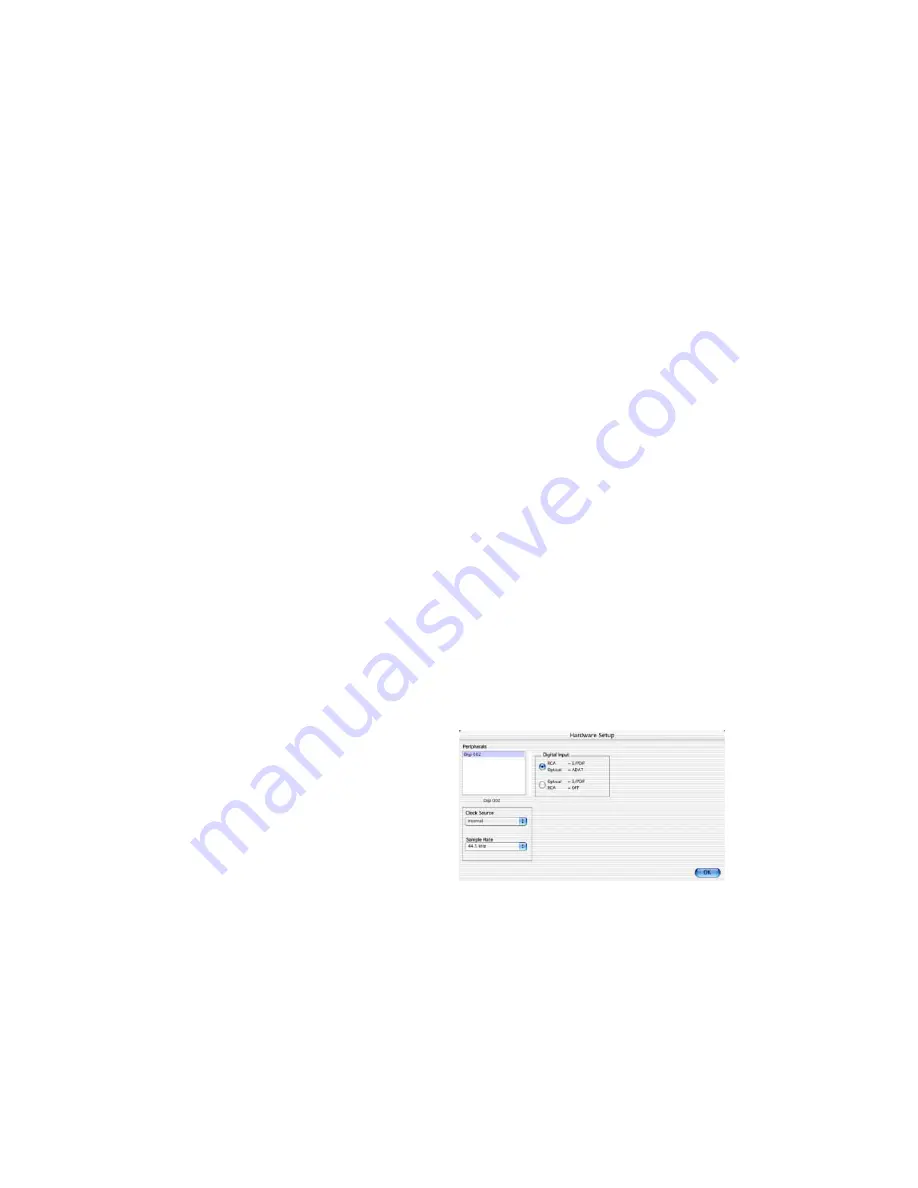
HW Setup Button
The HW Setup button opens the Hardware
Setup dialog for your Digidesign hardware. For
more information, refer to the
Getting Started
Guide
for your Pro Tools system or the
Pro Tools
Reference Guide
.
To configure Digidesign CoreAudio HW Setup:
1
Launch Digidesign CoreAudio Manager (lo-
cated in /Applications/Digidesign).
2
Click the HW Setup button to open the Hard-
ware Setup dialog. The HW Setup button will
only be available when no clients are using the
CoreAudio driver.
Hardware Setup dialog (Digi 002 shown)
Summary of Contents for Digi 002
Page 28: ...Getting Started with Digi 002 Digi 002 Rack 20 ...
Page 54: ...Getting Started with Digi 002 Digi 002 Rack 46 ...
Page 58: ...Getting Started with Digi 002 Digi 002 Rack 50 ...
Page 76: ...Getting Started with Digi 002 Digi 002 Rack 68 ...
Page 124: ...Getting Started with Digi 002 Digi 002 Rack 116 ...
Page 128: ...Getting Started with Digi 002 Digi 002 Rack 120 ...
Page 136: ...Getting Started with Digi 002 Digi 002 Rack 128 ...
Page 148: ...Getting Started with Digi 002 Digi 002 Rack 140 ...


