


Getting Started with Digi 002 & Digi 002 Rack
94
Once written, automation can be re-written or
displayed and edited graphically in the Edit win-
dow.
Final Mixdown
The Bounce to Disk command lets you write a fi-
nal mix to disk, create a new loop, print effects,
or bounce any submix. Once you have bounced
your final mix to disk, you can use another pro-
gram to burn the resulting file to Compact Disc.
When you bounce a track to disk, the bounced
mix includes the following:
Audible Tracks
All audible tracks are included in
the bounce. Any muted tracks do not appear in
the bounce. If you solo a track or region, only
the soloed elements appear in the bounced mix.
Automation
All read-enabled automation is
played back and incorporated in the bounced
mix.
Inserts and Sends
All active inserts, including
real-time plug-ins and hardware inserts, are ap-
plied to the bounced mix.
Selection or Track Length
If you make a selec-
tion in a track, the bounced mix will be the
length of the selection. If there is no selection in
any track, the bounce will continue until it
reaches the end of the session.
To Bounce to Disk:
1
Choose File > Bounce to Disk.
2
Select any mono or stereo output or bus path
as the source for the bounce.
3
Select the File Type (such as WAV), Format
(such as mono or stereo), Resolution (such as 16-
bit), and Sample Rate (such as 44.1 kHz).
4
Click Bounce.
Using Dither on Mixdown
You should use a dither plug-in when using the
Bounce To Disk command, or when mastering
to an external device. Bounce to Disk does
not
automatically apply dither. To dither a bounce
file, insert an included Digidesign Dither plug-
in, or another dither plug-in, on a Master Fader
assigned to the bounce source path. Master Fad-
ers are often preferable to Auxiliary Inputs be-
cause Master Fader inserts are post-fader (which
is better for dither applications).
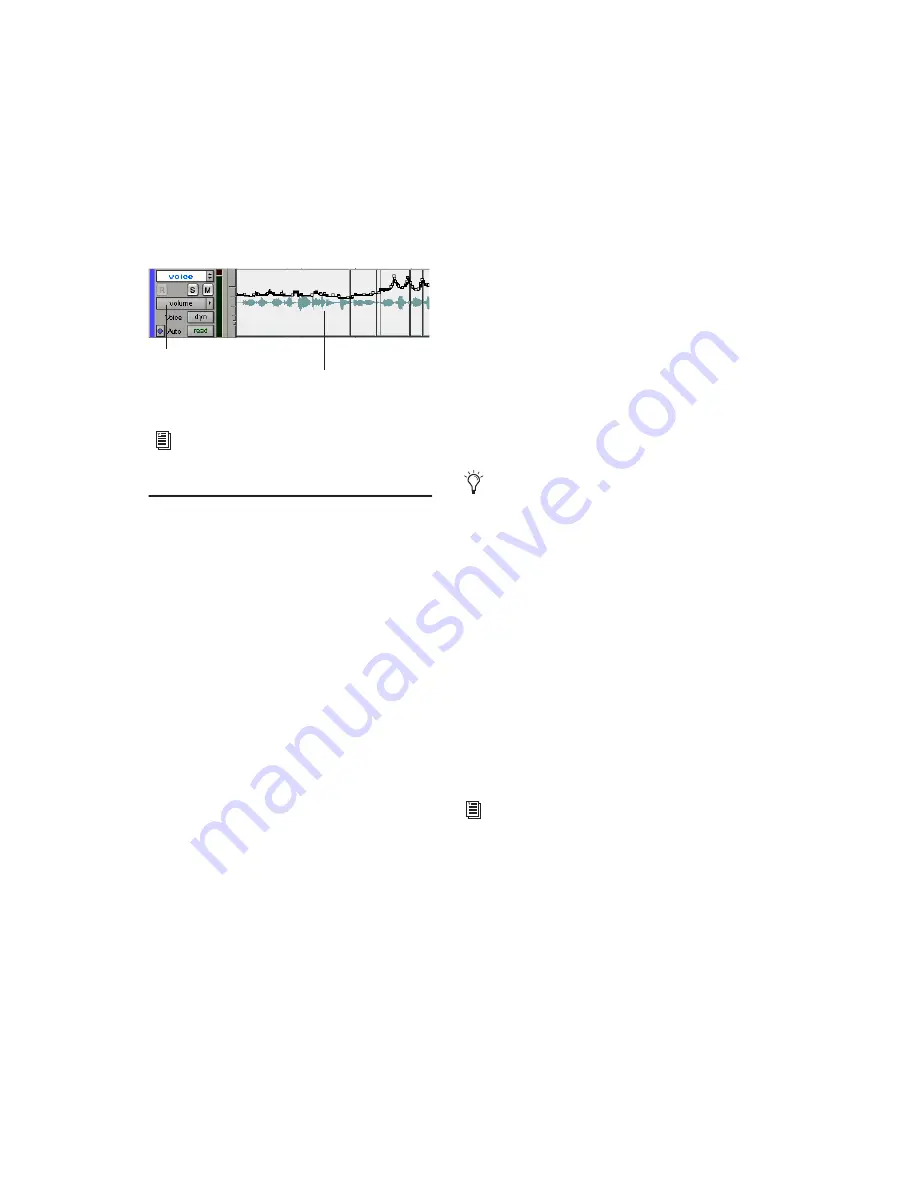
Volume automation in a track in the Edit window
For more information on using automation,
see the
Pro Tools Reference Guide
.
Volume breakpoint automation
Track view set to Volume
To create a mixdown that can be written to
an audio CD, be sure to select WAV, stereo
interleaved, 16-bit, and 44.1 kHz.
For more information on using dither, refer
to the
Pro Tools Reference Guide
.
Summary of Contents for Digi 002
Page 28: ...Getting Started with Digi 002 Digi 002 Rack 20 ...
Page 54: ...Getting Started with Digi 002 Digi 002 Rack 46 ...
Page 58: ...Getting Started with Digi 002 Digi 002 Rack 50 ...
Page 76: ...Getting Started with Digi 002 Digi 002 Rack 68 ...
Page 124: ...Getting Started with Digi 002 Digi 002 Rack 116 ...
Page 128: ...Getting Started with Digi 002 Digi 002 Rack 120 ...
Page 136: ...Getting Started with Digi 002 Digi 002 Rack 128 ...
Page 148: ...Getting Started with Digi 002 Digi 002 Rack 140 ...


