Chapter 2 Creating and Editing Screens
|
ScrEdit Software User Manual
2-56
Revision Apr. 30th, 2007, 2007PDD23000002
Copy Screen
Copy whole screen. The user can execute this function by clicking
Screen > Copy Screen
or use
keyboard shortcuts by pressing
Shift + C
.
Paste Screen
The user can paste a screen by clicking
Screen > Paste Screen
or use keyboard shortcuts by pressing
Shift + P
. All screen setting will be the same as original screen after pasting but the screen number will
be given automatically by ScrEdit.
Delete Screen
Delete the current editing screen or element. The user can delete a screen by clicking
Screen > Delete
Screen
or use keyboard shortcuts by pressing
Shift + D
.
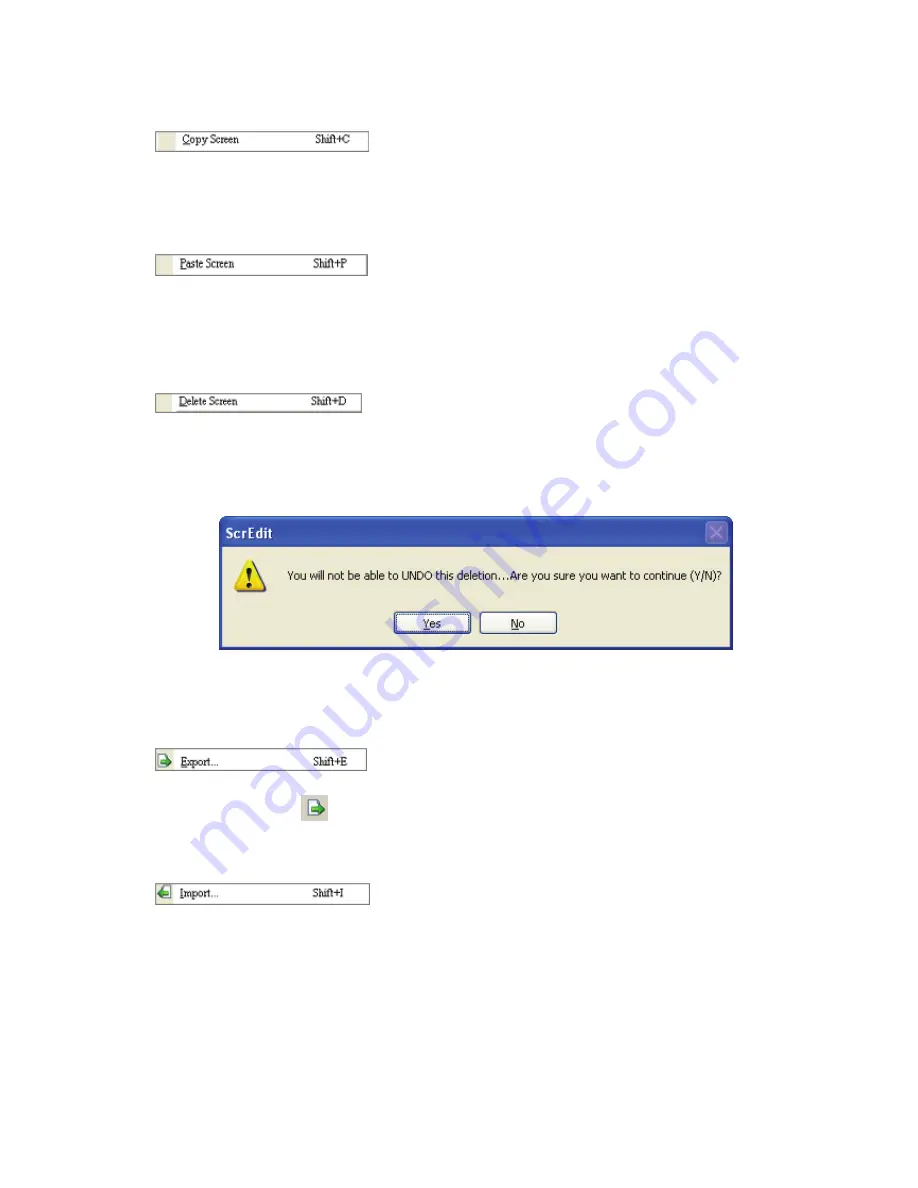
Please note that after executing Delete Screen, the user cannot undo the action of delete screen
(Fig.2.7.9).
Fig. 2.7.9 Delete Screen Message
Export
Export an project to BMP format. The user can execute this function by clicking
Screen > Export
or
clicking the Export icon
, or use keyboard shortcuts by pressing
Shift + E
.
Import
Import a picture to be the background of the editing screen. Please note that this background of the
editing screen is different than the base screen. The nature of an imported picture differs greatly from
that of the base screen. The imported picture cannot exist in ScrEdit as an element. However, the base
screen can be regarded as an element and then exist in the editing screen after a compile operation is
completed (The definition and usage of the base screen will be introduced more in the section of
“Screen Properties”). The file types of available imported picture can be BMP, JPG and GIF, etc. The
user can execute this function by clicking
Screen > Import
or use keyboard shortcuts by pressing
Shift
+ I
.
Summary of Contents for AE80THTD
Page 1: ......


