Digital Video Recorder
29
NOTE: A user who does not have
Covert Camera View
authority cannot view video from cameras
set to
Covert 1
or
Covert 2
in both the live monitoring and playback modes.
Highlight the
PTZ
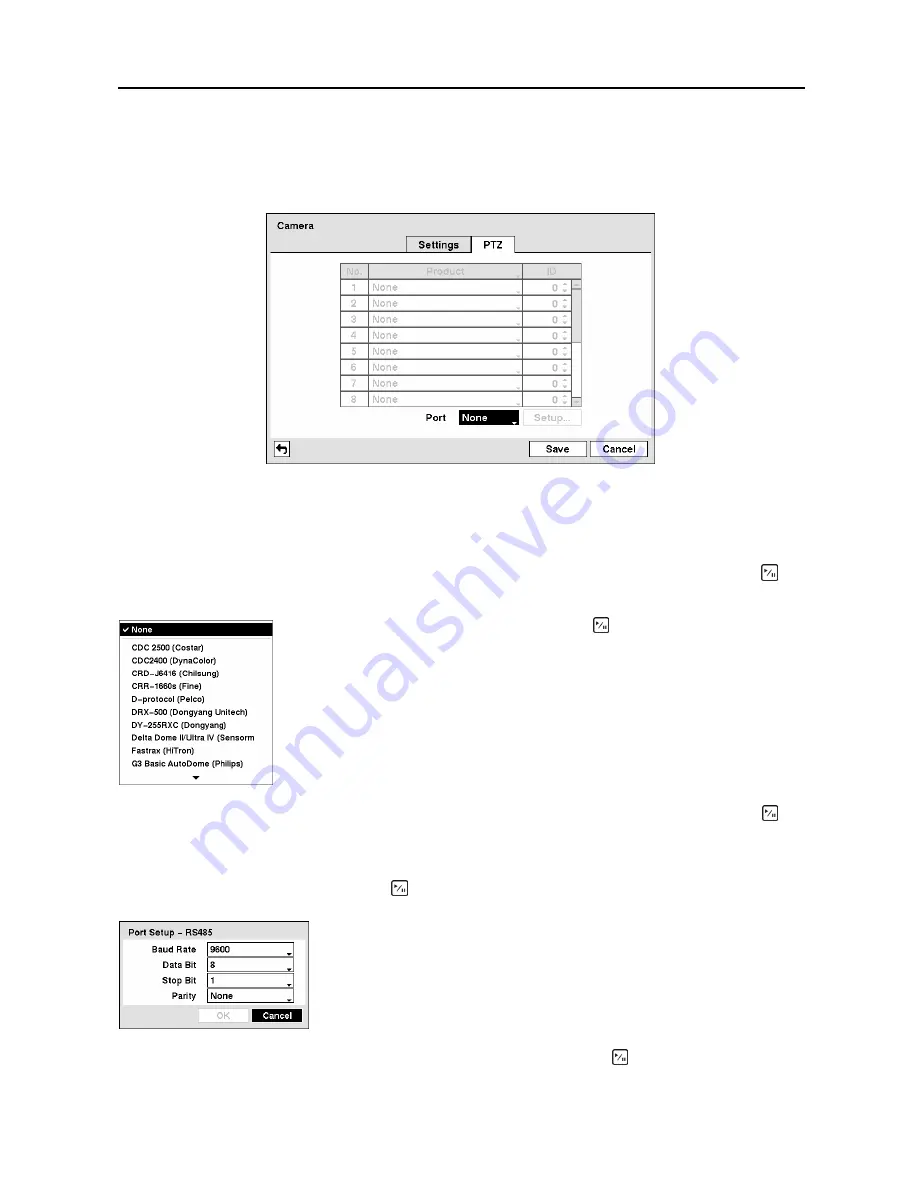
tab, and the PTZ setup screen displays.
Figure 37
─
Camera PTZ setup screen.
NOTE: You will only be able to set up PTZ devices if the PTZ port is set to RS232 or RS485. You
will not be able to use a modem if you are using the RS232 port for PTZ control.
Highlight the box in the
Product
column for the PTZ camera you wish to configure and press the
button. A list of PTZ devices appears.
You can assign IDs to each camera by highlighting the box under the
ID
heading and pressing the
button. Change the number by highlighting it and using the
Up
and
Down
arrow buttons to increase and
decrease the number. The PTZ ID number can be set from 0 to 256.
Highlight the
Setup…
box and press the button. The Port Setup window appears.
You can save your Camera changes by highlighting
Save
and pressing the button. Selecting
Cancel
exits the screen without saving the changes.
Select your camera from the list and press the button. You will need to
connect the camera to the RS232 or RS485 connector on the back of the DVR
following the camera manufacturer’s instructions.
Figure 38
─
PTZ Device list.
Configure the port’s setting based on the PTZ camera manufacturer’s
instructions.
Figure 39
─
Port Setup window.
Summary of Contents for CADV-H-SR08 EH-Series
Page 2: ......
Page 3: ......
Page 11: ...User s Manual viii...
Page 65: ...User s Manual 54...
Page 83: ...User s Manual 72...
Page 94: ...Digital Video Recorder 83 Appendix G Map of Screens...


