


108
Job mode
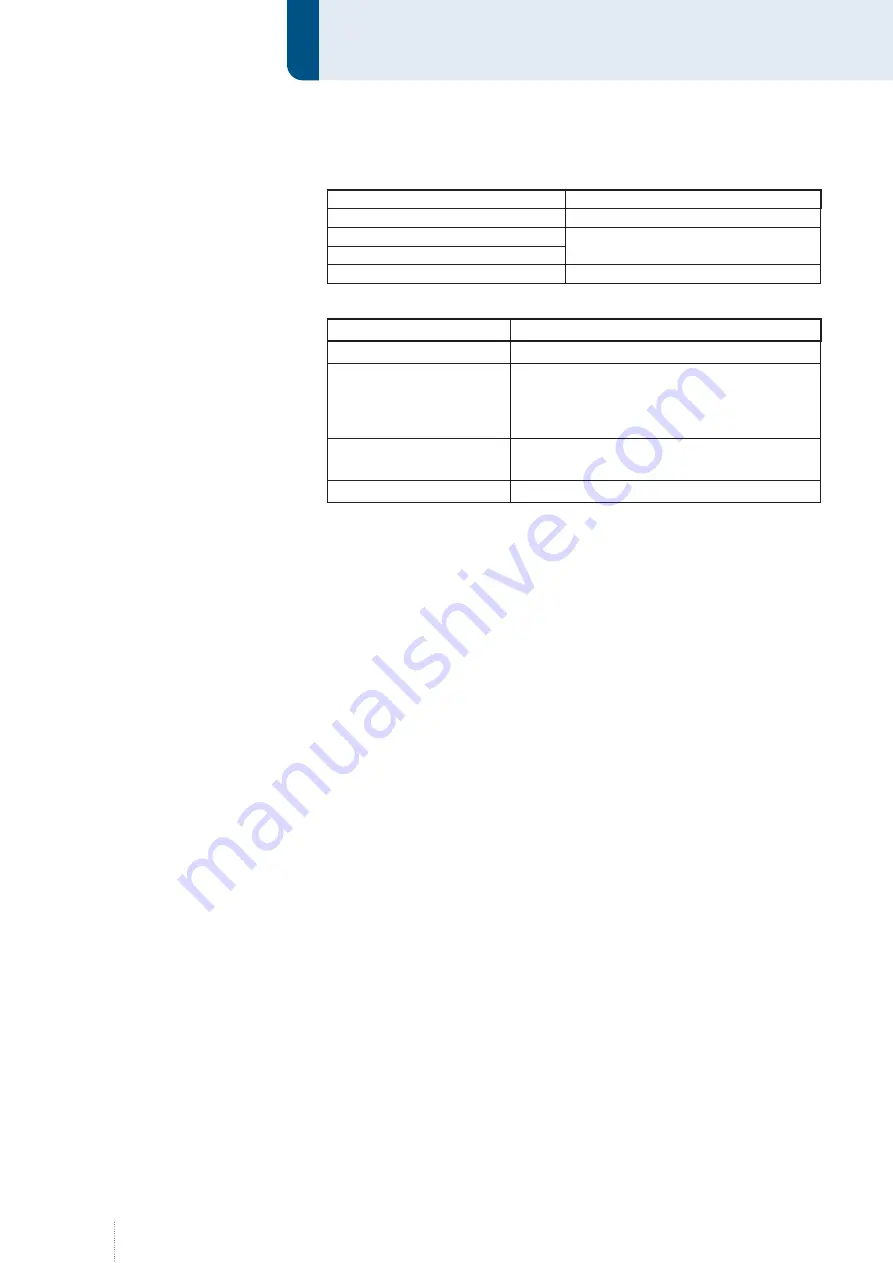
Function keys on the left side of the display:
Function name/symbol
Functional description
Left arrow key
Cursor moves one position to the left
Capital letters and special characters
Switch between upper and lower case
letters
Small letters and special characters
Numbers and special characters
Function keys on the right side of the display:
Function name/symbol
Functional description
Right arrow key
Cursor moves one position to the right
"Insert" function
Inserts one or more characters into an existing
text.
The new character is always added left to the
present cursor position.
Function "<--"
To delete characters.
The character left to the cursor is always deleted.
"Enter" function
To confirm the entry.
Turn rotary knob 3 (yellow cursor) until you find the required character in
the character table. Shortly press rotary knob 3 to transfer the character to
the upper line.
Once you have selected all characters, confirm your selection with the
"Enter" function. The job is now saved with all selected welding parameters
under the name you selected, see Figure 101.
The new job is not activated by the storage process. Activation is done with
the "Job" button.
14.2 Overwrite an existing job
To overwrite an existing job, a job must be activated, see section "14.4 Acti-
vate job" on page 109.
If a job is activated, you can optimise the existing welding parameters and
overwrite them by pressing the save button twice.
14.3 Copy a job
To copy an existing job, a job must be activated, see section "14.4 Activate
job" on page 109.
Press the "Save" button in job mode. Select a new storage space by means
of rotary knob 3. Press the "Save" button again to copy the current job to
the new position.
To exit the menu, press the "Esc" key or the "MAIN" key.
Summary of Contents for NexT 452 AC
Page 4: ......
Page 11: ...11 Block 1 Operational Safety...
Page 27: ...27 Block 2 Basic information Qineo NexT...
Page 110: ...110 Job mode...
Page 148: ...148...
Page 149: ...149 Block 4 Additional information...
Page 164: ...164 SD module...
Page 191: ...191 Block 6a Error messages...
Page 207: ...207 Block 6b General maintenance instructions...
Page 212: ...212...
Page 213: ...213 Block 7 Automation...
Page 232: ...232...
Page 233: ...233...
Page 234: ...www qineo de...


