6-6
Cisco Aironet 340, 350, and CB20A Wireless LAN Client Adapters Installation and Configuration Guide for Windows
OL-1394-07
Chapter 6 Using EAP Authentication
Using LEAP with an Automatically Prompted Login
Using LEAP with an Automatically Prompted Login
After Profile Selection or Card Insertion
After you (or auto profile selection) select a profile that uses LEAP authentication but specifies that you
be automatically prompted to enter a separate LEAP username and password or you eject and reinsert
the client adapter while this profile is selected, follow the steps below to LEAP authenticate.
Note
This procedure is applicable the first time an automatically prompted LEAP profile is selected. After you
follow the steps below to enter your LEAP credentials, you can switch profiles without having to re-enter
your credentials until you reboot your computer, eject and reinsert your client adapter, or change the
profile in any way (including its priority in auto profile selection).
Step 1
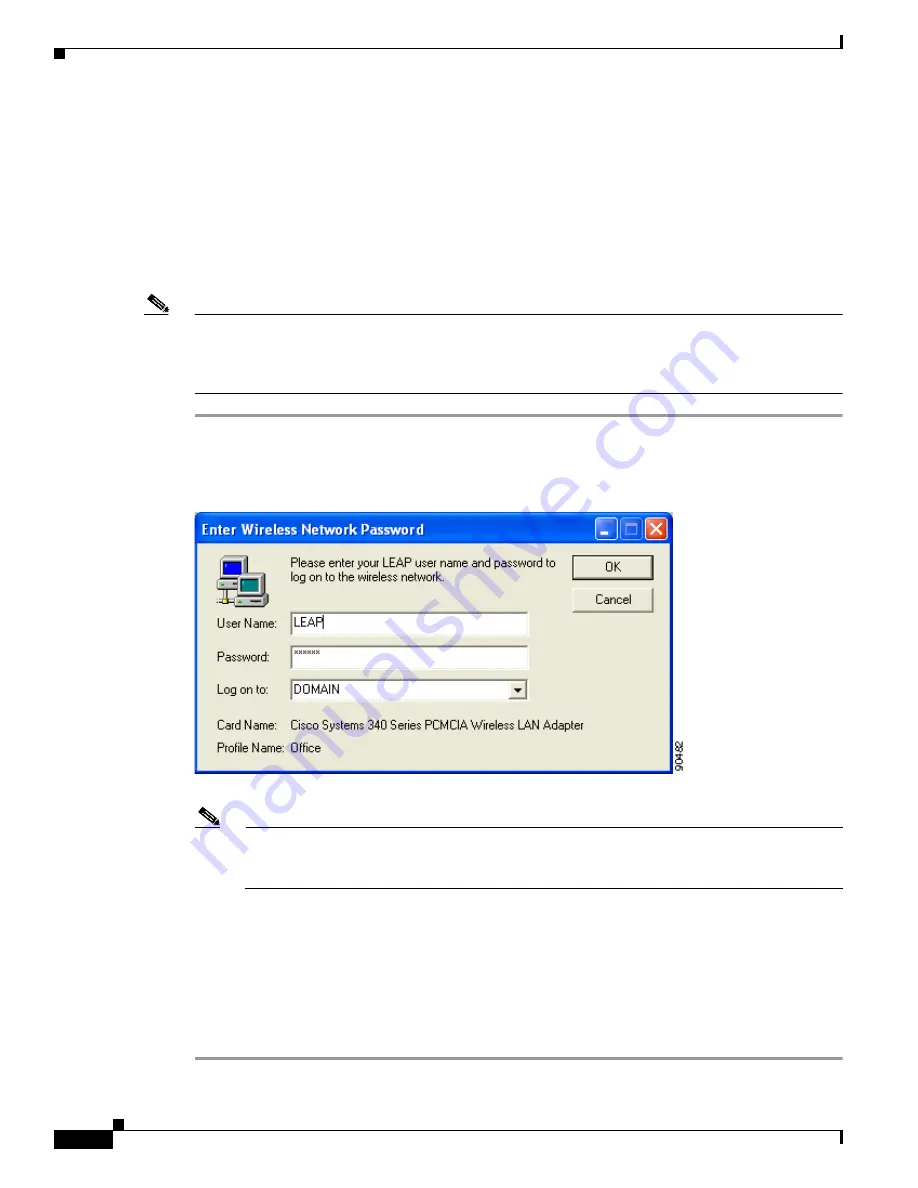
When the LEAP login screen appears (see
Figure 6-4
), enter your LEAP username and password and
click OK. The domain name is optional.
Figure 6-4
LEAP Login Screen
Note
The LEAP login screen shown above appears on computers running Windows NT, 2000, or XP.
The LEAP login screen looks slightly different on computers running other Windows operating
systems.
The LEAP Authentication Status screen appears.
Step 2
If your client adapter authenticates, the screen shows that each stage was successful and then disappears.
ACM now shows Authenticated, and the Server Based Authentication field on the ACU Status screen
shows LEAP Authenticated.
If the authentication attempt fails, an error message appears after the LEAP timeout period has expired.
Refer to the
“LEAP Authentication Error Messages” section on page 10-20
for the necessary action to
take.


