


5.0 REMOTE CONTROL
30
R599790 - FORCE Series User Manual
good detail in dark areas when using the Gamma control.
The nominal setting for Gamma Correction of 0 is correct for most signals and conditions. If excess ambient light
washes out the image and it becomes difficult or impossible to see details in dark areas, increase the gamma
correction setting to compensate.
•
Number Keys
Press 1 to 9 to enter a value in a text box or to select a menu item.
• 10+
Press 0 before pressing another number to enter a number greater than 9, e.g. press 0 then 2 to enter the number
12 as a menu selection. NOTE: When entering numbers in a text field, this button acts as 0.
• Help
Press HELP to display context-sensitive help. Press HELP again to toggle the help window OFF.
• Menu
Press MENU to enter or exit the projector’s menu system.
• OSD (On-screen display)
Press OSD then the DOWN ARROW to hide the projector’s menu system during use. To see the menus again, do
one of the following:
•
Press and hold OSD for two seconds.
•
Press and release OSD followed immediately by UP ARROW.
•
Press OSD, OSD.
Invisible menus are fully functional, enabling “hidden” access to numbered features and image adjustments by
entering the corresponding sequence of key presses on the keypad.
NOTE: With OSD “on”, you can still hide error messages and slide bars by disabling these options in the Menu
Preferences menu.
• Shutter
Press and hold SHUTTER for two seconds to toggle the internal mechanical shutter blade closed or open with a
single keystroke. Or press and release SHUTTER followed immediately by UP ARROW KEY (closed) or DOWN
ARROW KEY (open) to guarantee the correct state (useful if you are unsure of the present state). Alternatively,
press SHUTTER, SHUTTER to toggle from the present on/off state.
A closed shutter blanks the display (turns it to black). Close the shutter to block the displayed image while
maintaining access to projector functions. Opening the shutter restores the image.
NOTES: 1) The LCD display shows the current state of the shutter. 2) The shutter is open upon power-up.
• Function Key
IF WITHIN A NUMERIC FIELD IN A MENU: Use FUNC to enter a negative number.
IF WITHIN A TEXT FIELD: Press FUNC followed by the UP ARROW KEY or DOWN ARROW KEY to convert
between capital and lower case letters. Press FUNC followed by the LEFT ARROW KEY or RIGHT ARROW KEY to
insert or delete a character. Press FUNC followed by ENTER to delete all characters.
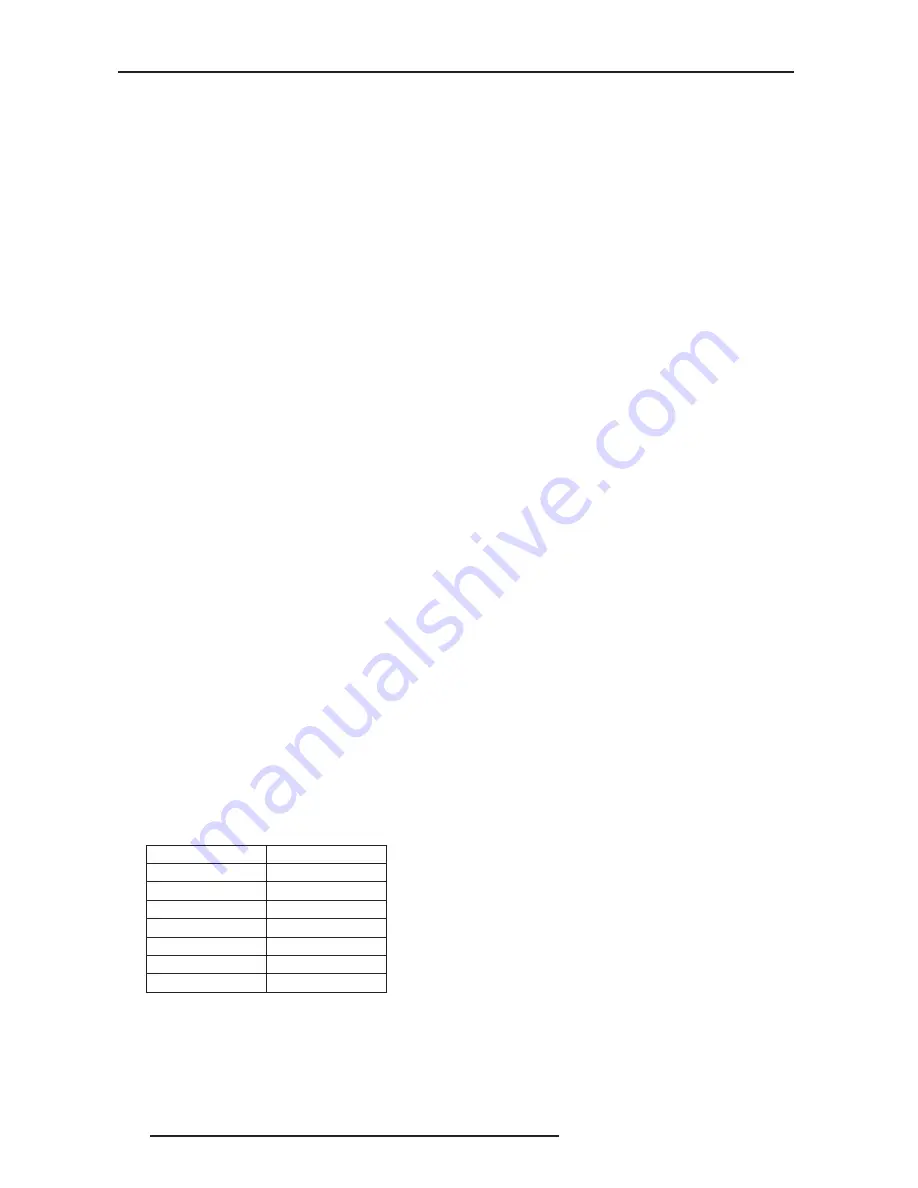
IF WITHIN A PRESENTATION: Press FUNC followed by two numeric numbers to enable a specific color or colors in
the display (see table below). For example, (-) (6) (1) will display only red, and (-) (6) (2) will display green data.
Eliminating one or more colors can help with certain diagnostics and setups, such as when accurately overlaying
one image on top of another from stacked projectors.
l
NOTE: Color enabling can also be implemented from numerous locations within the menu system.
Press FUNC followed by HELP to disable Keystone, Edge Blending and Brightness Uniformity settings. This will
disable the features without changing the settings associated with them.
• Projector
Press PROJ to access a specific projector within a group of projectors or to confirm if the local projector is listening.
Function Key
Color
(-) (6) (1)
Red
(-) (6) (2)
Green
(-) (6) (3)
Blue
(-) (6) (4)
Yellow
(-) (6) (5)
Cyan
(-) (6) (6)
Magenta
(-) (6) (7)
White
Summary of Contents for Force one
Page 1: ......
Page 99: ...16 0 APPENDIX DIMENSIONS R599790 FORCE Series User Manual 99...
Page 100: ......


