


If you want to register a different e-mail address, select
Do not send
to display the
E-mail address
entry screen.
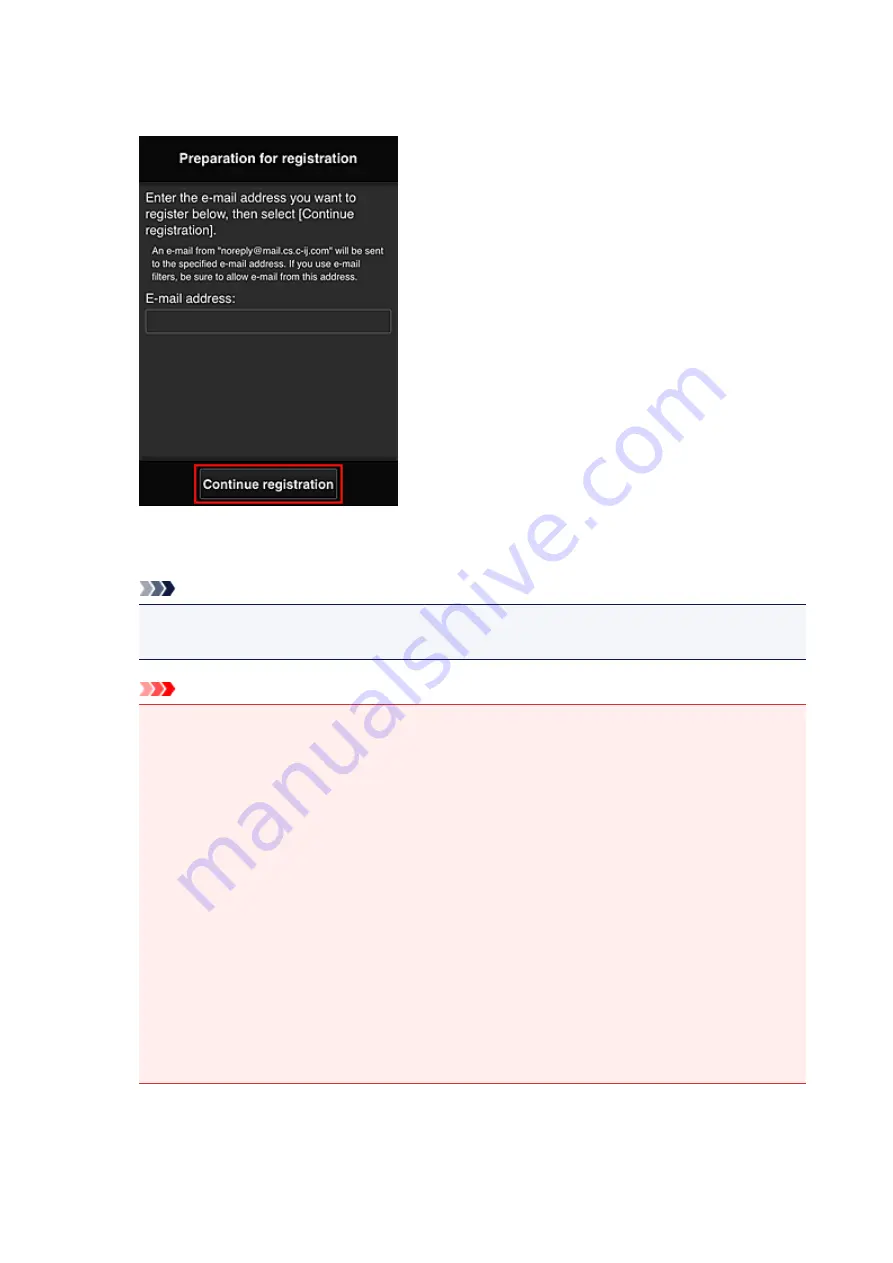
In the displayed screen, enter the
E-mail address
that you want to register, and then select
Continue
registration
.
Note
• If you enter an e-mail address that has already been registered, you will receive an "already
registered" e-mail. Follow the instructions in the e-mail, and register a different e-mail address.
Important
• There are character restrictions for the e-mail address, as shown below.
• Up to 255 characters consisting of single-byte alphanumeric characters and symbols (!$'*/
^_{}|~.-@). (Uppercase and lowercase letters are differentiated.)
• Multibyte characters cannot be used.
You will get an error if the e-mail address you enter contains a character that cannot be
used.
• If you registered a different e-mail address by mistake, you can cancel the registration by
Displaying Printer Information and selecting
IJ Cloud Printing Center setup
->
Delete from
this service
.
To display printer information, go to the Online Manual home page, and see "Checking Printer
Information" for your model.
• You may not be able to receive the notification if you are using a spam filter. If you have a
setting to receive only the e-mails from certain domains, be sure to change the setting to allow
receiving e-mails from "[email protected]".
There will be no error display even if you could not receive the e-mail because of the spam filter
setting or if you entered an incorrect e-mail address.
6. Check that you received blank e-mail, and then select
Yes
73
Summary of Contents for MAXIFY iB4140
Page 1: ...iB4100 series Online Manual Printer Functions Overview Printing Troubleshooting English ...
Page 102: ...All registered users can register and delete apps freely 102 ...
Page 137: ...Loading Paper Paper Sources Loading Plain Paper Photo Paper Loading Envelopes 137 ...
Page 140: ...140 ...
Page 152: ...Replacing Ink Tanks Replacing Ink Tanks Checking Ink Status on the LCD 152 ...
Page 168: ...Aligning the Print Head Position Manually Mac OS 168 ...
Page 187: ...Safety Safety Precautions Regulatory Information WEEE EU EEA 187 ...
Page 191: ...191 ...
Page 202: ...Main Components and Their Use Main Components Power Supply LCD and Operation Panel 202 ...
Page 203: ...Main Components Front View Rear View Inside View Operation Panel 203 ...
Page 259: ...The resending setting is completed 259 ...
Page 260: ...Network Connection Network Connection Tips 260 ...
Page 297: ...Network Communication Tips Using Card Slot over Network Technical Terms Restrictions 297 ...
Page 327: ...Print Area Print Area Standard Sizes Envelopes 327 ...
Page 332: ...Administrator Settings Sharing the Printer on a Network 332 ...
Page 339: ...Printing Printing from Computer Printing from Smartphone Tablet Paper Settings 339 ...
Page 360: ...Related Topic Changing the Printer Operation Mode 360 ...
Page 374: ...Adjusting Color Balance Adjusting Brightness Adjusting Intensity Adjusting Contrast 374 ...
Page 462: ...Perform setup following the instructions on the screen 462 ...
Page 491: ...Problems while Printing from Smartphone Tablet Cannot Print from Smartphone Tablet 491 ...
Page 538: ...Errors and Messages An Error Occurs Message Appears 538 ...
Page 540: ...To resolve errors that do not have support codes see An Error Occurs 540 ...
Page 571: ...1660 Cause An ink tank is not installed What to Do Install the ink tank 571 ...


