Note
•
If the
Tab Selection screen
is not displayed, press the
Menu
button.
3
Press the
OK
button.
The
Set./Adj. Menu
is displayed.
4
Press
▲
or
▼
to select
Adjust Printer
, and then press the
OK
button.
5
Press
▲
or
▼
to select
Feed Priority
, and then press the
OK
button.
6
Press
▲
or
▼
to select
Adjust Length
, and then press the
OK
button.
7
Press
▲
or
▼
to select
AdjustmentPrint
or
Change Settings
, and
then press the
OK
button.
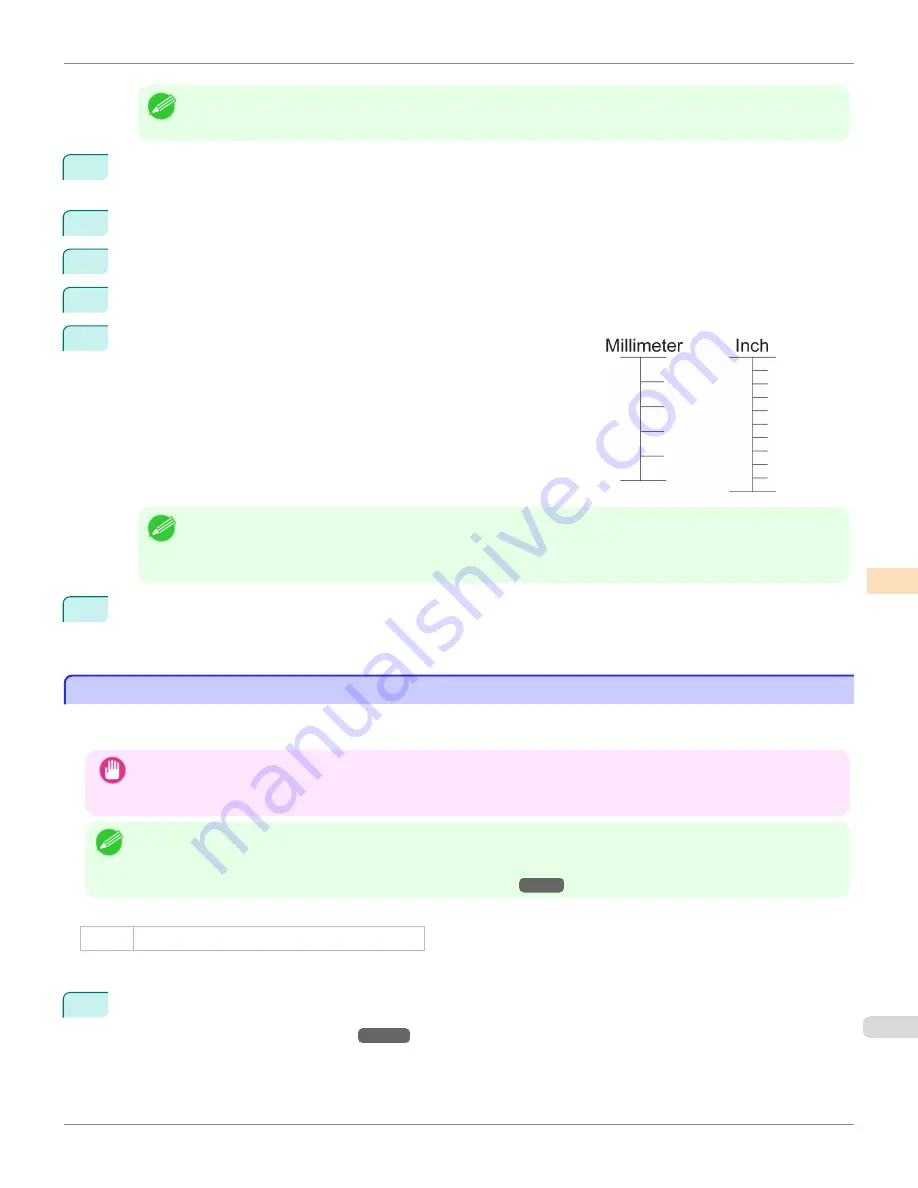
When you select
AdjustmentPrint
, a test pattern is printed for you to
measure the scale and calculate the discrepancy. The scale bar prints
Millimeter
in 50 mm increments and
Inch
in 1-inch increments.
Note
•
A test pattern is printed in black when you choose
A:High
or in magenta if you choose
B:Standard/Draft
.
•
To cancel printing the test pattern for adjustment, hold down the
Stop
button. When "
Stop printing?
" is displayed,
press
▲
or
▼
to select "
Yes
", and then press the
OK
button.
8
Press
▲
or
▼
to enter the amount of discrepancy, and then press the
OK
button.
If the scale is shorter than the actual size, use a positive setting value. If it is longer, use a negative value.
The feed amount can be adjusted in 0.02% increments.
Adjusting Color on the Trailing Edge of Sheets
Adjusting Color on the Trailing Edge of Sheets
If printed sheets are affected by banding in different colors by the trailing edge (about 20–30 mm (0.8–1.2 in) from the
edge), try adjusting the feed amount of the trailing edge of sheets.
Important
•
This adjustment is only possible when feeding paper from the Top Paper Feed Slot that can be set up with a margin on the
trailing edge of 3 mm (0.12 in). Paper that does not allow a margin of 3 mm on the trailing edge is automatically ejected, and
the adjustment is not available.
Note
•
We recommend using the type of paper you use most often for adjustment.
•
For banding in different colors over the entire printed area of sheets or rolls (not only at the trailing edge of sheets), try adjust-
ing the overall feed amount.
(See "Automatic Banding Adjustment.")
→P.804
Items to Prepare
Sheets One sheet of unused paper of at least A4/Letter size
Perform adjustment as follows.
1
Load the paper.
•
Loading Sheets in the Feed Slot
→P.557
iPF6450
Adjusting Color on the Trailing Edge of Sheets
User's Guide
Adjustments for Better Print Quality
Adjusting the feed amount
809
Summary of Contents for imagePROGRAF iPF6450
Page 20: ...20 ...
Page 174: ...iPF6450 User s Guide 174 ...
Page 642: ...iPF6450 User s Guide 642 ...
Page 696: ...iPF6450 User s Guide 696 ...
Page 730: ...iPF6450 User s Guide 730 ...
Page 812: ...iPF6450 User s Guide 812 ...
Page 916: ...iPF6450 User s Guide 916 ...
Page 1055: ...iPF6450 WEEE Directive User s Guide Appendix Disposal of the product 1055 ...
Page 1056: ...WEEE Directive iPF6450 User s Guide Appendix Disposal of the product 1056 ...
Page 1057: ...iPF6450 WEEE Directive User s Guide Appendix Disposal of the product 1057 ...
Page 1058: ...WEEE Directive iPF6450 User s Guide Appendix Disposal of the product 1058 ...
Page 1059: ...iPF6450 WEEE Directive User s Guide Appendix Disposal of the product 1059 ...
Page 1060: ...WEEE Directive iPF6450 User s Guide Appendix Disposal of the product 1060 ...
Page 1061: ...iPF6450 WEEE Directive User s Guide Appendix Disposal of the product 1061 ...
Page 1062: ...WEEE Directive iPF6450 User s Guide Appendix Disposal of the product 1062 ...
Page 1065: ...1065 ...


