1
2
3
4
5
6
7
8
9
10
11
Back
Next
Previous
TOP
4-16
Before Using the
Machine
Document and Paper
Copying
Sending and
Receiving
Printing and
Scanning
Network
Remote UI
System Manager
Settings
Maintenance
Troubleshooting
Appendix
Index
Table of Contents
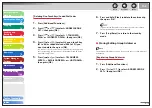
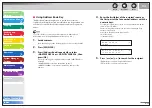
3.
Press
[
] or [
] to select <GROUP DIAL>,
then press [OK].
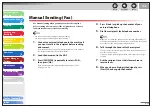
4.
Press
[
] or [
] to select an empty one-touch
key or coded dial code that you want to set as
the group address, then press [OK].
You can also select a one-touch key or coded dial code by pressing
the corresponding one-touch key, or [Coded Dial] followed by the
desired three-digit code.
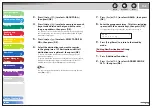
5.
Press
[
] or [
] to select <SELECT ADD/TEL
NO>, then press [OK].
6.
Select the destinations you want to register
in the group (max. 199 destinations) until all
destinations are registered, then press [OK].
To enter a destination stored under a one-touch key, press the
desired one-touch key.
To enter a destination stored under a coded dial code, press [Coded
Dial], then enter the three-digit code with the numeric keys. For
multiple entries, press [Coded Dial] between each entry.
You can review the destinations which have been already entered
with [
] or [
].
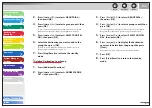
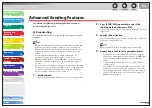
7.
Press
[
] or [
] to select <NAME>, then press
[OK].
8.
Enter the group name (max. 16 letters, including
spaces) with the numeric keys, then press [OK].
To register another group, repeat the procedure from step 4.
N A M E : a
C a n o n G r o u p
Ex.
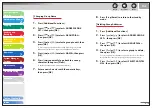
9.
Press [Stop/Reset] to return to the standby
mode.
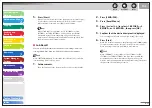
Adding New Destination to Group
1.
Press [Additional Functions].
2.
Press
[
] or [
] to select <ADDRESS BOOK
SET.>, then press [OK].

