Chapter 4
4-25
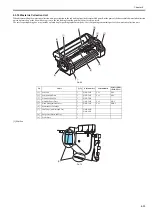
4.3.8 Ink Tank Unit
0031-2624
a) Ink Tank Unit
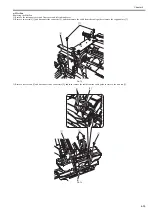
Removing the Right Ink Tank Unit
1) Perform ink drainage. Refer to "Disassembly/Reassembly > Points to Note on Disassembly and Reassembly > Draining the ink".
2) Remove the right cover, front cover, and right ink tank cover.
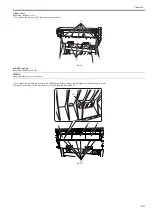
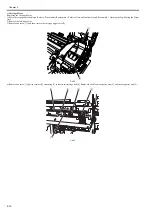
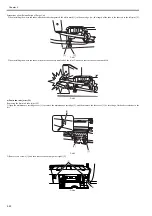
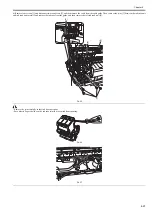
3) Remove four screws [1], and then remove the support plate [2].
F-4-50
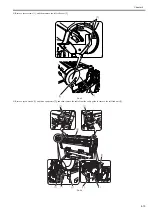
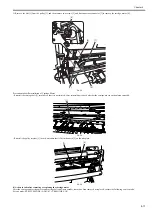
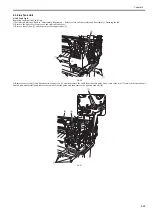
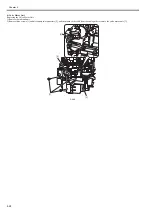
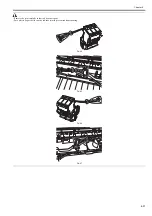
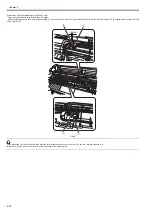
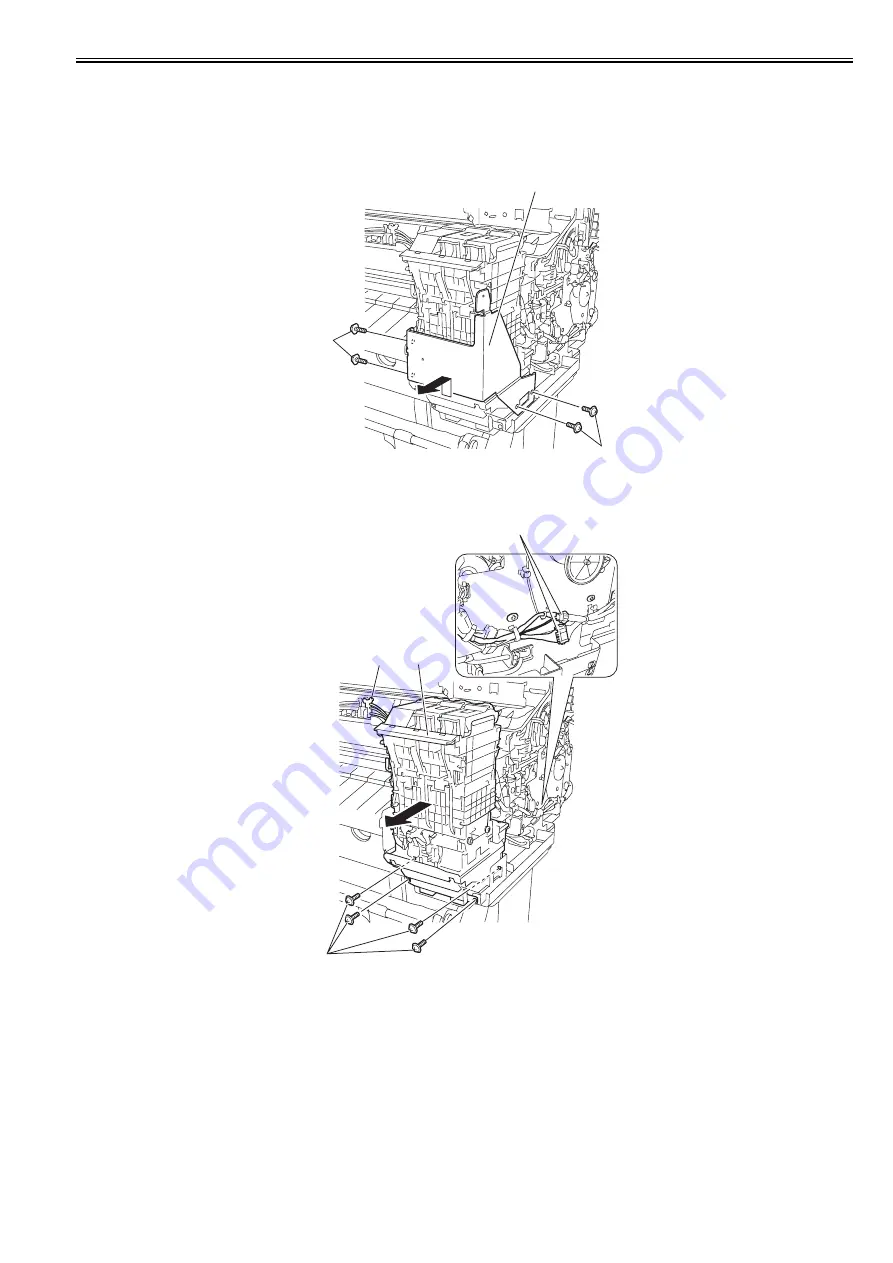
4) Remove four screws [1] and disconnect two connectors [2], and then remove the cable from the cable guide. Then, remove the joint [3] between the ink tube unit
and ink tank unit carefully and remove the ink tube from the guide, and then remove the right ink tank unit [4].
F-4-51
[2]
[1]
[1]
[3]
[4]
[2]
[1]
Summary of Contents for image Prograf iPF780 Series
Page 1: ...Mar 27 2014 Service Manual iPF780 760 750 series iPF785...
Page 9: ...Chapter 1 PRODUCT DESCRIPTION...
Page 57: ...Chapter 2 TECHNICAL REFERENCE...
Page 117: ...Chapter 3 INSTALLATION...
Page 125: ...Chapter 4 DISASSEMBLY REASSEMBLY...
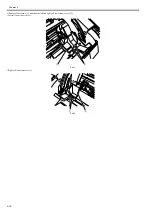
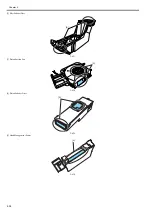
Page 175: ...Chapter 4 4 49 2 Shaft Cleaner 1 F 4 97 1 1...
Page 176: ...Chapter 4 4 50 3 Upper Cover Hinge Catch 1 Roll Cover Slide Guide 2 F 4 98 2 1...
Page 179: ...Chapter 5 MAINTENANCE...
Page 186: ...Chapter 6 TROUBLESHOOTING...
Page 212: ...Chapter 7 SERVICE MODE...
Page 267: ...Mar 19 2014 PARTS CATALOG iPF786 785 781 780 765 760 755 750...
Page 301: ...2 25 FIGURE 10 PLATEN GUIDE UNIT 1 3 6 2 8 4 5 10 10 10 9 9 11...
Page 326: ......

