Chapter 7
7-30
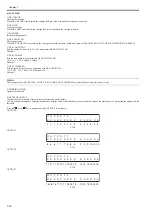
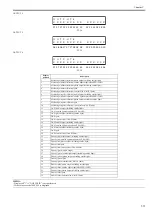
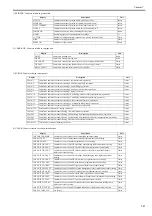
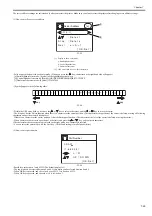
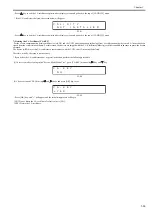
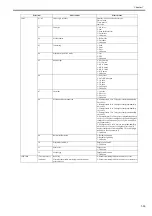
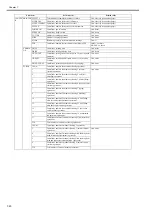
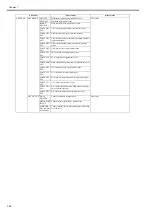
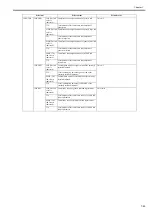
(3) How to enter user name
F-7-36
- It is the same as the entering method of proxy server address.
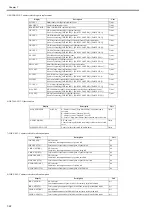
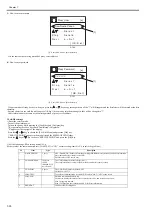
(4) How to enter password
F-7-37
- If a password has already been set, when you press the
or
key at any cursor position, all the "*" will disappear and the first letter will be entered as the first
character.
- Entered characters are visible until you press OK key. Once entering into the menu again, they will be changed to "*".
- Other information is the same as the entering method of proxy server address.
3.2 e-RDS settings
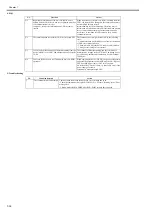
1) Enter the service mode.
- Turn off the printer power.
- Turn on the power while pressing the [Load] key and [Navigate] key.
* Keep pressing the above keys until "Initializing" is displayed.
- "S" appears at the top right of the display.
- Press the
or
key to choose the [Set./Adj. Menu]and press the [OK] key.
* "SERVICE MODE" appears in the menu list and the MESSAGE LED flashes.
- Press the
key or
key to choose "SERVICE MODE" and press the [OK] key.
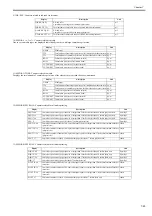
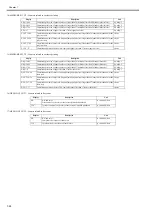
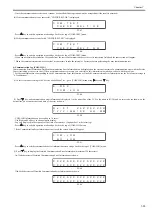
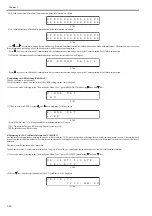
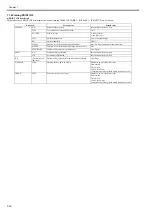
2) Set the following e-RDS setting items No.1-4.
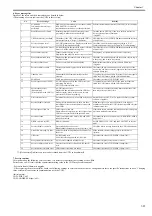
(If the result of the communication test (COM-TEST) is "NG", execute setting items No.5-6 to solve the problem.)
[1] Entry filed (24 one-byte characters)
[1] Entry filed (24 one-byte characters)
No.
Item
Type
Description
1
E-RDS SWITCH
2 bytes
OFF : Disable/ ON : Enable e-Maintenance/ imageWARE Remote system to send device information,
meter data, and error statuses to the UGW.
Default value is OFF (not in use)
2
UGW-ADDRESS
129 bytes
(NULL
included, SJIS
not allowed)
The UGW address by default : https://a01---.
The complete address is not provided in this document for security reason.
3
UGW-PORT
4 bytes
The UGW Port Number by default : 443
Validation : 1-65535
4
COM-TEST
To perform Communication test with UGW and set "OK!"/ "NG!" as the result.
5
COM-LOG
Detailed communication data log
Switches to display time when error occurred, error code, and error data up to now.
Max 30 loggings retained.
Max 128 characters (not containing NULL) for Error information.
6
ERDS-DAT
Initialize e-RDS setting data
Proxy User
User Name Canon
[a]
: S e l e c t
S t o p
: D e l e t e
N a v i
: a -> A -> 1
[ O K : S e t ]
[1]
Proxy Password
[a]
: S e l e c t
S t o p
: D e l e t e
N a v i
: a -> A -> 1
[ OK : S e t ]
[1]
Summary of Contents for image Prograf iPF780 Series
Page 1: ...Mar 27 2014 Service Manual iPF780 760 750 series iPF785...
Page 9: ...Chapter 1 PRODUCT DESCRIPTION...
Page 57: ...Chapter 2 TECHNICAL REFERENCE...
Page 117: ...Chapter 3 INSTALLATION...
Page 125: ...Chapter 4 DISASSEMBLY REASSEMBLY...
Page 175: ...Chapter 4 4 49 2 Shaft Cleaner 1 F 4 97 1 1...
Page 176: ...Chapter 4 4 50 3 Upper Cover Hinge Catch 1 Roll Cover Slide Guide 2 F 4 98 2 1...
Page 179: ...Chapter 5 MAINTENANCE...
Page 186: ...Chapter 6 TROUBLESHOOTING...
Page 212: ...Chapter 7 SERVICE MODE...
Page 267: ...Mar 19 2014 PARTS CATALOG iPF786 785 781 780 765 760 755 750...
Page 301: ...2 25 FIGURE 10 PLATEN GUIDE UNIT 1 3 6 2 8 4 5 10 10 10 9 9 11...
Page 326: ......

