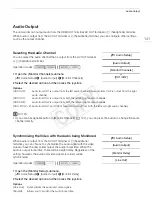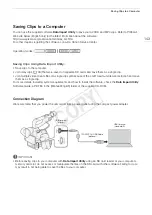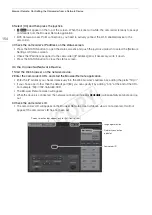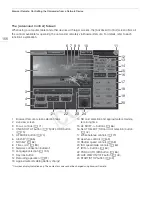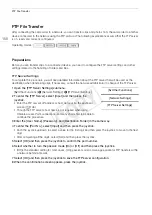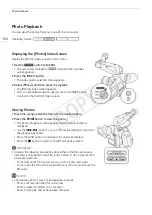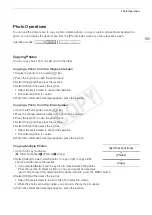
Connecting to a Wi-Fi Network
150
7 Enter the encryption key as described in
Encrypted Access Points
(
A
• This encryption key (password) is needed to connect the network device to the camcorder. If necessary,
write it down.
8 Continue with the procedure to configure the IP address assignment (
A
Configuring the IP Address Settings
At this point you need to configure the TCP/IP settings for the camcorder to be able to connect to a Wi-Fi
network. If you need to configure the TCP/IP settings manually, consult the network administrator to obtain the
relevant information.
1 Select the method for assigning the IP address: Select [Automatic] or [Manual] and then press the
joystick.
• If you selected [Automatic], IP settings will be assigned automatically. Continue with the procedure to review
and save the configuration (
A
2 If you selected [Manual], enter manually the IP address assigned to the camcorder.
• Push the joystick up/down to select a value for the first field and then press the joystick to move to the next
field. After completing the four fields of an address, select [Set] and then press the joystick to confirm the
address.
3 Enter the [Subnet Mask] and [Default Gateway] addresses in the same way.
• For Camera Access Point connections, the rest of the procedure is not necessary. Continue with the
procedure to review and save the configuration (
A
4 Select the method for setting up the DNS server: Select [Do not use DNS] or [Manual].
• If you selected [Do not use DNS], a DNS server will not be used. Continue with the procedure to review and
save the configuration (
A
5 If you selected [Manual], enter the [Primary DNS Server] and [Secondary DNS Server] using the
method described in step 2.
• After entering the secondary DNS server, continue with the procedure to review and save the configuration
(
A
Saving the Configuration
1 Review the access point’s configuration and then press the joystick.
• The first screen shows the access point’s SSID and the type of connection. Push the joystick up/down to
review additional settings before pressing the joystick.
2 Select the desired configuration number and then press the joystick.
• You can save up to 5 different network configuration profiles in the camcorder. If you select a configuration
number that was already in use, the previous configuration will be overwritten by the new one.
3 To change the [Network Configuration Name], select [Input] and then press the joystick.
• If you wish, you can give the network configuration profile a more descriptive name to make it easier to
identify. Enter the desired name using the keyboard screen (
A
4 Select [OK] and then press the joystick to save the network configuration.
5 When the confirmation screen appears, press the joystick.
COP
Y
Summary of Contents for EOS C100 Mark II
Page 1: ...Instruction Manual HD Camcorder PUB DIE 0463 000 COPY ...
Page 12: ...12 COPY ...
Page 46: ...Adjusting the Black Balance 46 COPY ...
Page 106: ...Using Accessories 106 COPY ...
Page 124: ...Saving and Loading Camera Settings 124 COPY ...
Page 144: ...Saving Clips to a Computer 144 COPY ...
Page 162: ...Playback via Browser 162 COPY ...
Page 168: ...Photo Operations 168 COPY ...


