Collating Copies/Prints
3-38
3
Basic
C
o
p
y
ing
and
M
a
il Bo
x
F
e
atu
res
NOTE
If Auto Collate in Copy Settings (from the Additional Functions screen) is set to 'On', the Collate
or Offset Collate mode is automatically set when you place your originals in the feeder. (See
"Auto Collate," on p. 8-9.)
2
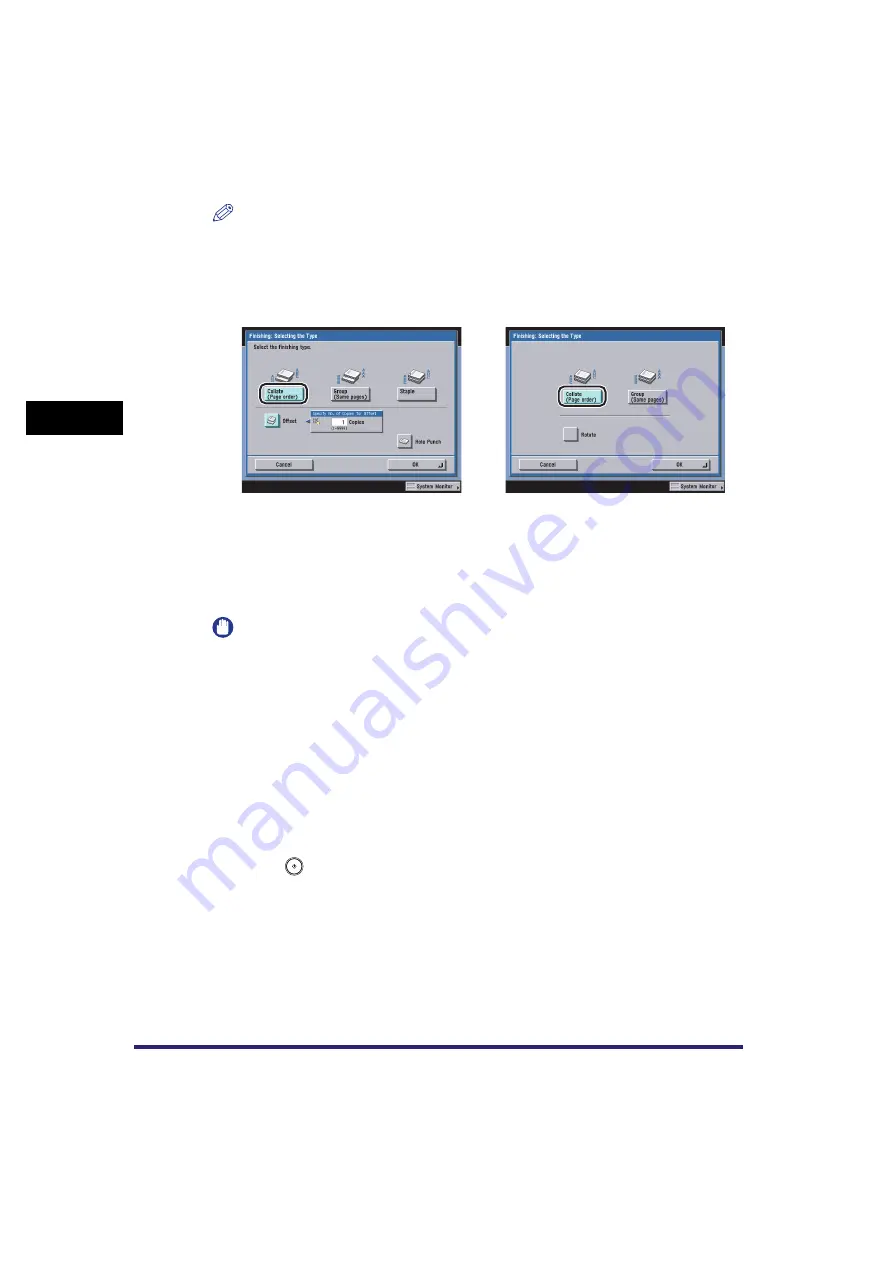
Press [Collate (Page order)].
If you want to make hole punches, press [Hole Punch].
●
If you select [Rotate]:
❑
Press [Next]
➞
select [A4] or [A4R].
IMPORTANT
•
[Rotate] can be selected only in the following cases:
- If the available paper size is selected manually
- If the available paper size is loaded in both the horizontal and vertical directions
- The selected paper source must have Drawer Eligibility For APS/ADS in Common Settings
(from the Additional Functions screen) set to 'On'. (See Chapter 4, "Customizing Settings," in
the Reference Guide.)
•
When you have selected Automatic Paper Selection for the Rotate Mode, make sure to select a
paper size which can be rotated. Otherwise, output will not be rotated.
•
If there is no paper which can be rotated, the output will be collated.
3
Press [OK].
4
Press .
The optional Finisher-W1 or
Saddle Finisher-W2 and
Puncher Unit-AG1 are attached.
No finisher is attached.
Summary of Contents for CLC5151
Page 2: ......
Page 3: ...CLC5151 CLC4040 iR C4580i iR C4080i Copying and Mail Box Guide 0 Frontmatter...
Page 14: ...xii Mail Box 9 17 Index 9 25...
Page 20: ...xviii...
Page 178: ...Merging Documents 3 62 3 Basic Copying and Mail Box Features...
Page 324: ...Sending a Document 6 14 6 Sending and Receiving Documents Using the Inboxes...
Page 416: ...Making Copies with Job Done Notice Others 7 92 7 Using the Express Copy Basic Features Screen...
Page 466: ...Index 9 30 9 Appendix...
Page 467: ......


