w
Printing with PictBridge
120
¡
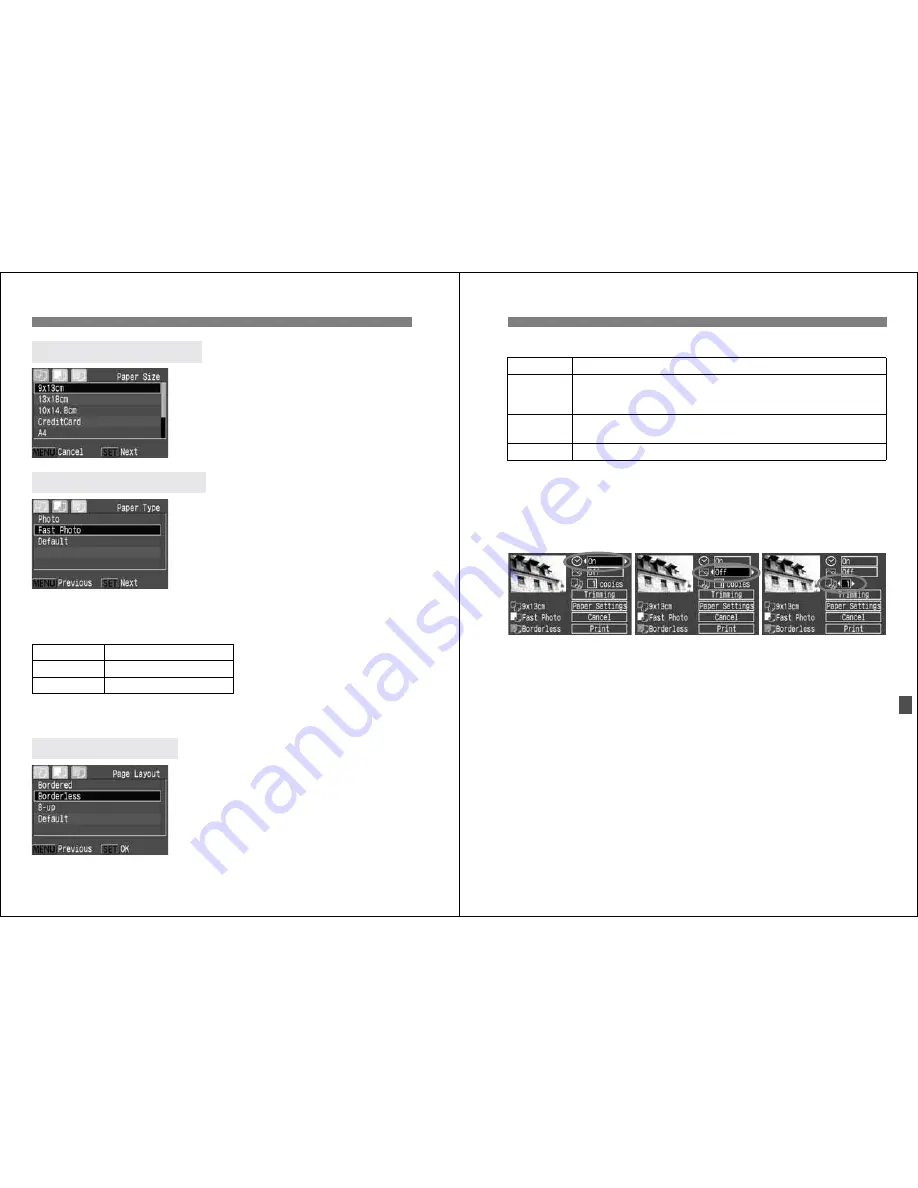
Turn the <
5
> dial to select the size
of the paper loaded in the printer,
then press <
0
>.
s
The Paper Type screen will appear.
¡
Turn the <
5
> dial to select the type
of paper loaded in the printer, then
press <
0
>.
s
The Layout screen will appear.
About the Paper Types
If you are using a Canon printer with Canon paper, set the respective
paper type as follows:
If you are using a non-Canon printer, refer to the printer’s instruction
manual for the recommended paper type settings.
¡
Turn the <
5
> dial to select the
desired layout, then press <
0
>.
s
The Print setting screen will reappear.
T
Setting the Paper Size
Y
Setting the Paper Type
Photo
Photo Paper Plus Glossy
Fast Photo
Photo Paper Pro
Default
Photo Paper Plus Glossy
U
U
U
U
Setting the Layout
121
w
Printing with PictBridge
About Layout
4
Set the other options.
¡
If desired, also set the <
H
> date
imprinting, <
E
> printing effects, and
<
R
> number of copies.
¡
Turn the <
5
> dial to select the menu
item, then press <
0
>.
¡
Turn the <
5
> dial to select the
desired setting, then press <
0
>.
¡
Depending on the BJ printer, the
<
E
> Printing effects setting may
enable you to select the [
VIVID
] (for
vivid greens and blue sky), [
NR
]
(noise reduction), [
VIVID+NR
] or [
On
]
setting.
¡
For details on trimming, see page
129.
Bordered
The print will have a white border along the edges.
Borderless
The print will have no white borders.
If your printer cannot print borderless prints, the print will have
borders.
**-up
Option to print 8, 2, 4, 9, 16, or 20 copies of same image on one
sheet.
Default
With a Canon printer, the print will be borderless.
H
Date imprinting
E
Printing effects
R
Number of copies


