100
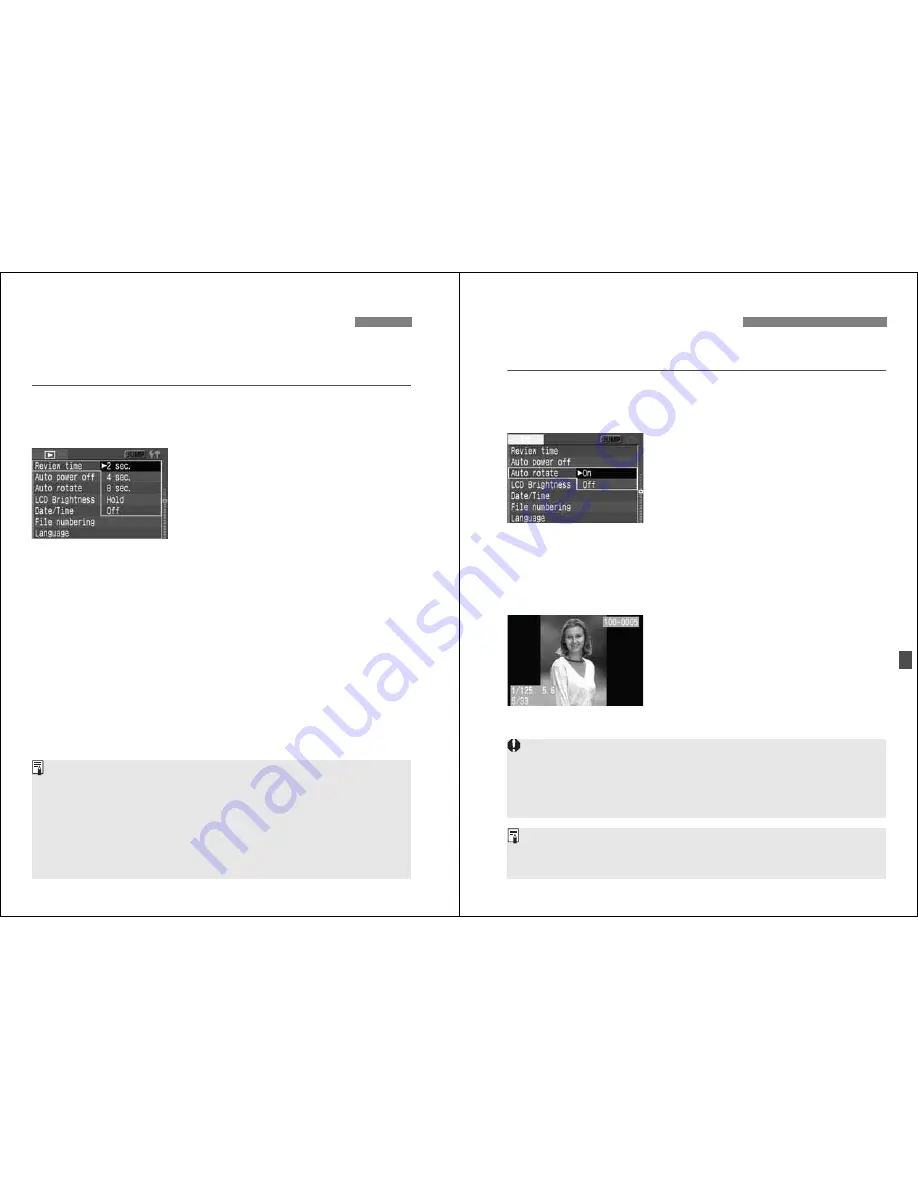
You can set how long the image is to be displayed on the LCD monitor
right after it is captured. To keep the image displayed, set [
Hold
]. To not
have the image displayed, set [
Off
].
1
Select [Review time].
¡
Turn the <
5
> dial to select [
x
Review time
], then press <
0
>.
2
Set the desired review time.
¡
Turn the <
5
> dial to select the
desired setting, then press <
0
>.
3
Setting the Image Review Time
¡
If you press the <
B
> button during the image review right after
shooting, you can change the display format.
¡
The [
Hold
] setting keeps displaying the image until you press the shutter
button halfway. However, if auto power off has been set, the camera will
turn off automatically after the auto power off time elapses.
¡
During the image review for single-shooting, you can delete the
displayed image by pressing the <
L
> button and selecting [
OK
].
¡
To view images captured so far, see “Image Playback” (p.103).
101
Vertical shots can be rotated automatically so that they are displayed
upright during playback.
1
Select [Auto rotate].
¡
Turn the <
5
> dial to select [
c
Auto
rotate
], then press <
0
>.
2
Select [On].
¡
Turn the <
5
> dial to select [
On
],
then press <
0
>.
3
Take a vertical shot.
¡
For the image review right after image
capture, the image will not be
displayed vertically on the LCD
monitor.
4
Playback the image.
¡
Press the <
x
> button.
s
The vertical shot will be displayed
vertically as shown on the left.
3
Auto Image Rotation
¡
Auto rotate will work only if [
Auto rotate
] has been set to [
On
]. Auto
rotate will not work with vertical images captured while [
Auto rotate
] was
[
Off
].
¡
If the vertical image is taken while the camera is pointed up or down, the
image might not rotate automatically for playback.
When you change the camera’s orientation between horizontal and vertical,
the camera orientation sensor will make a small sound. This is normal and
not a defect.


