


Operation
34 / 72
E164809_2_002
The Update Settings Command
An update may be necessary after the system has been installed, relocated or the probe
assembly has been changed. An instrument settings update is also recommended if the
Daily Check
fails and no other cause of the failure can be localized. One should first check
the sample, the cable connections and the sample position inside the probe before running
Update Settings
.
For instrument optimization it is recommended running the
Update Settings
routine. The
Update Settings routine can also be used to update selected settings.
If the
Update Settings
menu stays disabled on a connected minispec,
customize
your
minispec software (through the Welcome Box) to provide access to the calibration
parameters.
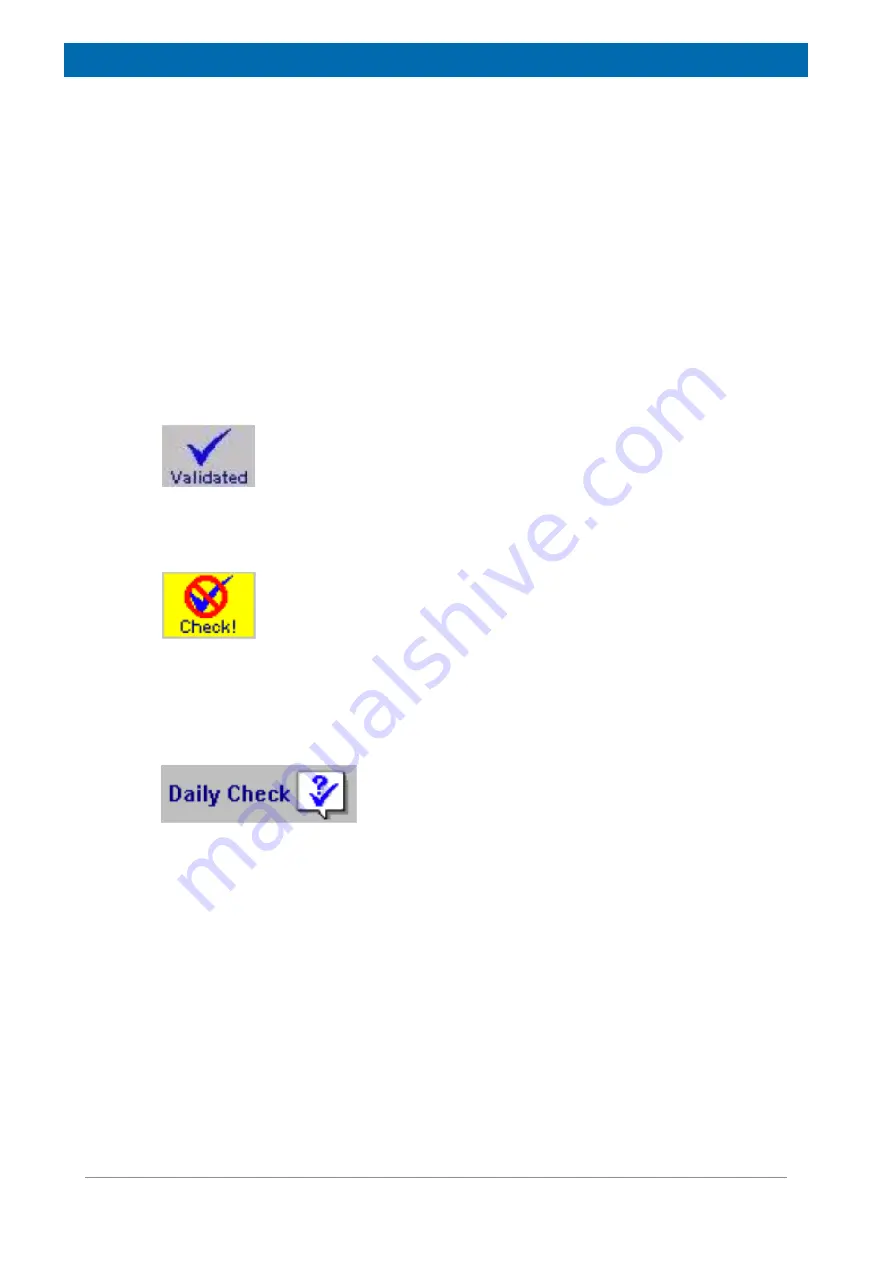
The Daily Check Command
A blue mark (validated) symbol on the right side of the
Info
Toolbar indicates a well checked
minispec instrument.
This option tests the instrument settings but does not change them. A quick check is
recommended once a day (every 24 hours). A checkmark (Checked) in the
Info
toolbar
signifies a well-checked minispec instrument. An un-calibrated minispec instrument is
indicated by a yellow mark (Check!).
To run the Daily Check, use the corresponding toolbar button or select
Daily Check
from the
menu. If one of the checks fails it indicates that there is a mismatch between the expected
and the given performance. Use the
Update Settings
command to perform an update, but
make sure before that everything is well connected/adjusted and no other problem applies.
Double check that the sample used is the correct one.
Shortcut: Info Toolbar:
The Balance Settings Command
One can connect a scale by serial interface to the PC's communication port in order to
electronically transfer sample weight information (weights are necessary for some absolute
applications). To enter the port configuration dialog, close all minispec applications, then
select
Balance
from the
Setup
menu. Access is limited to users who have permission to
enter the minispec main menu or calibration. Select the balance type, then the port to
connect the balance to. Select the port parameters according to the settings on the scale. To
set the standard values, click
Default
before leaving the Settings Table. To leave the Settings
Table unchanged, click
Cancel
. To re-load old settings from file after modifications, click
Re-
Read
. To leave the Settings Table with the new values, click
OK
.
Summary of Contents for minispec LF Series
Page 1: ...minispec minispec LF series User Manual Version 002 Innovation with Integrity AIC...
Page 8: ...Introduction 8 72 E164809_2_002...
Page 13: ...Safety E164809_2_002 13 72 Figure 2 2 Example of a Stray Field Plot for the LF90 Top View...
Page 14: ...Safety 14 72 E164809_2_002...
Page 18: ...Transport Packaging and Storage 18 72 E164809_2_002...
Page 50: ...Operation 50 72 E164809_2_002...
Page 56: ...Maintenance 56 72 E164809_2_002...
Page 58: ...Replacement of Parts 58 72 E164809_2_002...
Page 64: ...Technical Data 64 72 E164809_2_002 Figure 12 1 An Example of a minispec Rating Plate...
Page 66: ...Contact 66 72 E164809_2_002...
Page 68: ...List of Figures 68 72 E164809_2_002...
Page 71: ...E164809_2_002 71 72...
Page 72: ...Bruker Corporation info bruker com www bruker com Order No E164809...


