219
Desi
gn
Dat
a
ba
se
Transferring Embroidery Designs to Machines
9.
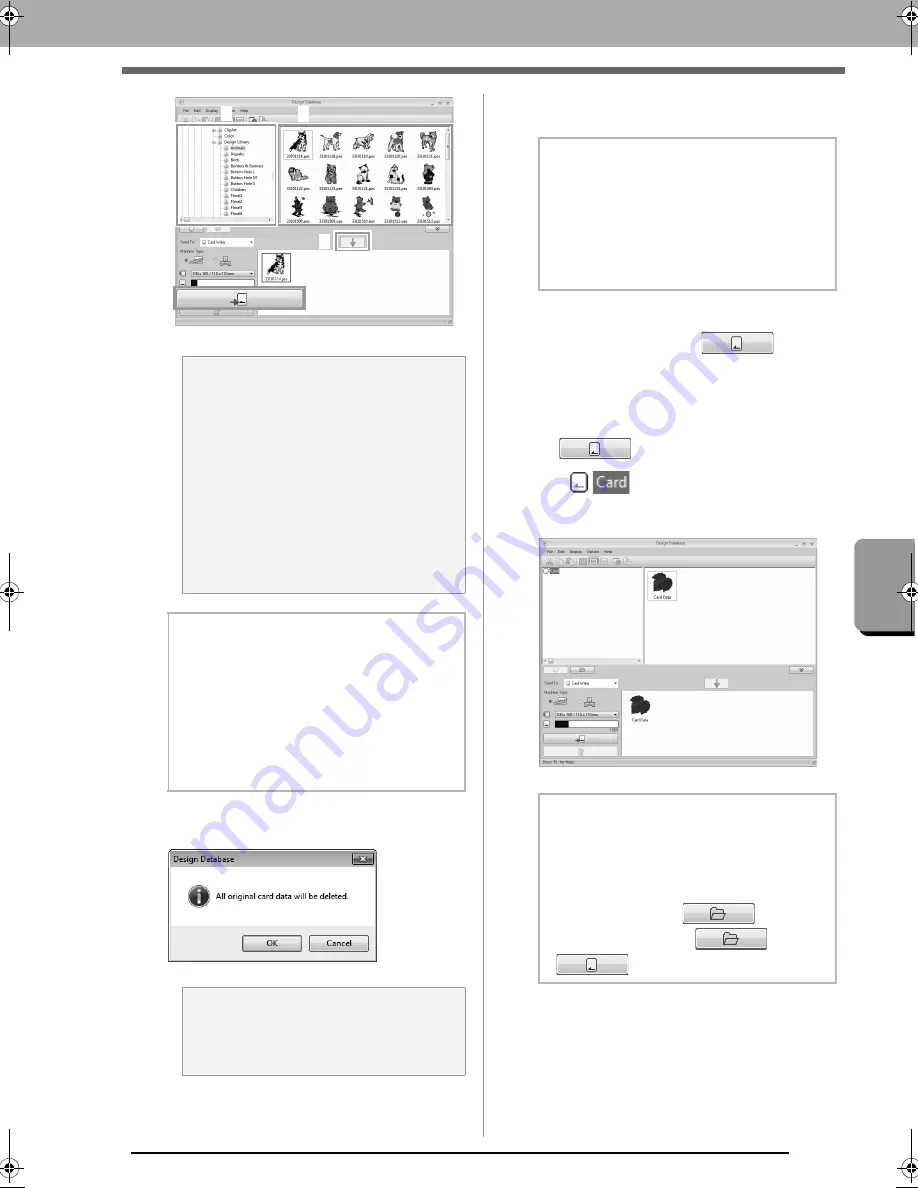
If the files are to be written to an original card,
the following message appears. Click
OK
.
10.
When a message appears, indicating that
writing is finished, click
OK
.
• To rewrite the embroidery files written on
the original card, click
to select
those files, and move files to the writing list
in the same manner.
• To check the embroidery design file being
written to the original card, click
.
appears in the folder pane, and
all embroidery designs written to the
original card appear in the contents pane.
a
Note:
• An embroidery design for the jumbo frame
cannot be transferred to the machine by
using an original card.
• If the pattern in the selected embroidery
file is larger than the hoop size selected in
step 6, or the number of stitches or
number of colors for the pattern exceeds
the maximum for the hoop selected in step
6, that file cannot be added to the writing
list. Only the embroidery designs
displayed in the writing list will be written to
the original card.
b
Memo:
• Embroidery files can also be added to the
writing list by right-clicking the file, then
clicking
Add to Writing List
, or by selecting
a file in the contents pane and dragging it to
the writing list.
• A file can also be removed from the writing
list by right-clicking it in the writing list, then
clicking
Remove from Writing List
.
a
Note:
Do not remove the card or unplug the USB
cable while designs are being written to the
card (while the LED indicator is flashing).
4
2
3
1
b
Memo:
Patterns created on a custom-sized Design
Page are written to cards split into their
various hoop sections.
c
Note of “Transferring to a
machine by using an original
card” on page 174
b
Memo:
• Embroidery designs written to the original
card appear as “
Card Data
” in the contents
pane.
• To display the contents of the folder in the
contents pane, click
. Switch
the display by clicking
and
.
XE8656-001.book Page 219 Monday, May 24, 2010 5:44 PM


