


4-5
Confidential
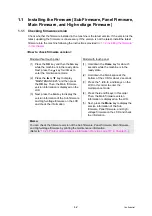
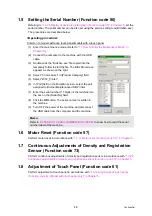
1.5 Setting the Serial Number (Function code 80)
“1.3.26 Display of device log information (Function code 80)” in Chapter 5
, set the
serial number. The serial number can be also set using the service setting tool (BrUsbsn.exe).
The procedures are described below.
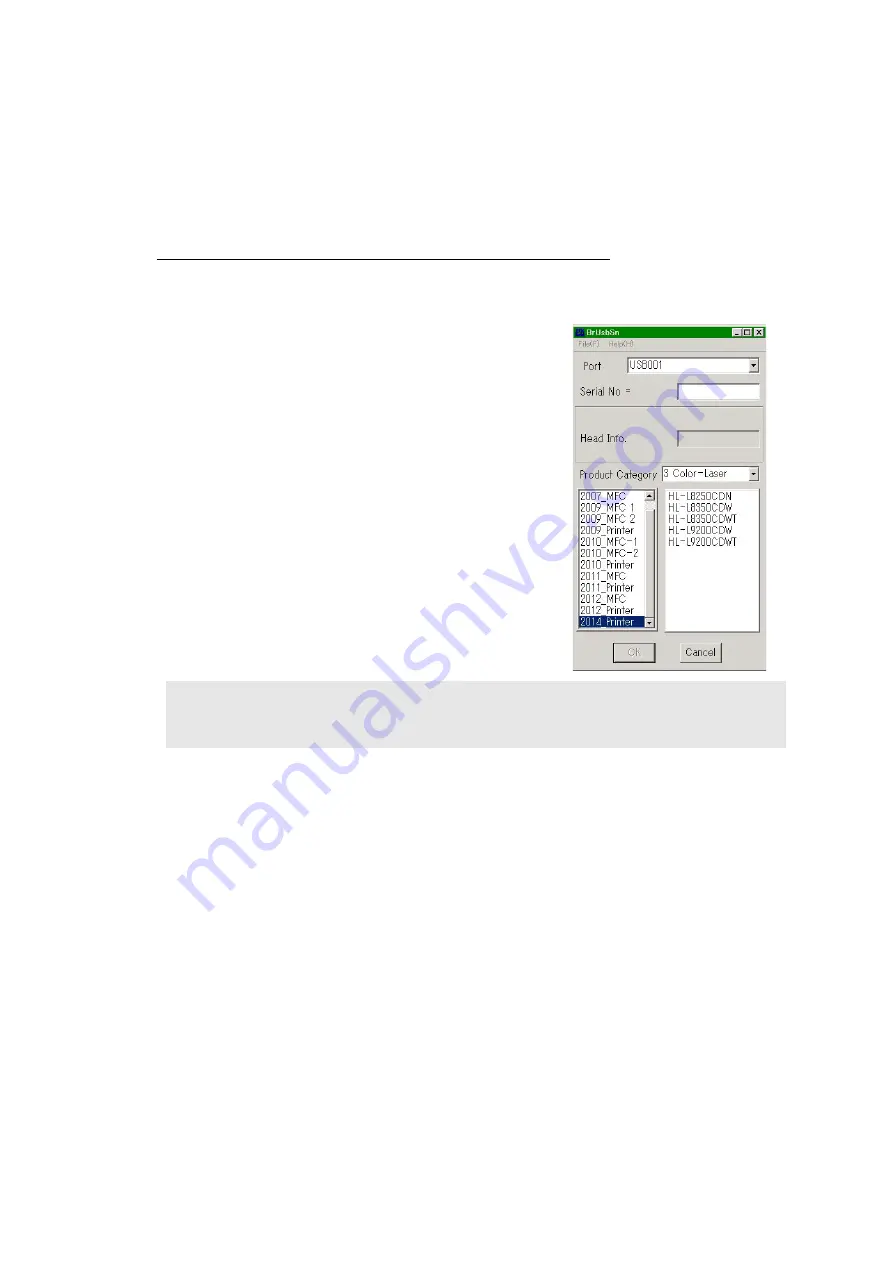
<Operating procedure>
Common to models without a touch panel/models with a touch panel
(1) Enter the maintenance mode. (Refer to
“1.1 How to Enter the Maintenance Mode” in
.)
(2) Connect the computer to the machine with the USB
cable.
(3) Double-click the “BrUsbsn.exe” file copied into the
temporary folder to start the file. The BrUsbSn screen
appears as shown on the right.
(4) Select “3 Color-Laser” in [Product Category] field.
(5) Select “2014_Printer”.
(6) In [Port] field on the BrUsbSn screen, select the port
assigned to Brother Maintenance USB Printer.
(7) Enter the serial number (15 digits) of the machine into
the box on the [Serial No] field.
(8) Click the
OK
button. The serial number is written in
the machine.
(9) Turn OFF the power of the machine, and disconnect
the USB cable from the computer and the machine.
1.6 Motor Reset (Function code 57)
Perform motor reset in accordance with
“1.3.13 Motor reset (Function code 57)” in Chapter 5
.
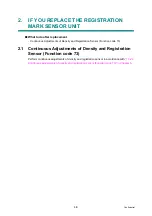
1.7 Continuous Adjustments of Density and Registration
Sensor (Function code 73)
Perform continuous adjustments of density and registration sensor in accordance with
Continuous adjustments of density and registration sensor (Function code 73)” in Chapter 5
.
1.8 Adjustment of Touch Panel (Function code 61)
Perform adjustment of touch panel in accordance with
“1.3.14 Adjustment of touch panel
(Function code 61) (Model with touch panel only)” in Chapter 5
.
Memo:
“APPENDIX 1 SERIAL NUMBERING SYSTEM”
to know how to read the serial
number label of the machine.


