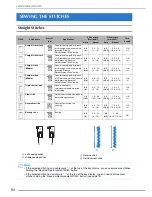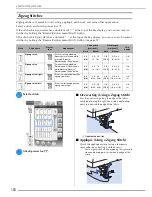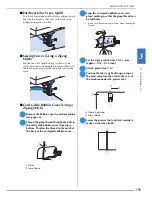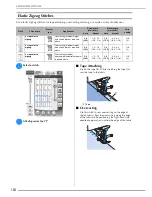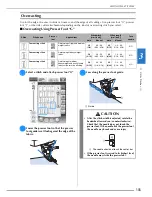
SEWING THE STITCHES
U
tili
ty
S
tit
ch
es
95
3
a
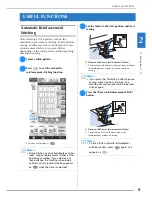
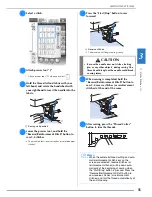
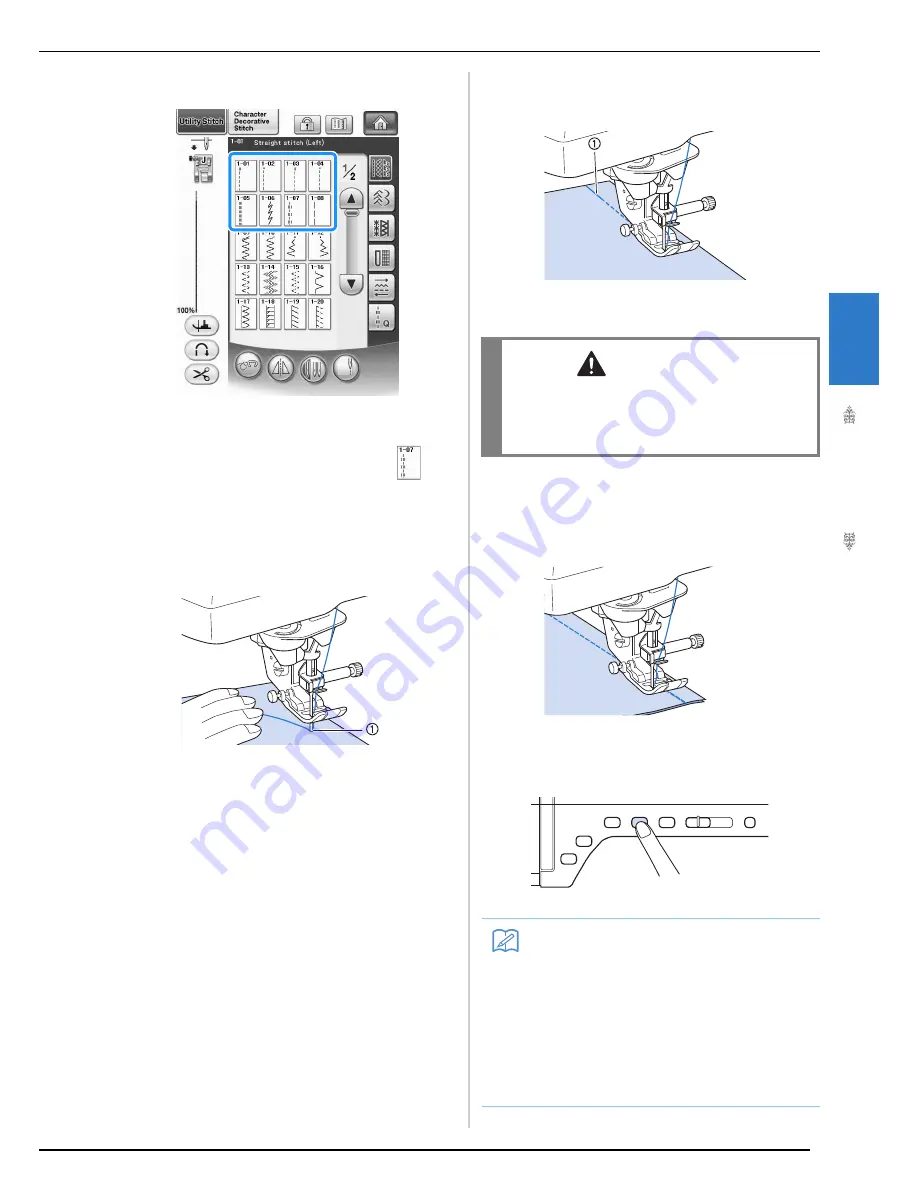
Select a stitch.
b
Attach presser foot “J”.
*
Attach presser foot “N” when you select
.
c
Hold the thread tail and fabric with your
left hand, and rotate the handwheel with
your right hand to insert the needle into the
fabric.
a
Sewing start position
d
Lower the presser foot, and hold the
“Reverse/Reinforcement Stitch” button to
sew 3-4 stitches.
→
The machine sews reverse stitches (or reinforcement
stitches).
e
Press the “Start/Stop” button to sew
forward.
a
Reverse stitches
→
The machine will begin sewing slowly.
f
When sewing is completed, hold the
“Reverse/Reinforcement Stitch” button to
sew 3-4 reverse stitches (or reinforcement
stitches) at the end of the seam.
g
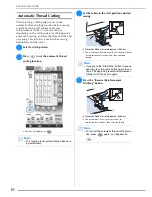
After sewing, press the “Thread Cutter”
button to trim the threads.
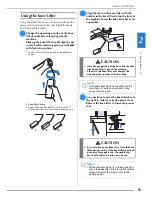
CAUTION
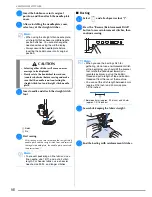
• Be sure the needle does not strike a basting
pin, or any other objects, during sewing. The
thread could tangle or the needle could break,
causing injury.
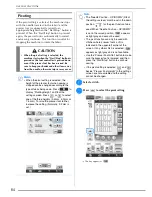
Memo
• When the automatic thread cutting and auto-
matic reinforcement stitch keys on the
screen are selected, reverse stitches (or
reinforcement stitches) will be sewn auto-
matically at the beginning of sewing when
the “Start/Stop” button is pressed. Press the
“Reverse/Reinforcement Stitch” button to
sew reverse stitches (or reinforcement
stitches) and trim the thread automatically at
the end of sewing.
Summary of Contents for 882-W04
Page 7: ...IMPORTANT SAFETY INSTRUCTIONS 5 ...
Page 72: ...CHANGING THE NEEDLE 70 ...
Page 90: ...USEFUL FUNCTIONS 88 ...
Page 186: ...USING THE MEMORY FUNCTION 184 ...
Page 326: ...TROUBLESHOOTING 324 ...
Page 338: ...USING STORED CUSTOM STITCHES 336 ...
Page 373: ......
Page 374: ......
Page 375: ......
Page 376: ...English 882 W04 W05 XF0228 0011 Printed in Taiwan ...

