LCD SCREEN
40
■
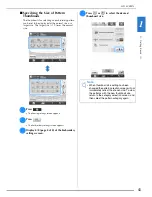
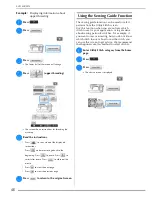
Changing the Screen Saver Image
Instead of the default image, you can select your
own personal images for the screen saver of your
machine.
Before changing the screen saver image, prepare the
image on your computer or USB media.
Compatible image files
a
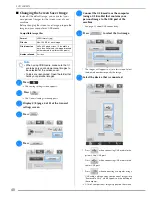
Press .
→
The Sewing settings screen appears.
b
Press
.
→
The General settings screen appears.
c
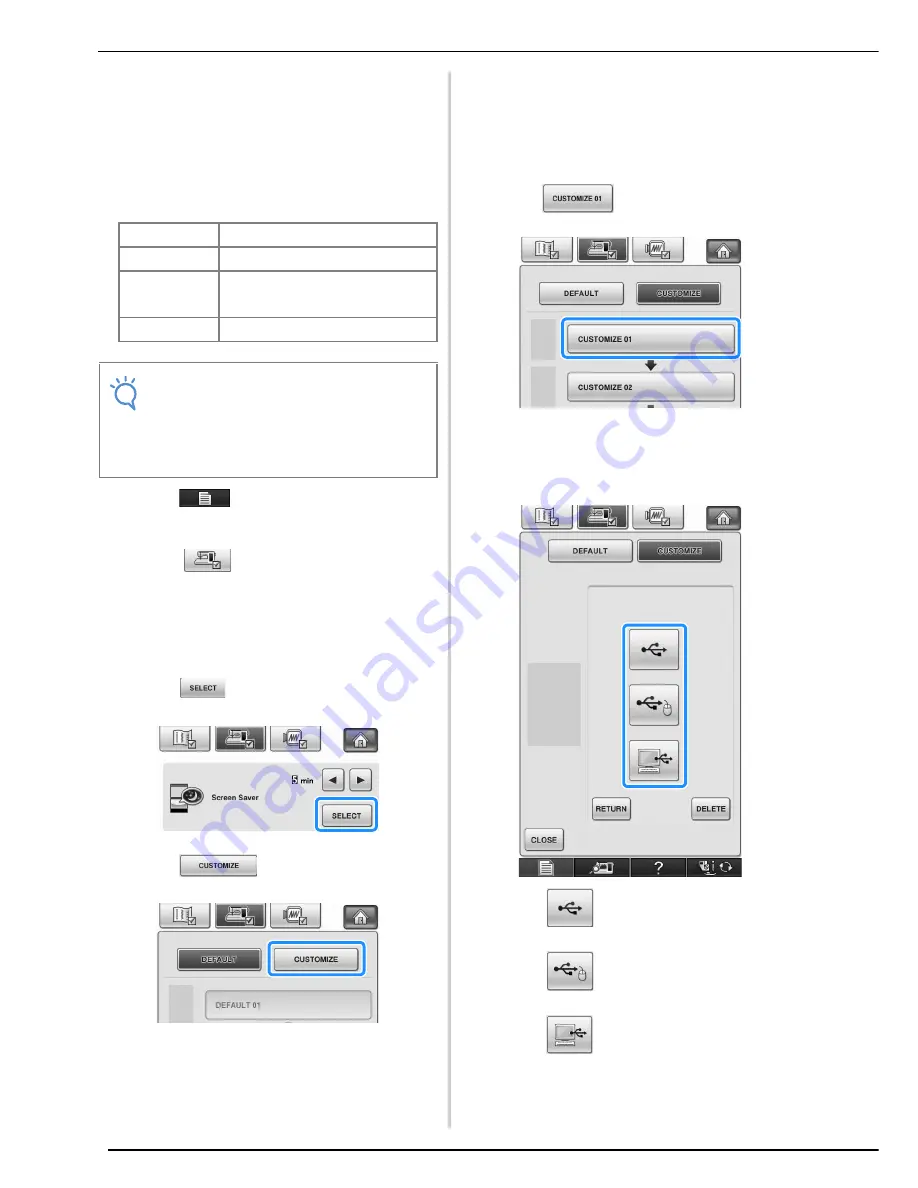
Display 4/8 (page 4 of 8) of the General
settings screen.
d
Press .
e
Press .
f
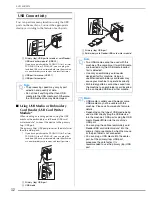
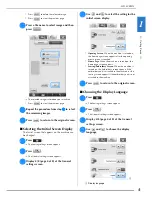
Connect the USB media or the computer
(using a USB cable) that contains your
personal image to the USB port of the
machine.
*
See page 32 about USB connectivity.
g
Press
to select the first image.
*
The images will appear in a list in this screen. Select
the desired number to specify the image.
h
Select the device that is connected.
*
Press
when connecting USB media to the
primary (top) USB port.
*
Press
when connecting USB media to the
center USB port.
*
Press
when connecting a computer using a
USB cable, and then copy your personal images into
“Removable Disk”, which appears on the desktop of
the computer.
→
A list of your personal images appear on the screen.
Format
JPEG format (.jpg)
File size
Max. 150 KB for each image
File dimension
480 × 800 pixels or less, (If the width is
more than 480 pixels, the image imported
will be reduced to a width of 480 pixels.)
Number allowed
5 or less
Note
• When using USB media, make sure that it
contains only your own personal images to
be selected for the screen saver.
• Folders are recognized. Open the folder that
holds your personal images.
Summary of Contents for 882-W04
Page 7: ...IMPORTANT SAFETY INSTRUCTIONS 5 ...
Page 72: ...CHANGING THE NEEDLE 70 ...
Page 90: ...USEFUL FUNCTIONS 88 ...
Page 186: ...USING THE MEMORY FUNCTION 184 ...
Page 326: ...TROUBLESHOOTING 324 ...
Page 338: ...USING STORED CUSTOM STITCHES 336 ...
Page 373: ......
Page 374: ......
Page 375: ......
Page 376: ...English 882 W04 W05 XF0228 0011 Printed in Taiwan ...

