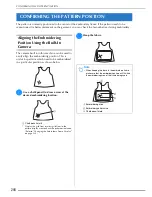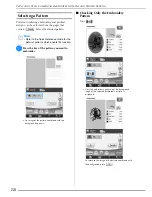
CONFIRMING THE PATTERN POSITION
210
j
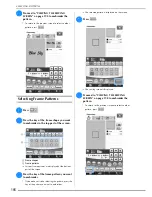
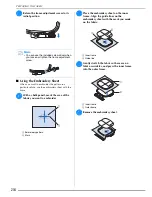
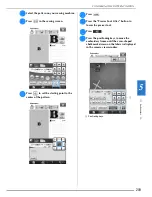
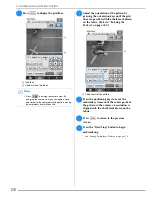
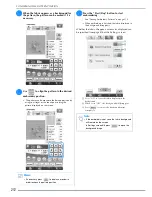
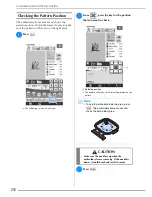
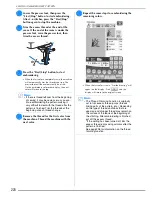
Press
to display the grid lines.
a
Grid lines
b
Chalk mark on the fabric
k
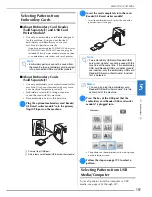
Adjust the orientation of the pattern by
pressing the orientation keys until the grid
lines are parallel with the chalk mark drawn
on the fabric. (Refer to “Rotating the
Pattern” on page 242.)
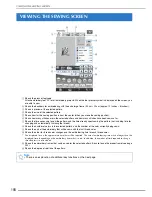
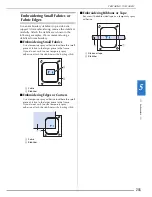
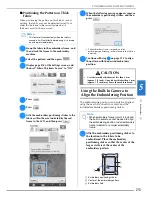
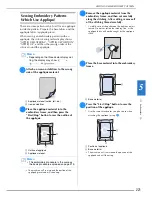
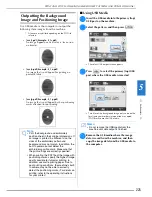
a
Center point of the pattern
l
Press the positioning keys to move the
embroidery frame until the center point of
the pattern in the camera view window is
aligned with the chalk mark drawn on the
fabric.
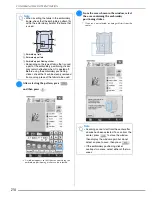
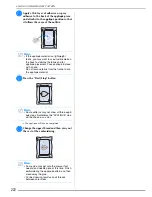
m
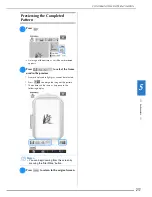
Press
to return to the previous
screen.
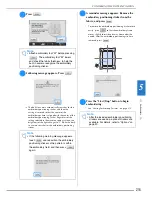
n
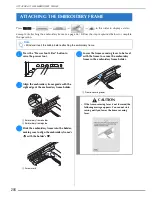
Press the “Start/Stop” button to begin
embroidering.
*
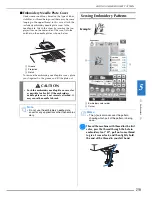
See “Sewing Embroidery Patterns” on page 219.
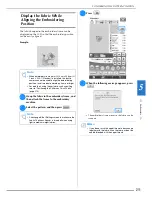
Memo
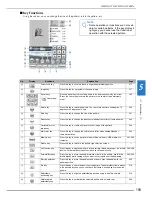
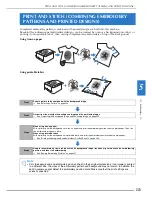
• Press
to enlarge the camera view. By
enlarging the camera view, you can make a close
adjustment for the center point of the pattern moving
the embroidery frame little by little.
a
b
a
Summary of Contents for 882-W04
Page 7: ...IMPORTANT SAFETY INSTRUCTIONS 5 ...
Page 72: ...CHANGING THE NEEDLE 70 ...
Page 90: ...USEFUL FUNCTIONS 88 ...
Page 186: ...USING THE MEMORY FUNCTION 184 ...
Page 326: ...TROUBLESHOOTING 324 ...
Page 338: ...USING STORED CUSTOM STITCHES 336 ...
Page 373: ......
Page 374: ......
Page 375: ......
Page 376: ...English 882 W04 W05 XF0228 0011 Printed in Taiwan ...

