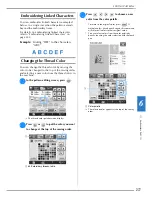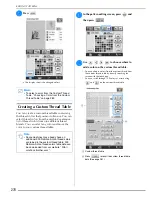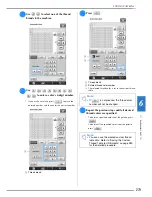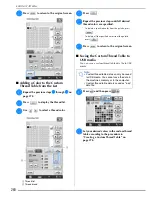
EDITING PATTERNS
Embr
oi
de
ry
E
dit
291
6
Embroidering the Pattern
Repeatedly
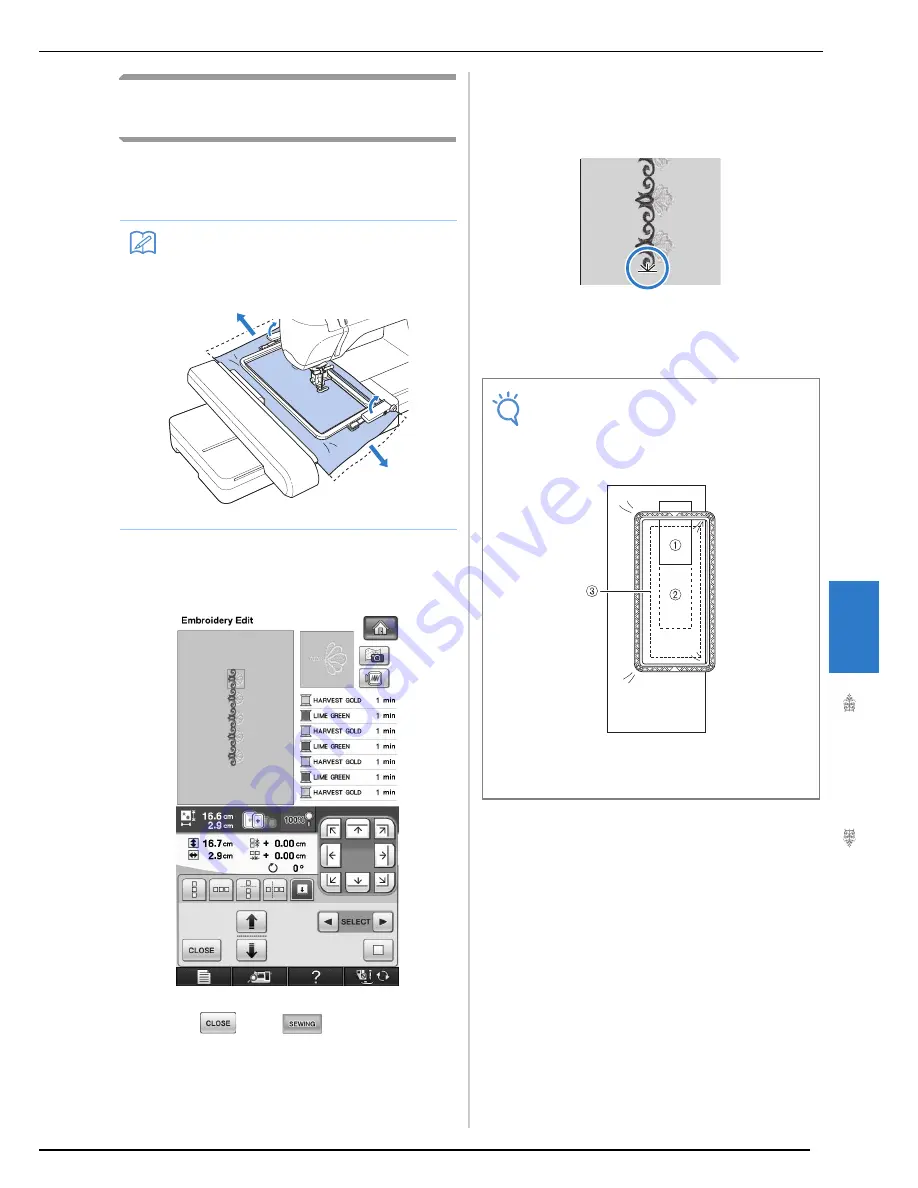
After creating the repeated pattern, rehoop the
embroidery frame and keep sewing for the next
pattern.
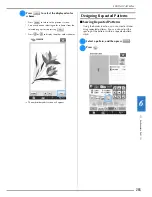
a
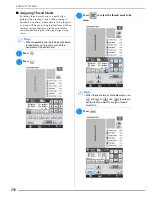
Create the repeated pattern with the thread
mark at the center of the end of the pattern.
*
Refer to “Assigning Thread Marks” on page 290.
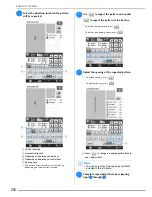
b
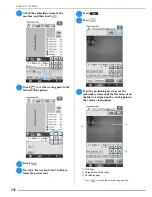
Press ,
then .
c
Press the “Start/Stop” button to begin
embroidering.
→
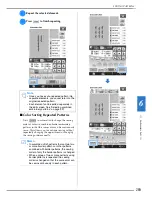
When embroidering is finished, the thread mark is
sewn with the last thread color.
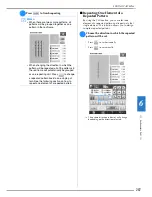
d
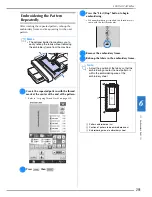
Remove the embroidery frame.
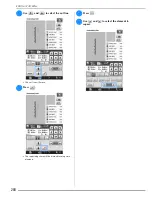
e
Rehoop the fabric in the embroidery frame.
Memo
• The optional border frame allows you to
easily rehoop the fabric without removing
the embroidery frame from the machine.
Note
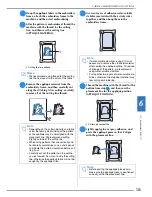
• Adjust the position of the fabric so that the
embroidering area for the next pattern is
within the embroidering area of the
embroidery sheet.
a
Pattern embroidered first
b
Position of pattern to be embroidered next
c
Embroidering area of embroidery sheet
Summary of Contents for 882-W04
Page 7: ...IMPORTANT SAFETY INSTRUCTIONS 5 ...
Page 72: ...CHANGING THE NEEDLE 70 ...
Page 90: ...USEFUL FUNCTIONS 88 ...
Page 186: ...USING THE MEMORY FUNCTION 184 ...
Page 326: ...TROUBLESHOOTING 324 ...
Page 338: ...USING STORED CUSTOM STITCHES 336 ...
Page 373: ......
Page 374: ......
Page 375: ......
Page 376: ...English 882 W04 W05 XF0228 0011 Printed in Taiwan ...

