9. Advanced operation
9.1.2
Keystone correction work
fl
ow
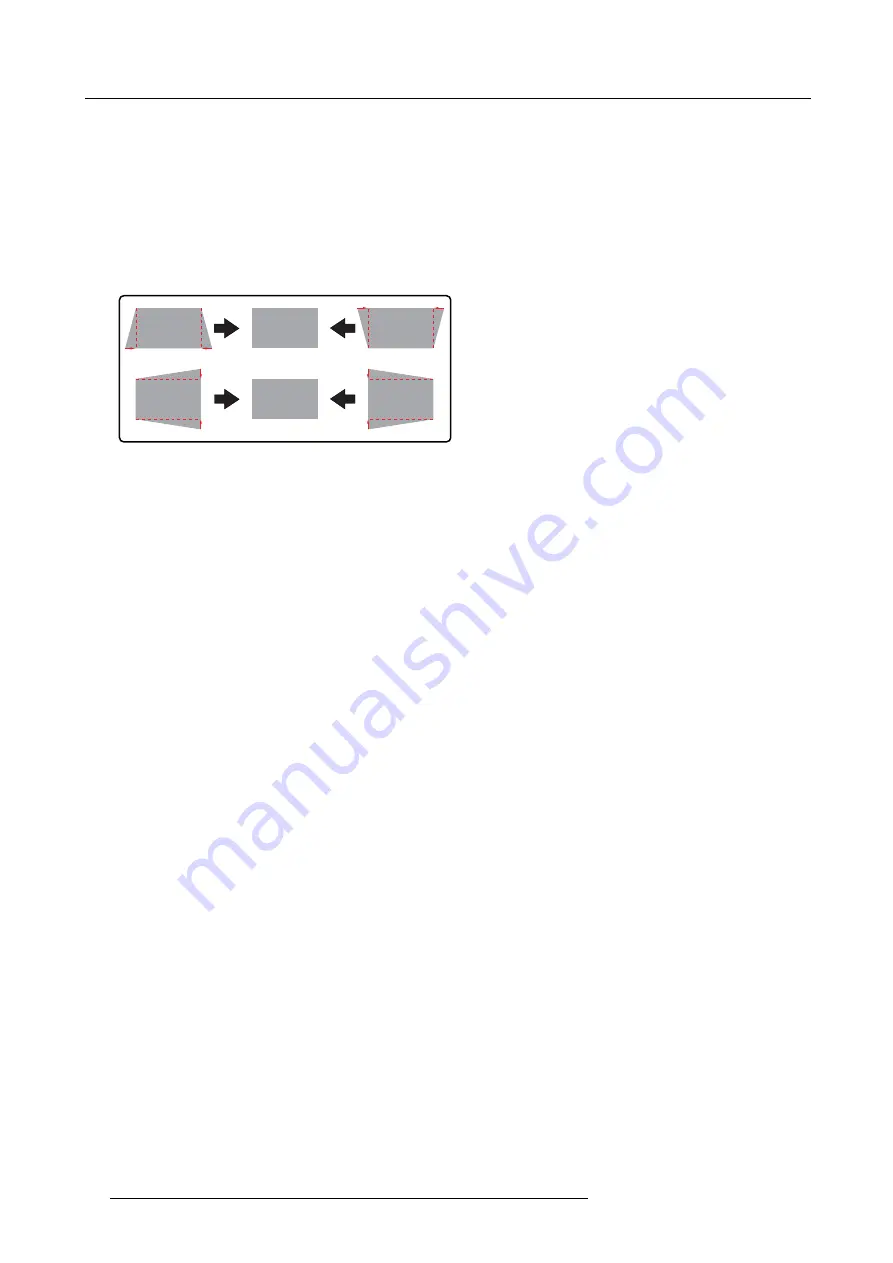
Adjusting vertical and horizontal keystone
1. Open the Geometry edit dialog for 2 x 2 mode. See "Selecting the geometry level ", page 100. The default selected anchor point
is the left top corner of the image.
2. If required, select another anchor point of this level (i.e. corner points). See "Selecting an anchor point", page 102.
3. Move the selected anchor point to the desired position. See "Moving an anchor point in small steps", page 104 and "Moving an
anchor point in large steps", page 105.
Note:
Anchor points should only be moved inside the visible image area since moving an anchor point to the outside causes
loss of image content.
Image 9-6
Keystone correction
4. Select each of the other anchor points in this level in turn and move them to the desired position to end up with a perfectly
rectangular image.
96
R5909056 MCM-400 HFR 11/05/2016
Summary of Contents for MCM-400 HFR
Page 1: ...MCM 400 HFR User Guide R5909056 02 11 05 2016 ...
Page 8: ...Table of contents 4 R5909056 MCM 400 HFR 11 05 2016 ...
Page 36: ...4 Facility and system requirements 32 R5909056 MCM 400 HFR 11 05 2016 ...
Page 53: ...6 Setup and configuration 5 Exit the menu R5909056 MCM 400 HFR 11 05 2016 49 ...
Page 60: ...6 Setup and configuration Image 6 19 56 R5909056 MCM 400 HFR 11 05 2016 ...
Page 62: ...6 Setup and configuration 58 R5909056 MCM 400 HFR 11 05 2016 ...
Page 86: ...7 Getting started 82 R5909056 MCM 400 HFR 11 05 2016 ...
Page 154: ...10 Expert operation Image 10 61 150 R5909056 MCM 400 HFR 11 05 2016 ...
Page 161: ...10 Expert operation Image 10 68 R5909056 MCM 400 HFR 11 05 2016 157 ...
Page 176: ...11 Maintenance 172 R5909056 MCM 400 HFR 11 05 2016 ...
Page 192: ...12 MCM 400 HFR tools 188 R5909056 MCM 400 HFR 11 05 2016 ...
Page 204: ...14 RCU Control 200 R5909056 MCM 400 HFR 11 05 2016 ...
Page 208: ...15 Environmental information Image 15 1 204 R5909056 MCM 400 HFR 11 05 2016 ...


