


Installation
33
Notes:
•
The video inputs cannot be connected in loop-through
(daisy-chain).
•
The required video amplitude: 700 mV ± 3 dB.
•
The required sync. amplitude:
• VS input: 700 mV to 4 V
• HS/CS input: 500 mV to 4V
• Video input (sync on video): 150 mV to 600 mV
To connect analog video & sync cables on D15:
1. Connect one end of the VGA cable to the D15 input (6) of the
display.
2. Connect the other end of the VGA cable to the video output
of your computer.
3. Route the cable so that it enters the connector compartment
at the place where the cover is bulged.
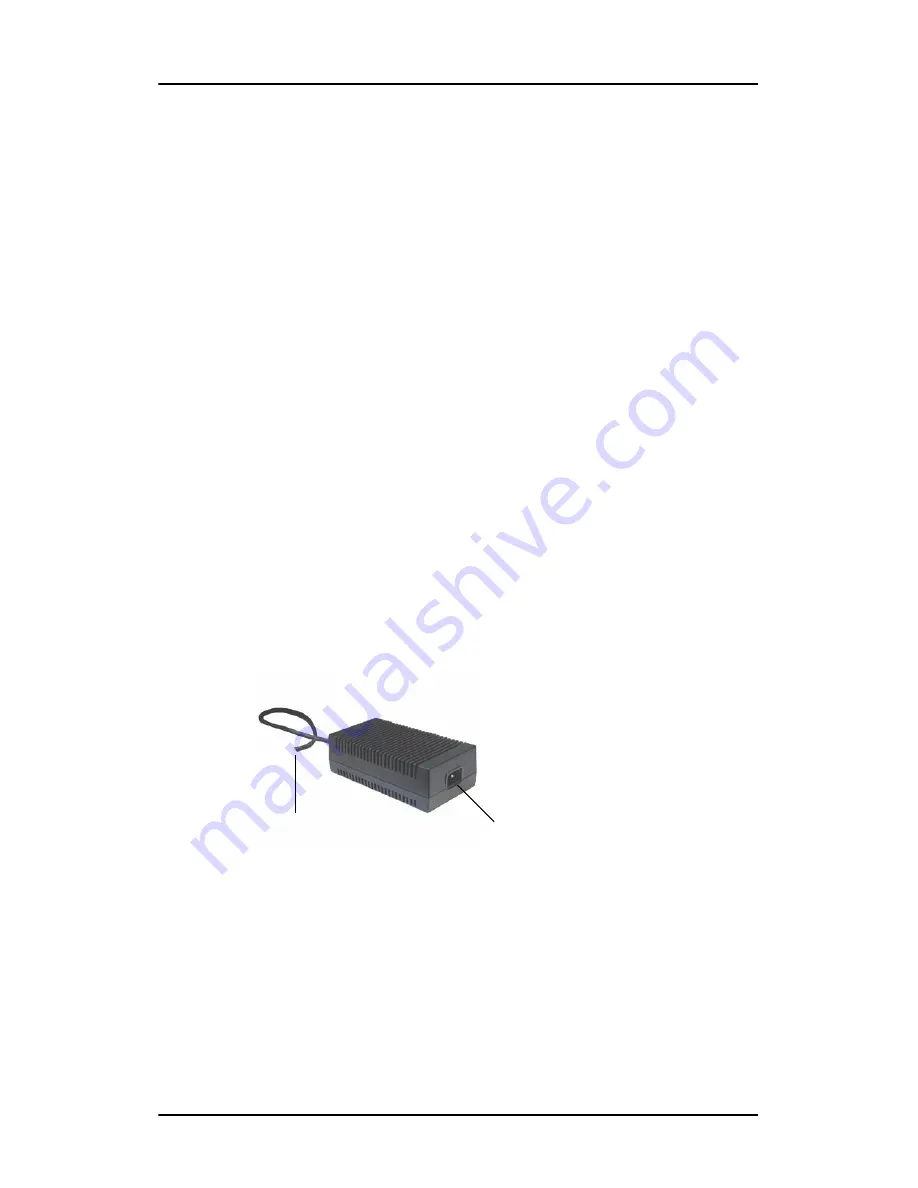
To connect the power:
Figure 10
1. Connect the output of the 12V DC power supply to the DC
input (12) of the display.
2. Connect one end of the proper power cable to the AC input
of the 12V DC power supply.
Connect to DC input
of the display
Connect one end of
power cable
Summary of Contents for CORONIS 1MP
Page 1: ...Installation User Manual Coronis 1MP...
Page 12: ...13 Display Controller Installation...
Page 13: ...Display Controller Installation 14 This page intentionally left blank...
Page 20: ...21 Display Installation...
Page 21: ...Display Installation 22 This page intentionally left blank...
Page 36: ...37 Software Installation...
Page 37: ...Software Installation 38 This page intentionally left blank...
Page 70: ...71 Display Controller Tools...
Page 71: ...Display Controller Tools 72 This page intentionally left blank...
Page 75: ...Barco Display Tab Single Source Master 76 Figure 38...
Page 88: ...BarcoMed Hardware Tab 89 Figure 44 BarcoMed Hardware Tab under Windows NT 4 0...
Page 96: ...97 Display Tools...
Page 97: ...Display Tools 98 This page intentionally left blank...
Page 109: ...Barco DPMS Screen Saver Single Source Master 110 This page intentionally left blank...
Page 113: ...Barco I Switch Software 114 This page intentionally left blank...
Page 114: ...115 Display Operation...
Page 115: ...Display Operation 116 This page intentionally left blank...
Page 148: ...149 MediCal Software Installation and Operation...
Page 149: ...MediCal Software Installation and Operation 150 This page intentionally left blank...
Page 152: ...153 Troubleshooting...
Page 153: ...Troubleshooting 154 This page intentionally left blank...
Page 166: ...Single Source Master Driver re installation updates or removal 167...


