32
4. Phoenix-Q Configuration
The Avitech Phoenix-Q program requires no installation. Just copy the system files to the
computer’s
hard drive. This chapter introduces the Phoenix-Q software for setting up the Rainier 3G Plus.
1. Make sure the Rainier 3G Plus is powered on and properly connected to the computer through an
Ethernet cable before launching the Phoenix-Q software.
2.
DO NOT
use the serial cable to connect the Rainier 3G Plus to the computer. The serial port is for
connecting to a TSL controller/interface.
4.1 Connection Method
Connect the Rainier 3G Plus to the controlling computer through an Ethernet cable (IP address).
Before connecting the computer to the Rainier 3G Plus, the computer will need to be changed to a static
IP, and its subnet mask m
ust be set to a similar range as the Rainier 3G Plus (e.g., ”192.168.0.5” –
factory-default setting). Or, the IP address of the Rainier 3G Plus Master chassis must be changed to a
similar range as the controlling computer. See Appendix D for details on setting up an IP connection.
4.2 Pinging the Rainier 3G Plus
Make sure to be able to ping the chassis
at “192.168.0.5” (factory-default IP address).
Step 1. Run the Phoenix-Q software by double-clicking
Phoenix-Q.exe
.
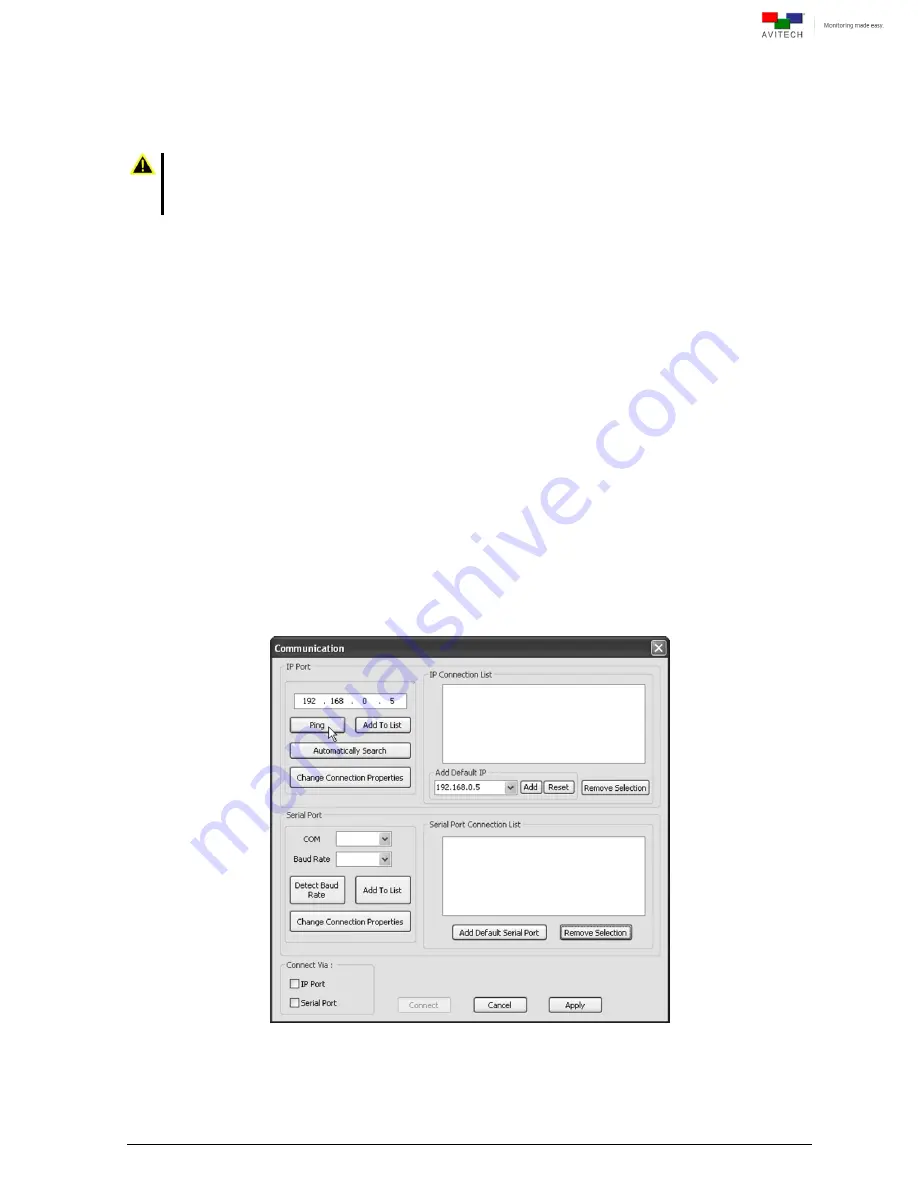
Step 2. Enter the factory-default IP address
192.168.0.5
. Then click
Ping
.
Figure 4-1
Enter the IP Address to Ping


