


Getting Started
QL-120 User Guide
48
Advanced Network Installation
The driver installation wizard provides the ability to install the printer via a network connection.
Using the driver installation wizard is the easiest way to install the printer for most users.
Advanced users and system administrators may prefer to install the driver using standard
Windows processes from the Devices and Printers window. In this situation, you must set up a
Standard TCP/IP Port for the printer.
As part of the setup process, you will need to change the port number in the custom settings.
1.
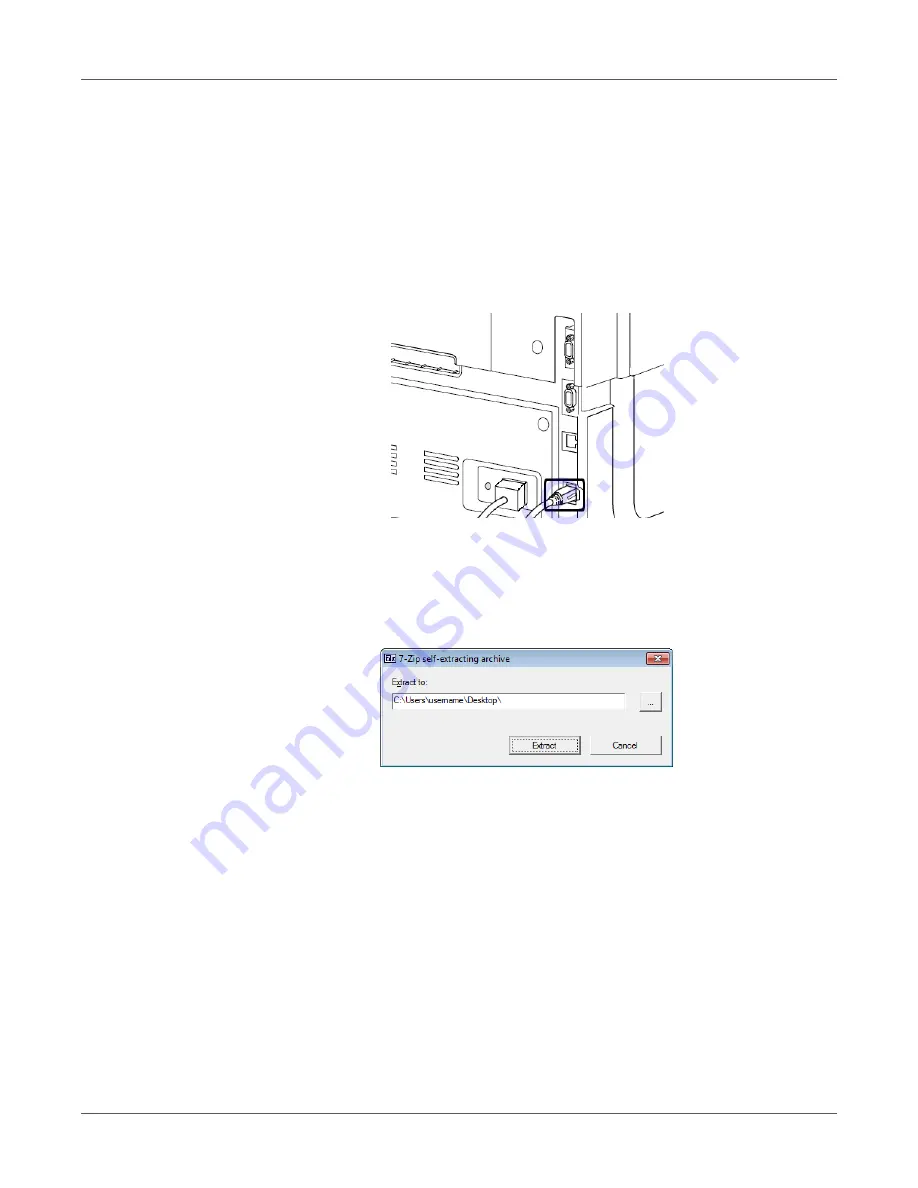
Ensure the printer is powered on and connected to the network via a LAN cable.
2.
Download the QL-120 driver from https://quicklabel.com/support/downloads/. Save the
file to your desktop for convenience. This file is a self-extracting executable file with
a .exe extension.
Important: Wait until the download has completed before continuing to the next step.
3.
Double-click the installer file. The archive window will open.
4.
Select the
Extract
button. A new folder will be created on the desktop. This folder has
the same name as the original installer file you downloaded.
5.
Open the appropriate printer window based on your version of Windows.
•
In Windows 7, choose
Start > Devices and Printers
.
•
In Windows 8, access the
Search
option by pointing to the upper-right corner of the
screen. Search for “Control Panel” and click the
Control Panel
icon. In the Control
Panel window, click
View Devices and Printers
.
•
In Windows 10, choose
Start > Control Panel > View Devices and Printers
.
Summary of Contents for QuickLabel Kiaro! QL-120
Page 1: ...U S E R G U I D E...


