Getting Started
QL-120 User Guide
47
Advanced Installation Topics
Viewing and Configuring IP Address Settings Before Network Installation
Knowing the IP address settings of the printer can be helpful when installing the printer via a
network connection.
Before installing the printer via a network connection, you can first install it using a USB
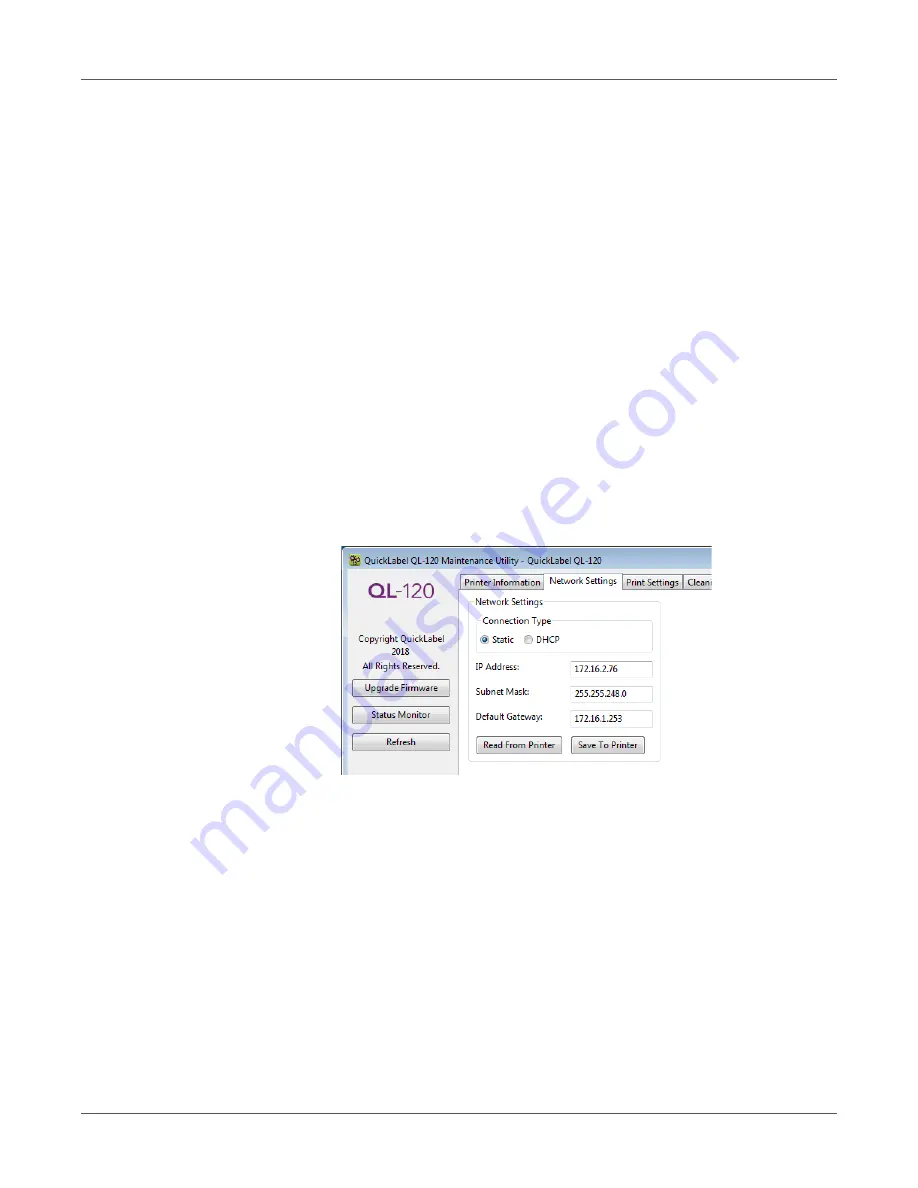
connection. This will allow you to access the QL-120 Maintenance Utility. You can use the
QL-120 Maintenance Utility to view and modify networking information for the printer.
1.
Install the QL-120 driver and connect to the printer via USB.
2.
Launch the QL-120 Maintenance Utility.
From the Windows Start Menu, choose
Start > All Programs > QuickLabel QL-120 >
QL-120 Maintenance Utility
. A language and printer prompt will open.
Select a display language and the QL-120 series printer you want to connect to. Choose
OK
.
3.
Choose the
Network Settings
tab.
4.
To read the network settings from the printer and set the controls accordingly, choose
Read From Printer
. The IP settings will be displayed.
5.
To configure the printer with a static IP address, choose
Static
.
Enter the
IP Address
,
Subnet Mask
, and
Default Gateway
for the printer.
6.
To configure the printer for Dynamic Host Configuration Protocol (DHCP), choose
DHCP
.
7.
To save the network settings, choose
Save to Printer
. A message will appear and you
will be prompted to restart the printer.
•
If you choose
Restart Printer
, the printer will be restarted and networking settings
will take effect when the printer powers up.
•
If you choose
Close
, you will return to the
Network Settings
tab and the printer
will not be restarted. You will need to restart the printer later for networking settings
to take effect.
Summary of Contents for QuickLabel Kiaro! QL-120
Page 1: ...U S E R G U I D E...


