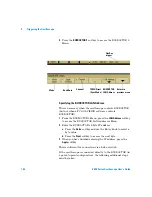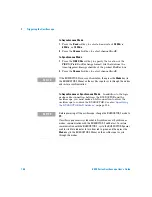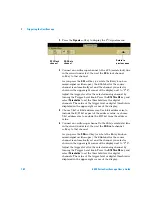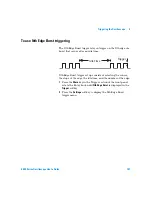
Triggering the Oscilloscope
4
6000 Series Oscilloscope User’s Guide
155
Note that the BUSDOCTOR is shipped pre-configured with an IP
address of 192.168.80.<serial number>, and a subnet mask of
255.255.240.0. See the DECOMSYS::BUSDOCTOR 2 user manual
for more information.
4
Set the oscilloscope’s IP address:
1
Press
Utility
&
IO
&
Control
. Deselect the LAN check box
(turn it off).
2
Press the
LAN Settings
softkey.
3
Press the
Config
softkey. Deselect
DHCP
and
AutoIP
.
4
Press the
Address
softkey. Press the
Modify
softkey. Set the
oscilloscope’s IP address to 192.168.80.1 (the last number
in the IP address must be different from the
BUSDOCTOR’s). Press the
Apply
softkey.
5
Press the
Modify
softkey twice. Set the oscilloscope’s
Subnet mask to 255.255.240.0. Press the
Apply
softkey.
6
Press the
Modify
softkey twice. Set the oscilloscope’s
Gateway IP to 192.168.80.1. Press the
Apply
softkey.
Selecting the BUSDOCTOR 2 Control/Operating Mode
1
In the BUSDOCTOR 2 Menu (see
Mode
softkey to select one of
these operating modes:
•
PC
— PC with VISION software controls BUSDOCTOR.
•
Asynchronous
— oscilloscope controls BUSDOCTOR,
asynchronous monitoring mode.
•
Synchronous
— oscilloscope controls BUSDOCTOR,
synchronous monitoring mode.
In PC Mode
There is no need to specify additional options or
connect the oscilloscope to the BUSDOCTOR’s (ethernet) LAN
control interface. The BUSDOCTOR must be connected to the
PC via LAN.
Summary of Contents for InfiniiVision DSO6014L
Page 2: ...Agilent Technologies Agilent 6000 Series Oscilloscopes User s Guide...
Page 59: ...58 6000 Series Oscilloscope User s Guide 1 Getting Started...
Page 109: ...108 6000 Series Oscilloscope User s Guide 2 Front Panel Controls...
Page 125: ...124 6000 Series Oscilloscope User s Guide 3 Viewing and Measuring Digital Signals...
Page 251: ...250 6000 Series Oscilloscope User s Guide 5 Making Measurements...
Page 287: ...286 6000 Series Oscilloscope User s Guide 6 Displaying Data Interpreting Decoded LIN Data...
Page 321: ...320 6000 Series Oscilloscope User s Guide 7 Saving and Printing Data...
Page 370: ......


