101
USING PHOTOSHOP LIGHTROOM 2
Developing photos
Reading image histograms
A
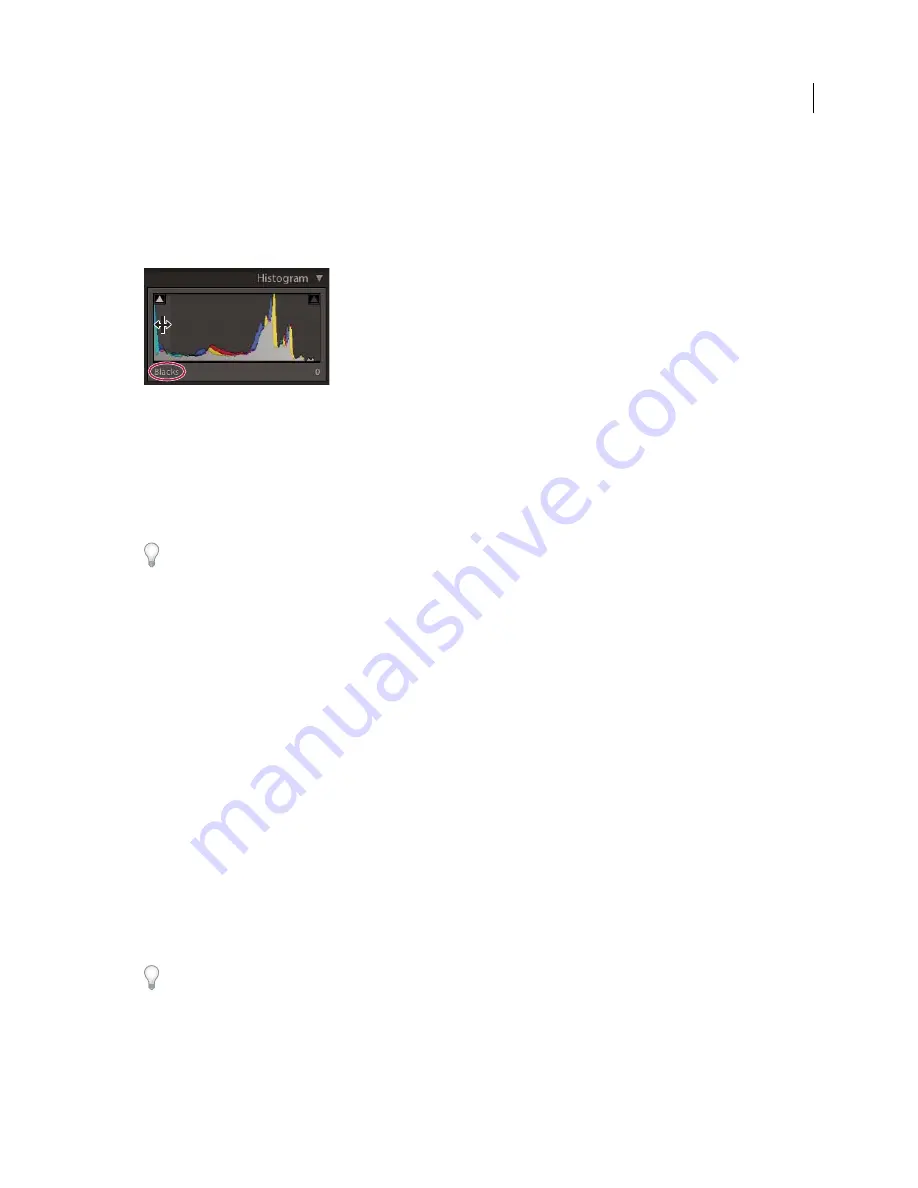
histogram
is a representation of the number of pixels in a photo at each luminance percentage. A histogram that
stretches from the left side of the panel to the right side indicates a photo that takes full advantage of the tonal scale. A
histogram that doesn’t use the full tonal range can result in a dull image that lacks contrast. A histogram with spikes
at either end indicates a photo with shadow or highlight clipping. Clipping can result in the loss of image detail.
The left side of the histogram represents pixels with 0% luminance; the right side represents 100% luminance.
A histogram is made up of three layers of color that represent the Red, Green, and Blue color channels. Gray appears
when all three channels overlap; yellow, magenta, and cyan appear when two of the RGB channels overlap (yellow
equals the Red + Green channels, magenta equals the Red + Blue channels, and cyan equals the Green + Blue channels).
In the Develop module, the Histogram panel is a working tool. You can adjust the photo by adjusting the histogram
itself.
To preview shadow and highlight clipping, position the mouse over a clipping triangle in the upper-left or upper-right
corner of the Histogram. A mask of the clipped areas appears in the photo. Click a triangle to keep the mask on.
More Help topics
“
Adjust the tonal scale using the histogram
” on page 106
“
Preview highlight and shadow clipping
” on page 106
“
Adjust overall image tonal scale
” on page 105
Viewing RGB color values
The area under the Histogram in the Develop module displays the RGB color values for individual pixels appearing
under the Hand or Zoom tool when you move it over the photo.
You can use this information to determine whether any areas of the photo are clipped, such as whether an R, G, or B
value is 0% black or 100% white. If at least one channel in the clipped area has color, then you might be able to use it
to recover some detail in the photo.
Create and apply Develop presets
Presets provide a way to save a group of settings and apply them to other photos. Once you create and add a preset to
the Presets panel in the Develop module, it remains there until you delete it. It also appears in the list of Develop
settings that you can select it when you import photos.
To download a variety of third-party Develop presets, visit
www.adobe.com/go/exchange
.
Updated 03 September 2009

