Using Help
|
Contents
|
Index
Back
97
Adobe Photoshop Help
Working with Color
Using Help
|
Contents
|
Index
Back
97
5
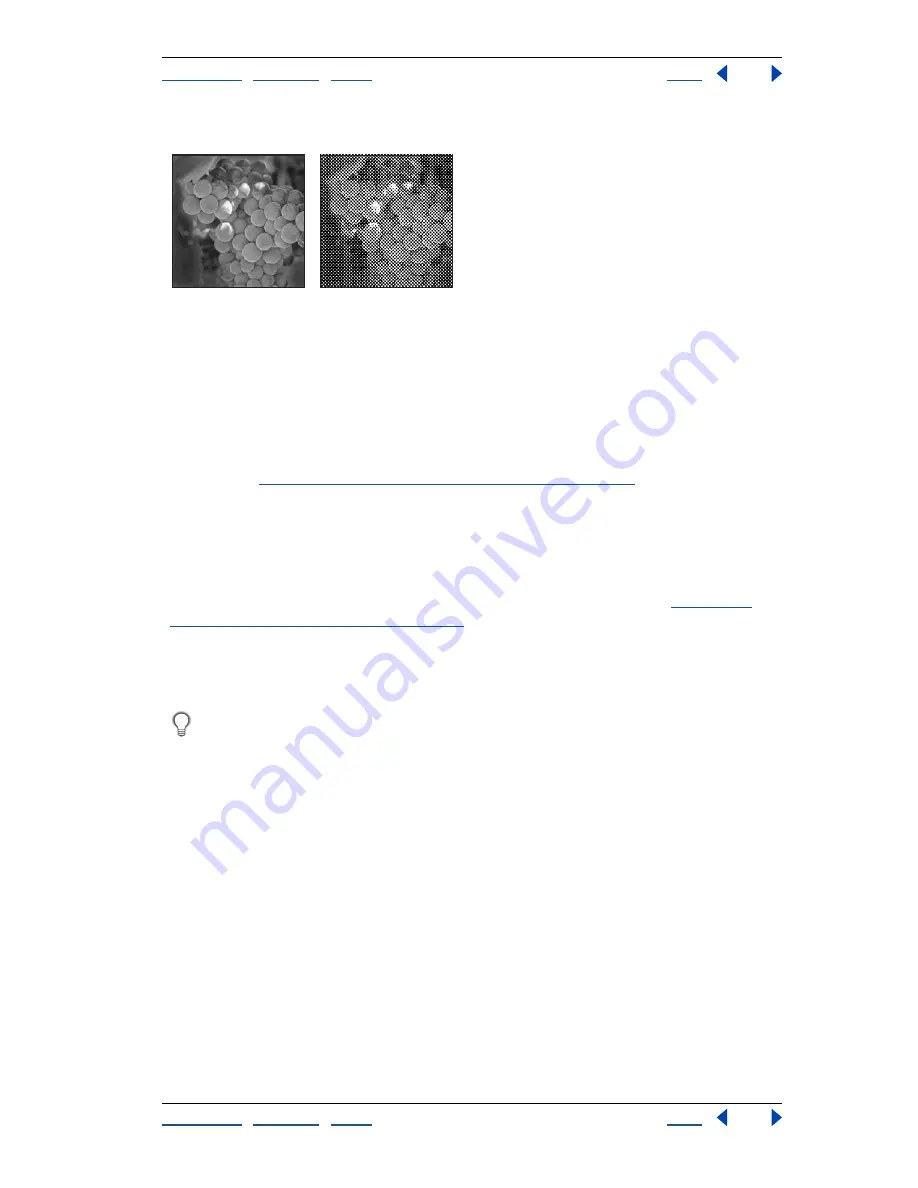
For Shape, choose the dot shape you want.
Original grayscale image, and Halftone Screen conversion: 53 lpi, 45° angle, round dot
You can save and reuse halftone screen settings by using the Save and Load buttons in the
Halftone Screen dialog box.
Specifying custom halftone screens for Bitmap-mode images
The Custom Pattern option in the Bitmap dialog box simulates the effect of printing a
grayscale image through a custom halftone screen. This method lets you apply a screen
texture, such as a wood grain, to an image. To use this option, you must first define a
pattern. (See
“Filling and stroking selections and layers” on page 249
.)
You can create a pattern representing the texture you want and then screen the grayscale
image to apply the texture. To cover the entire image, the pattern must be as large as the
image. Otherwise, the pattern will be tiled. For example, if you apply a 1-inch-by-1-inch
pattern to a 4-inch-by-4-inch image, the pattern appears as 16 squares. Adobe Photoshop
comes with several self-tiling patterns that can be used as halftone screen patterns.
(See the procedure to use a pattern from the PostScript Patterns folder in
“Filling and
stroking selections and layers” on page 249
.)
Because the Custom Pattern option simulates dark and light colors by making the halftone
pattern thicker and thinner, it makes sense to choose a pattern that lends itself to
thickness variations, typically one with a variety of gray shades.
To prepare a black-and-white pattern for conversion, you can first convert the image
to grayscale and then apply the Blur More filter several times. This blurring technique
creates thick lines tapering from dark gray to white.
Converting to indexed color (Photoshop)
Converting to indexed color reduces the number of colors in the image to at most 256—
the standard number of colors supported by the GIF and PNG-8 formats and many multi-
media applications. This conversion reduces file size by deleting color information from
the image.
To convert to indexed color, you must start with either a grayscale or RGB image.
To convert a grayscale or RGB image to indexed color:
1
Choose Image > Mode > Indexed Color.
Note:
All visible layers will be flattened; any hidden layers will be discarded.
For grayscale images, the conversion happens automatically. For RGB images, the Indexed
Color dialog box appears.
2
Select Preview the Indexed Color dialog box to display a preview of the changes.


