186
C
HAPTER
6: C
ONFIGURING
WX S
YSTEM
P
ARAMETERS
4
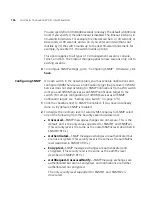
To specify the operating mode of a 10/100 Ethernet port, select
Half
for
half-duplex or
Full
for full-duplex mode.
5
To enable PoE on a 10/100 Ethernet port, select
PoE Enabled
.
CAUTION:
If you enable PoE on a port connected to a device other than
a MAP access point, hardware damage can result.
By default, PoE is disabled. To disable PoE, clear
PoE Enabled
.
6
For a gigabit Ethernet port (if supported by the switch), to disable
auto-negotiation, clear
Auto-Negotiation
. This option is enabled by
default.
7
For a gigabit Ethernet port (if supported by the switch), select the
interface you want to enable.
GBIC
—Enables the fiber interface and disables the copper interface.
RJ45
—Enables the copper interface and disables the fiber interface.
The port supports only the physical interface you select. The other
interface is disabled. The port cannot dynamically switch between one
interface and the other.
8
Click
Save
.
Enabling Link Notifications
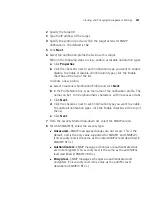
By default, notifications for link state changes are disabled. If you enable
them, SNMP link traps are sent when the port state changes, and 3WXM
also polls and monitors the status of the port. To generate the LinkDown
and LinkUp SNMP traps, you must enable this option.
You also must globally enable SNMP traps. See “Configuring a
Notification Target” on page 200.
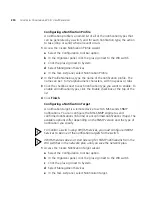
1
Access the port table:
a
Select the Configuration tool bar option.
b
In the Organizer panel, click the plus sign next to the WX switch.
c
Click the plus sign next to System.
d
Select
Ports
.
2
Select the port.
3
Click
Properties
.
4
Select
SNMP Link Traps
.
5
Click
OK
.
Summary of Contents for OfficeConnect WX4400
Page 74: ...74 CHAPTER 4 WORKING WITH NETWORK PLANS...
Page 92: ...92 CHAPTER 5 PLANNING THE 3COM MOBILITY SYSTEM Origin point...
Page 164: ...164 CHAPTER 5 PLANNING THE 3COM MOBILITY SYSTEM...
Page 244: ...244 CHAPTER 6 CONFIGURING WX SYSTEM PARAMETERS...
Page 298: ...298 CHAPTER 7 CONFIGURING WIRELESS PARAMETERS...
Page 344: ...344 CHAPTER 8 CONFIGURING AUTHENTICATION AUTHORIZATION AND ACCOUNTING PARAMETERS...
Page 410: ...410 CHAPTER 14 MANAGING ALARMS...
Page 500: ...500 CHAPTER A CHANGING 3WXM PREFERENCES...
Page 516: ...516 CHAPTER B CHANGING 3WXM SERVICES PREFERENCES...
Page 522: ...522 APPENDIX C OBTAINING SUPPORT FOR YOUR 3COM PRODUCTS...
Page 528: ...528 INDEX WX WX security enabling 67 X X 509 certificate types 383...


