


Chapter 43 Maintenance
OLT2406 User’s Guide
348
The following table describes the labels in this screen.
43.3 Load Factory Default
Follow the steps below to reset the OLT back to the factory defaults.
1
Click the
Click Her
button next to the
Load Factory Default
field.
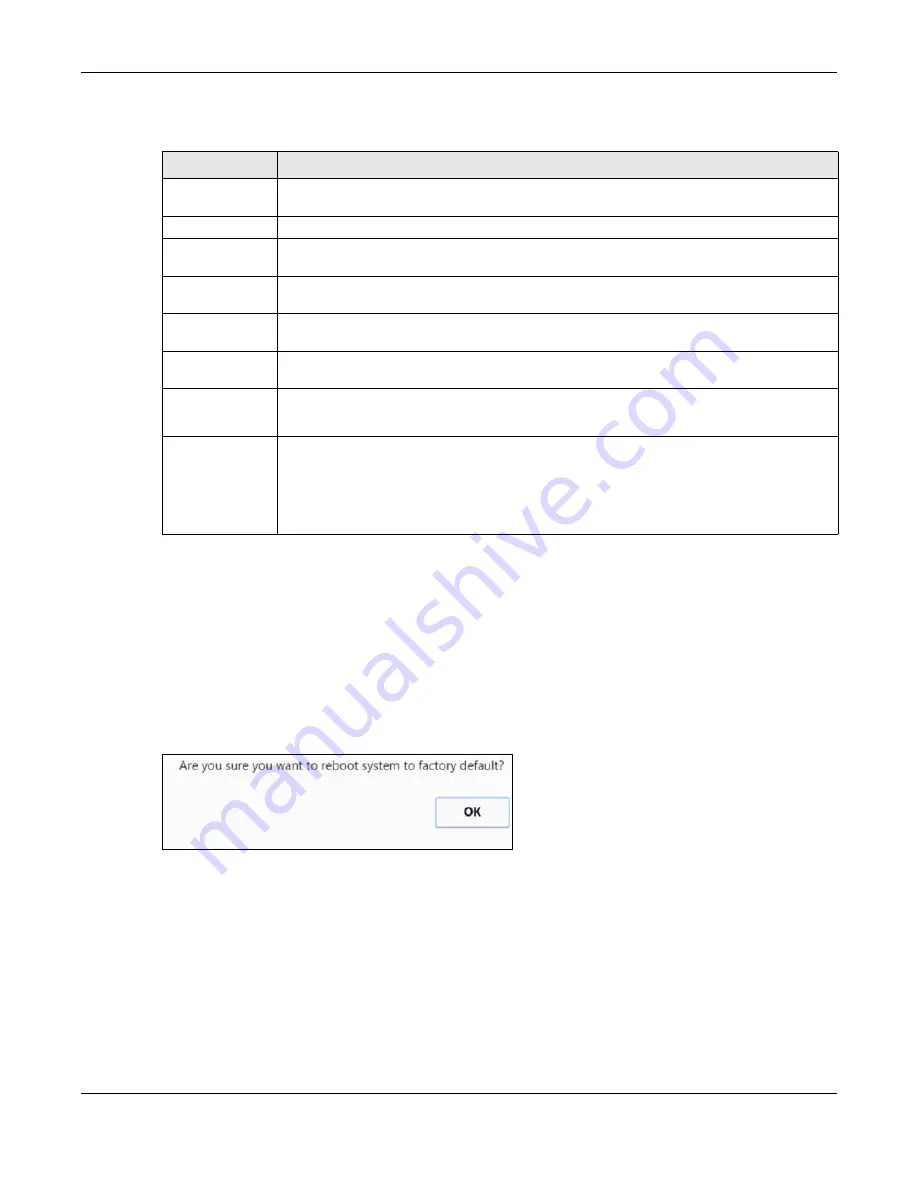
2
Click
OK
to continue or
Cancel
to abort.
Figure 213
Load Factory Default: Start
If you want to access the OLT web configurator again, you may need to change the IP address of your
computer to be in the same subnet as that of the default OLT IP address (192.168.1.1 or DHCP-assigned
IP).
43.4 Save Configuration
Click
Config 1
to save the current configuration settings permanently to
Configuration 1
on the OLT.
Click
Config 2
to save the current configuration settings permanently to
Configuration 2
on the OLT.
Table 163 Management > Maintenance
LABEL
DESCRIPTION
Current
This field displays which configuration (
Configuration 1
or
Configuration 2
) is currently operating
on the OLT.
Config
This field displays the firmware that was loaded to the OLT.
Firmware
Upgrade
Click
Click Here
to go to the
Firmware Upgrade
screen.
Restore
Configuration
Click
Click Here
to go to the
Restore Configuration
screen.
Backup
Configuration
Click
Click Here
to go to the
Backup Configuration
screen.
Load Factory
Default
Click
Click Here
to reset the current configuration of the OLT. Note that this will not reset the
configuration to the factory default settings.
Save
Configuration
Click
Config 1
to save the current configuration settings to
Configuration 1
on the OLT.
Click
Config 2
to save the current configuration settings to
Configuration 2
on the OLT.
Reboot System
Click
Config 1
to reboot the system and load
Configuration 1
on the OLT.
Click
Config 2
to reboot the system and load
Configuration 2
on the OLT.
Note: Make sure to click the
Save
button in any screen to save your settings to the
current configuration on the OLT.
Содержание OLT2406
Страница 4: ...Document Conventions OLT2406 User s Guide 4 Desktop Laptop Switch IP Phone Smart T V...
Страница 32: ...Table of Contents OLT2406 User s Guide 32 Index 758...
Страница 33: ...33 PART I Introduction and Hardware Installation...
Страница 62: ...Chapter 3 Maintenance OLT2406 User s Guide 62 Figure 36 Slide the Power Module In and Tighten the Thumbscrews...
Страница 63: ...63 PART II Web Configurator...
Страница 118: ...Chapter 9 VLAN OLT2406 User s Guide 118 Figure 74 Advanced Application VLAN VLAN Status Static VLAN...
Страница 138: ...Chapter 14 Spanning Tree Protocol OLT2406 User s Guide 138 Figure 86 Advanced Application Spanning Tree Protocol MSTP...
Страница 161: ...Chapter 18 Link Aggregation OLT2406 User s Guide 161 Your trunk group 1 T1 configuration is now complete...
Страница 179: ...Chapter 21 Classifier OLT2406 User s Guide 179 Figure 112 Classifier Example...
Страница 182: ...Chapter 22 Policy Rule OLT2406 User s Guide 182 Figure 113 Advanced Application Policy Rule...
Страница 186: ...Chapter 22 Policy Rule OLT2406 User s Guide 186 Figure 114 Policy Example...
Страница 210: ...Chapter 25 Multicast OLT2406 User s Guide 210 Figure 126 Advanced Application Multicast Multicast Setting MVR...
Страница 248: ...Chapter 28 Loop Guard OLT2406 User s Guide 248 Figure 151 Advanced Application Loop Guard...
Страница 393: ...393 PART III CLI Commands...
Страница 581: ...Chapter 78 VoIP OLT2406 User s Guide 581...
Страница 725: ...725 PART IV Troubleshooting Specifications Appendices and Index...


