63
×
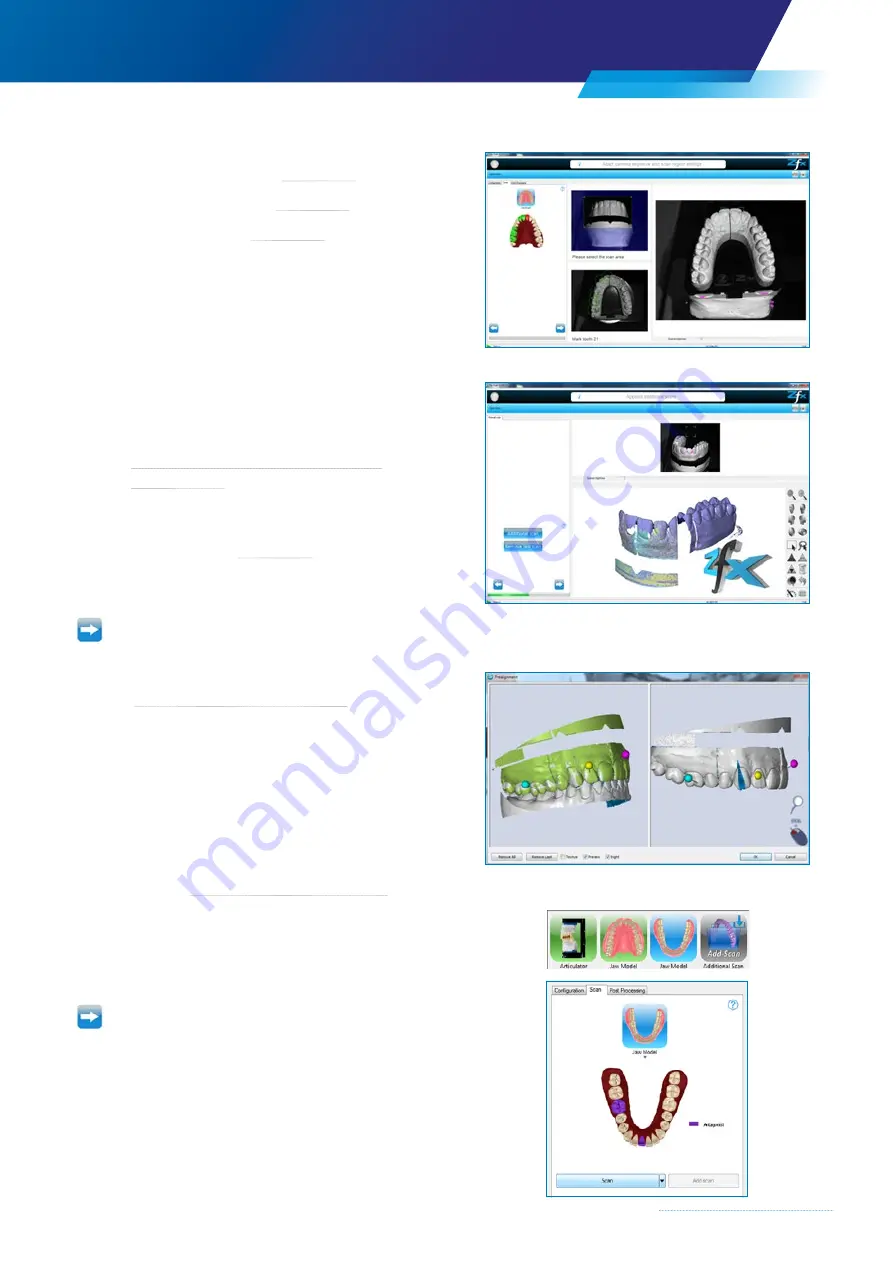
Adjust the brightness (
→
×
Define the scan area (
→
×
Select the tooth (
→
The user can now decide whether to gather further data.
Confirm by clicking the “Additional Scan” dialog button –
the additional scan will be started,
→
Chapter 4.5.6 “Additional scan in scan step –
It is recommended that the brightness be readjusted by
double-clicking in order to be able to detect the position of
faults more easily. (
→
If an additional scan is unnecessary as all relevant data have
been gathered,
confirm by clicking the right
”arrow button”
The user will be prompted to align the data sets
→
Chapter 4.5.9 “Alignment of data sets”
Confirm the alignment by clicking “OK”
The program calculates the necessary data and goes
automatically to the next step.
Step 3 / 3 – Lower jaw scan
It is not necessary to switch to the next step manually
(optional)
→
Chapter 4.5.2 “Scan Assistant / Help”.
×
Remove the upper jaw model from the scanner.
×
Fix the lower jaw model on the model base and place
in the scanner
Confirm by clicking the right
”arrow button”
Содержание Zfx EvolutionNEXT
Страница 1: ...Zfx EvolutionNEXT Manual A COMPANY OF ...
Страница 7: ...7 ...
Страница 13: ...13 ...
Страница 45: ...45 ...
Страница 65: ...65 ...


