


MAINTENANCE MANUAL
111
STE 85357
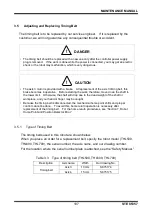
3.5.4
Replacing Axis 4 Timing Belt
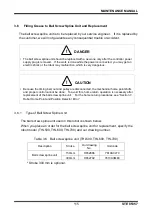
!
CAUTION
• When the axis 4 timing belt is replaced with a new one, the axis 3 should be disassembled
also due to the structure. Therefore, strictly observe the cautions on replacement of the
axis 3 timing belt and motor also.
• When the ball screw nut integrated with the ball screw spline shaft is disconnected, take
utmost care not to cause the ball screw spline shaft to come off. Otherwise, the ball in the
ball screw nut will drop and the ball screw nut integrated with the ball screw spline shaft
cannot function any further.
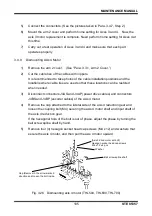
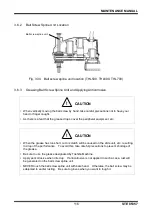
1)
Remove the arm 2 cover, the axis 3 motor assembly, the axis 3 timing belt, the
ball screw nut and the ball screw spline shaft.
For the disconnecting procedures, see Steps 1) through 5) of
“Para. 3.5.3,
Replacing Axis 3 Tim
ing Belt.”
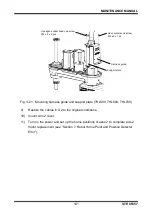
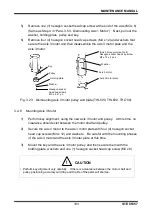
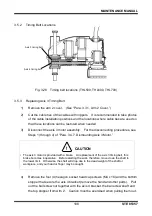
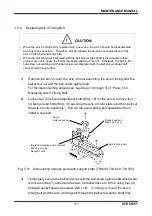
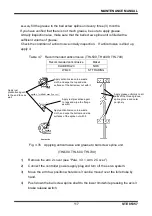
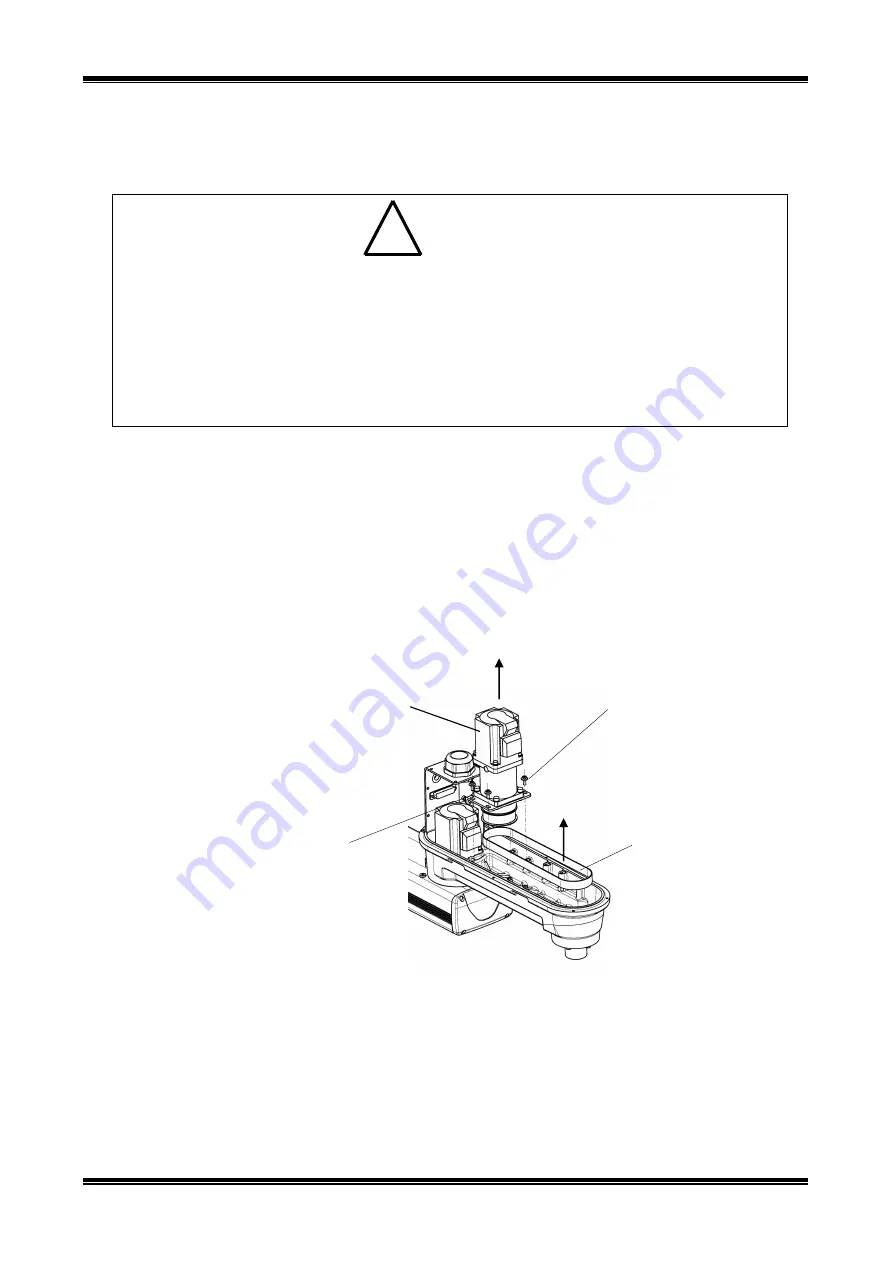
2)
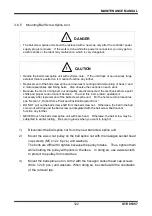
Loosen two (2) tension adjustment bolts (M4 x 16) for the axis 4, remove four
(4) flange head bolts (M4 x 10) securing the axis 4 motor plate, and then pull out
the axis 4 motor assembly. Pull out the axis 4 timing belt upward and then
install a new belt.
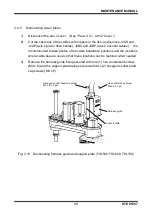
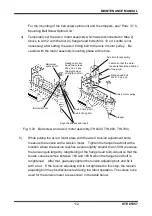
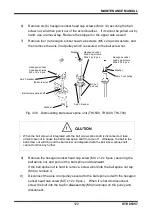
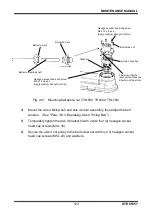
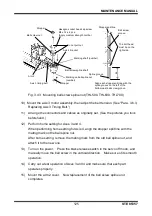
Fig. 3.31 Dismounting harness guide and support plate (THL500, THL600, THL700)
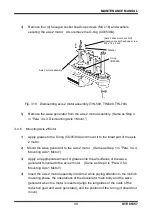
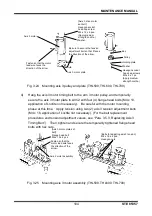
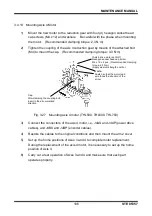
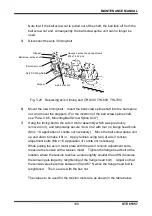
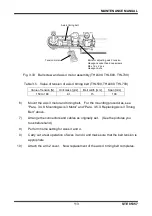
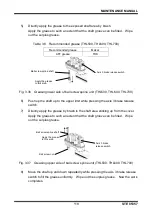
3)
Temporarily secure the ball screw nut and the ball screw spline shaft which were
removed in Step 1) above and the axis 4 bracket above to Arm 2 using four (4)
hexagon socket head cap screws (M4 x 16). In doing so, mount the axis 3
timing belt and the axis 4 timing belt through the ball screw spline shaft first.
Axis 4
motor assembly
Flange head bolt
M4 x 10 x 4 pcs.
Axis 4 timing belt
[Bolts for adjusting axis 4 tension]
M4 x 16 x 2 pcs.
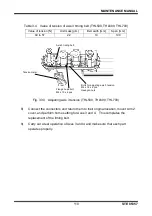
Hexagon nuts