Using recording features
23
3.4 Using the continuous recording feature
1
Connect the power cable to the product’s DC-IN power connector and then turn on the vehicle’s
electrical accessories or start the engine. The status LED and the voice guide are turned on and the
Caution
screen will appear.
2
The continuous recording starts after you close the
Caution
screen by tapping
OK
.
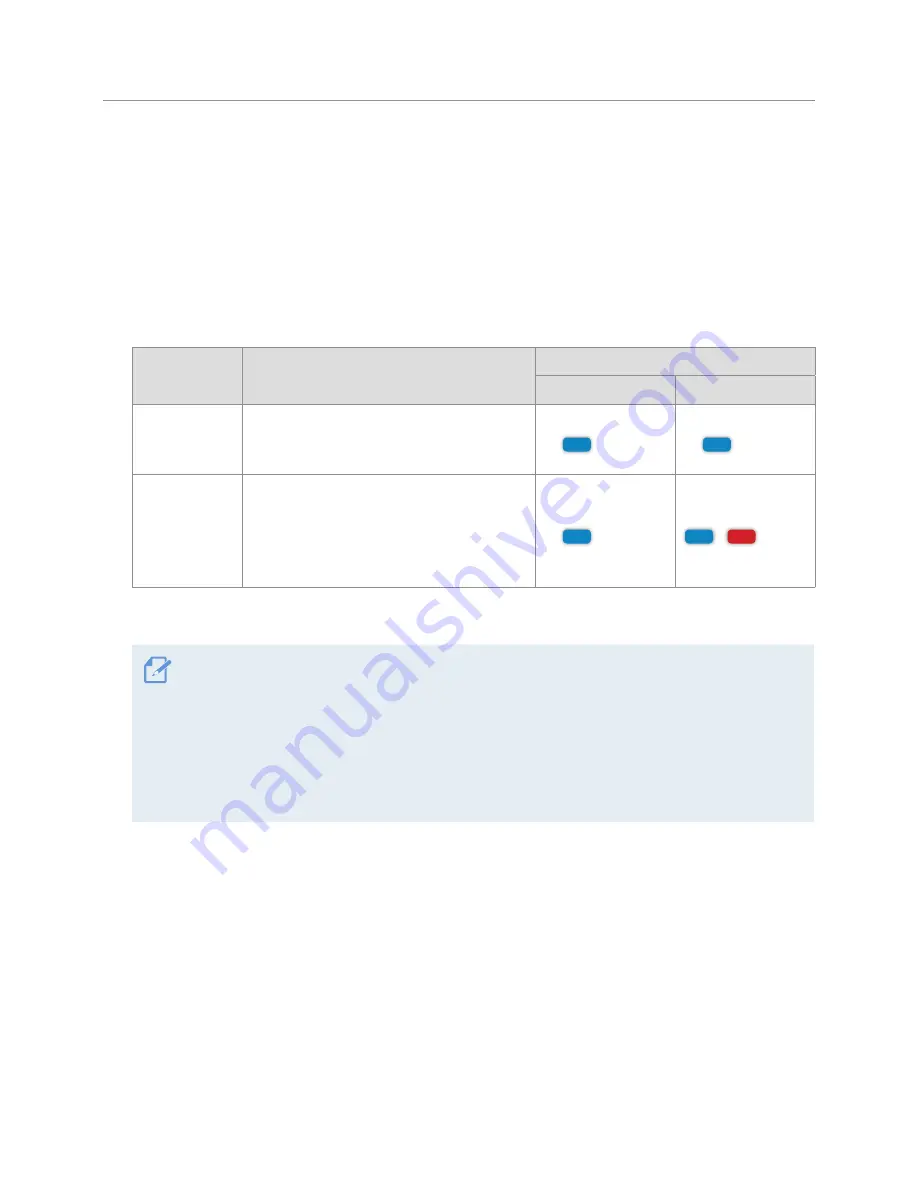
During continuous recording, the product operates as follows.
Mode
Operation description
LED indicators
Status LED (STATUS)
Rec LED (REC)
Continuous
recording
During driving, videos are recorded in
1 minute segments and stored in the
Continuous
folder.
(light on)
(light on)
Incident
continuous
recording*
When an impact to the vehicle is detected,
a video is recorded for 20 seconds, from the
moment 10 seconds before the detection to
the moment 10 seconds after the detection,
and stored in the
Incident continuous
folder.
(light on)
+
(flicker)
* When an impact to the vehicle is detected during continuous recording, incident continuous recording starts
with a buzzer sound.
•
Wait until the product is completely booted up after turning it on, and then begin operating the
vehicle. The video recording does not begin until the product is completely turned on (booted up).
•
When incident continuous recording starts, the buzzer sounds as a notification. This function saves
you time when checking the LED indicators to know the operating status of the product.
•
To use all recording modes, you must insert a memory card into the product.
•
You can record bright and high resolution videos when parking at night by activating the Super night
vision feature.


