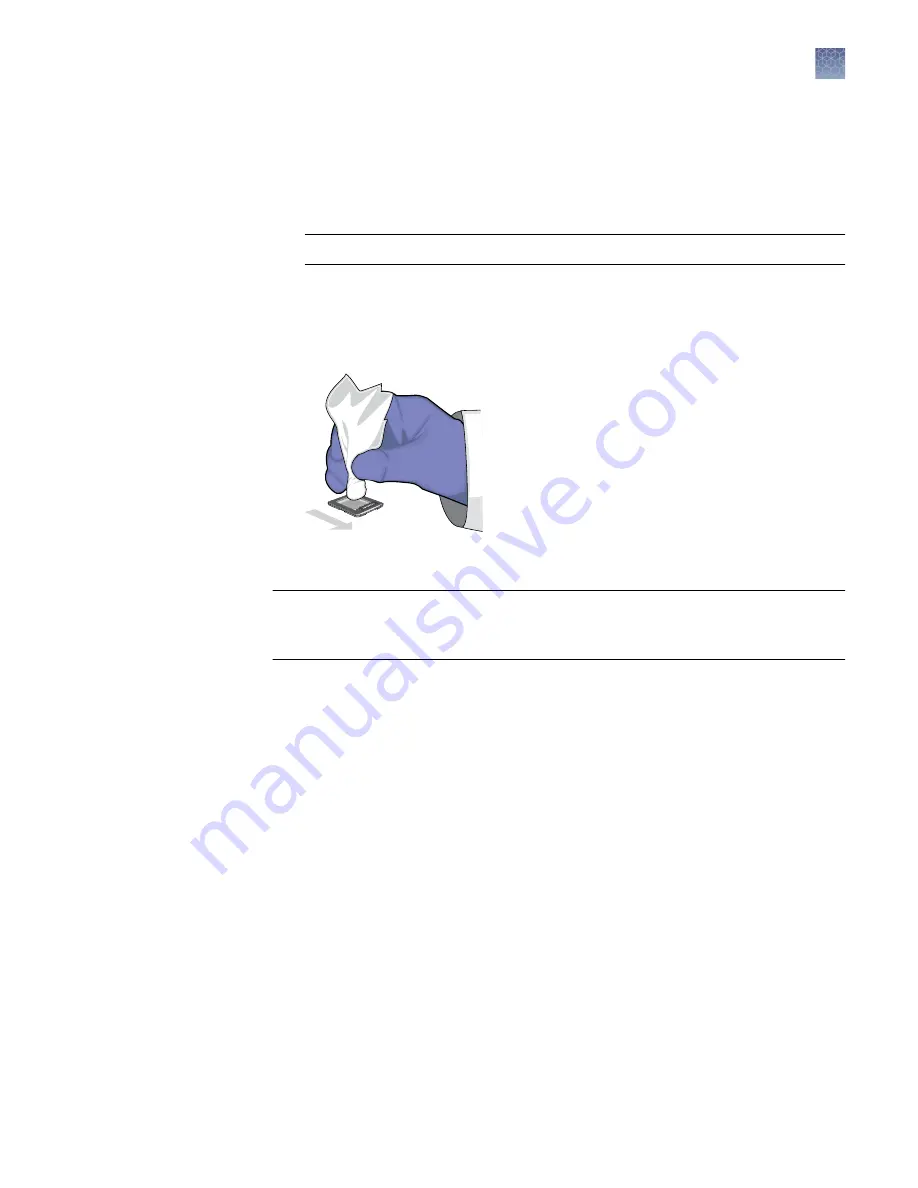
4.
Remove the Chip Adapters from the sample block and place them on a clean,
dry surface. Remove the chips from the adapters and allow them to equilibrate
to room temperature.
Note:
To remove a chip from a adapter, push the chip from beneath and grasp
the edges of the case, then remove it.
IMPORTANT!
Be careful to not apply pressure to the chips.
5.
Inspect each chip for leaks or potential problems. Using a low-lint wipe, remove
any condensation or Immersion Fluid from the chip surface by wiping in one
direction. If necessary, use a low-lint wipe sprayed with isopropanol to remove
any dried residue. Make sure the surface is thoroughly clean.
The chip is now ready to be imaged.
IMPORTANT!
Store chips in a clean, dry, dark location until you are ready to image
them. Prolonged exposure to light can diminish the fluorescence of the
photosensitive dyes in the chips.
Note:
If a chip is sealed improperly, it may leak and contaminate the sample block.
Remove any fluid from the sample block using a low-lint wipe sprayed with
isopropanol.
Chapter 4
Thermal cycle the chips
Unload the thermal cycler
4
QuantStudio
™
3D Digital PCR System User Guide
39
Содержание Applied Biosystems QuantStudio
Страница 125: ......
Страница 126: ...thermofisher com support thermofisher com askaquestion thermofisher com 18 March 2020 ...


