4.
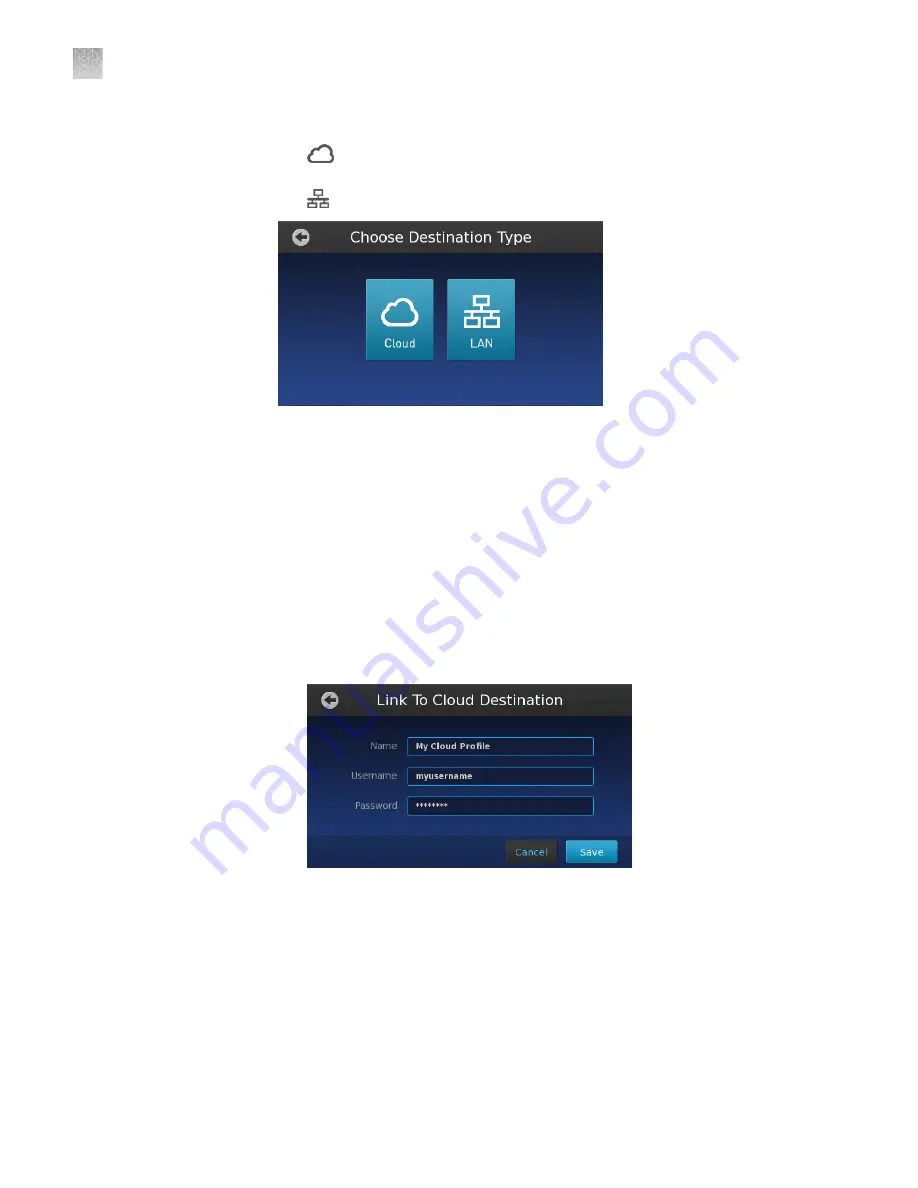
In the Choose Destination Type screen, touch the desired network destination:
•
Cloud
—Touch to specify a Connect cloud-based platform data
destination (for your QuantStudio
™
3D AnalysisSuite
™
Software projects).
•
LAN
—Touch to specify a network file server data destination.
5.
Touch each field, enter the appropriate data for the destination, then touch
Save
.
•
Cloud
data destination fields:
–
Target Name
—Enter a name to identify the Connect cloud-based
platform data destination.
Note:
The target name appears within the Destination Selection and
Export screens.
–
User Name
—Enter the user name that the instrument should use when
authenticating to the Connect platform.
–
Password
—Enter the password that the instrument should use when
authenticating to the Connect platform.
•
LAN
data destination fields:
–
Target Name
—Enter a name to identify the LAN data destination.
Note:
The target name appears within the Destination Selection and
Export screens.
–
Server
—Enter the path of the file server using the following syntax,
where
smb:
and
path
are optional:
–
smb://servername/share/path
–
\\servername\share\path
Appendix D
Networking
Connect the instrument to the network
D
104
QuantStudio
™
3D Digital PCR System User Guide
Содержание Applied Biosystems QuantStudio
Страница 125: ......
Страница 126: ...thermofisher com support thermofisher com askaquestion thermofisher com 18 March 2020 ...


