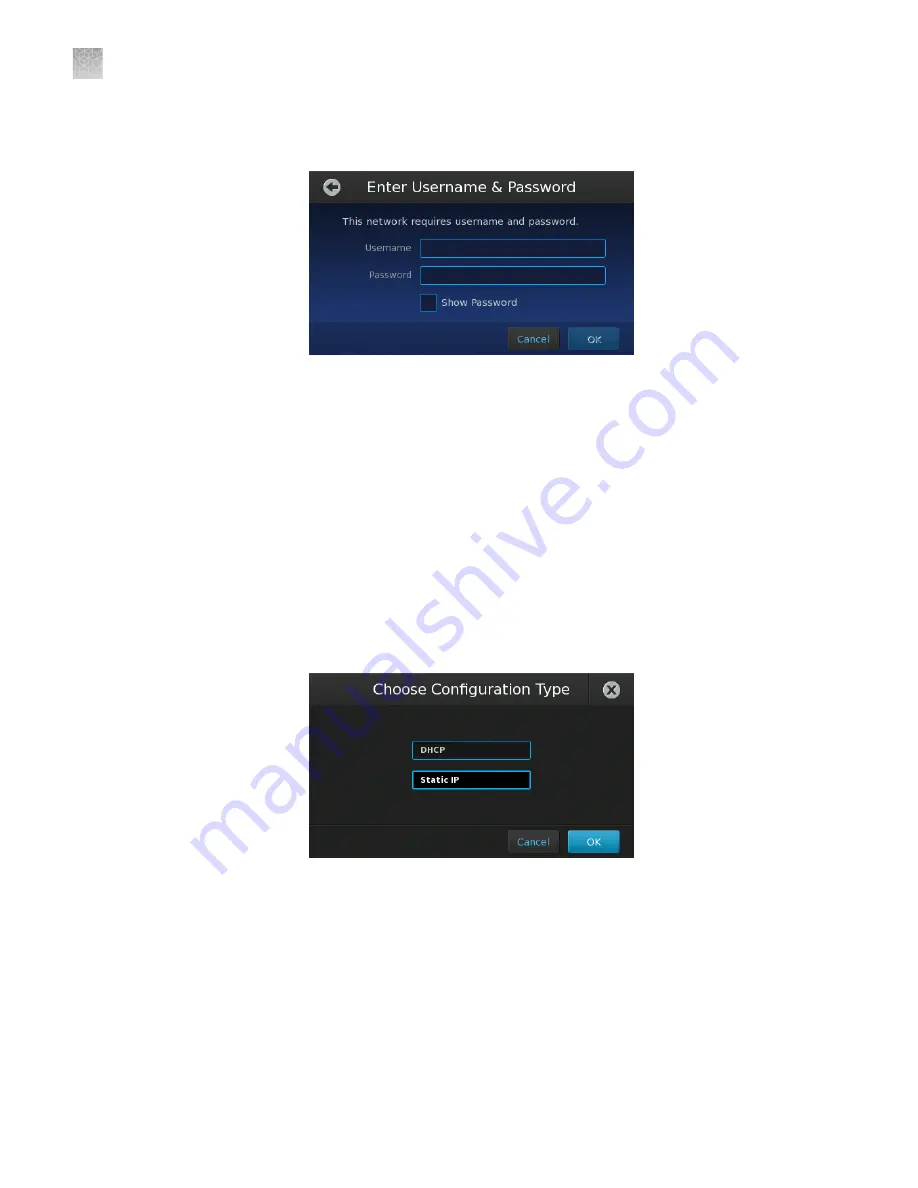
d.
If your selected wireless hotspot is secure, enter the required authentication
information (user name/password), then touch
OK
.
If connecting your instrument to a network that supports DHCP, network setup is
complete. Otherwise, go to the next step to configure the TCP/IP settings for the
instrument.
6.
Set the internet protocol (TCP/IP) properties for the QuantStudio
™
3D
Instrument:
a.
In the Network Setup screen, touch
Edit Settings
.
b.
In the Network Setup settings, touch the
IP Configuration
field, touch the
setting appropriate for your network (Static IP or DHCP), then touch
OK
.
•
DHCP
– Select to allow your network DHCP server to automatically
assign an IP address to the instrument.
•
Static IP
– Select if you have a static IP address to assign to the
instrument.
Appendix D
Networking
Connect the instrument to the network
D
100
QuantStudio
™
3D Digital PCR System User Guide
Содержание Applied Biosystems QuantStudio
Страница 125: ......
Страница 126: ...thermofisher com support thermofisher com askaquestion thermofisher com 18 March 2020 ...


