3.
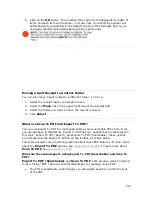
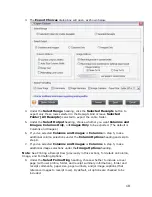
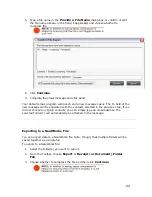
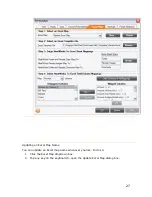
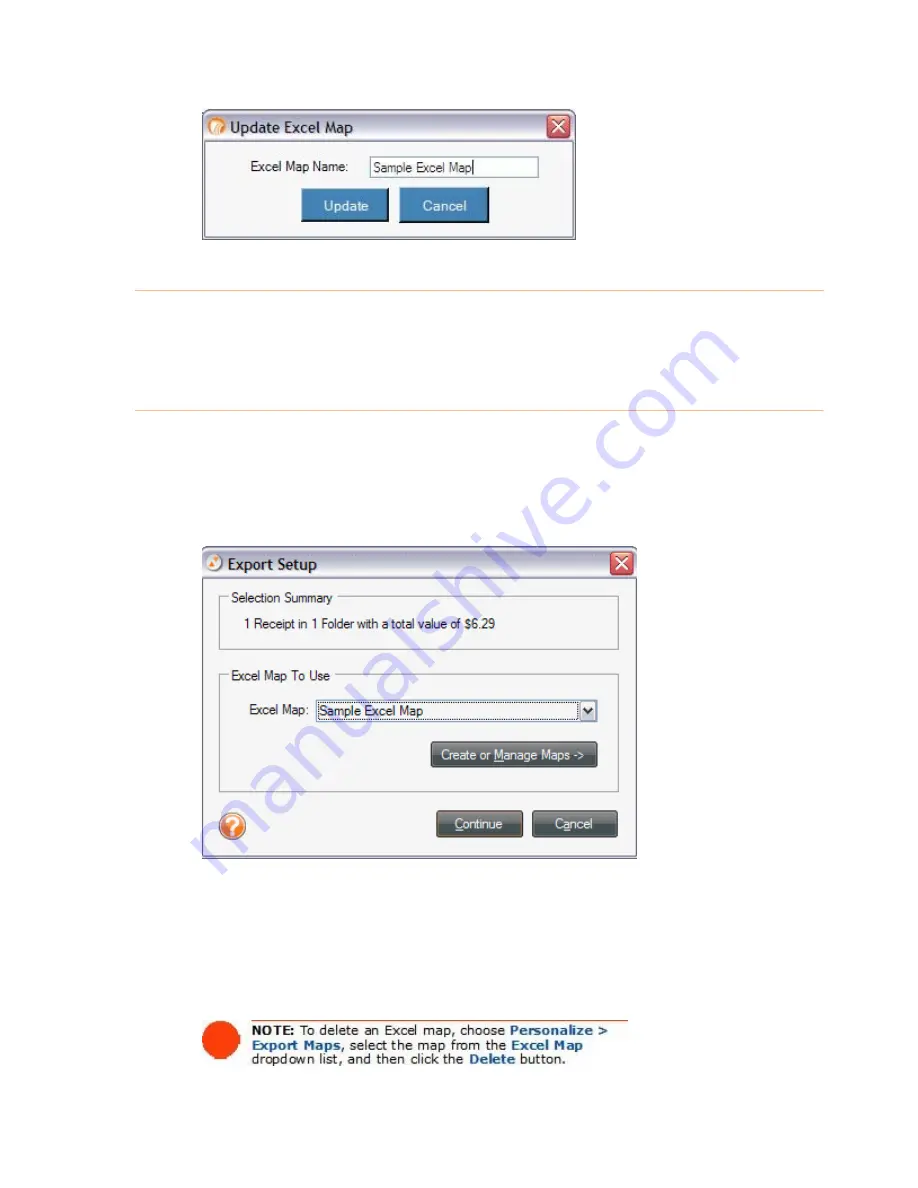
Edit the name in the Excel Map Name field and click
Update
.
Exporting to an Excel Map
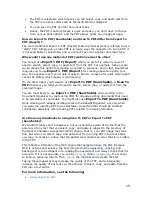
Once you have created an Excel map, you can export your data to Excel. To do so:
1.
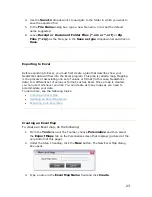
Select the receipt(s) or folder(s) you want to export.
2.
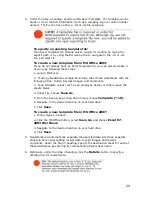
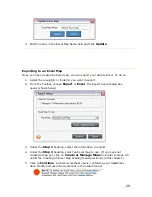
From the Toolbar, choose
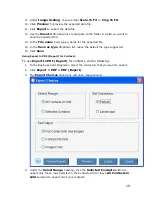
Export > Excel
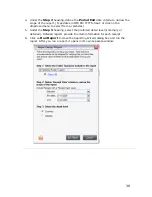
. The Export Setup dialog box
opens (shown below).
3.
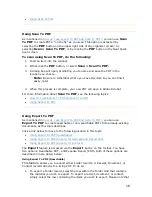
Under the
Step 1
heading, select the information to export.
4.
Under the
Step 2
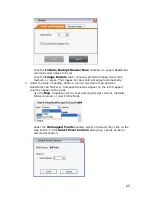
heading, select an Excel map to use. (If you have not
created a map yet, click on
Create or Manage Maps
and refer to steps 2-5
under the Creating an Excel Map heading found previously in this chapter.)
5.
Click on
Continue
. An Excel worksheet opens, containing your NeatWorks
data. Modify and save the worksheet in the usual manner.
28
Содержание Desktop Scanner NeatDesk
Страница 76: ...hat follows is a comprehensive list of column and field names in the Receipt W Organizer 76...
Страница 77: ...77...
Страница 120: ...What follows is a comprehensive list of column and field names in the Document Organizer 120...
Страница 121: ...121...

