TASCAM DP-03SD
41
7 – Recorder Functions
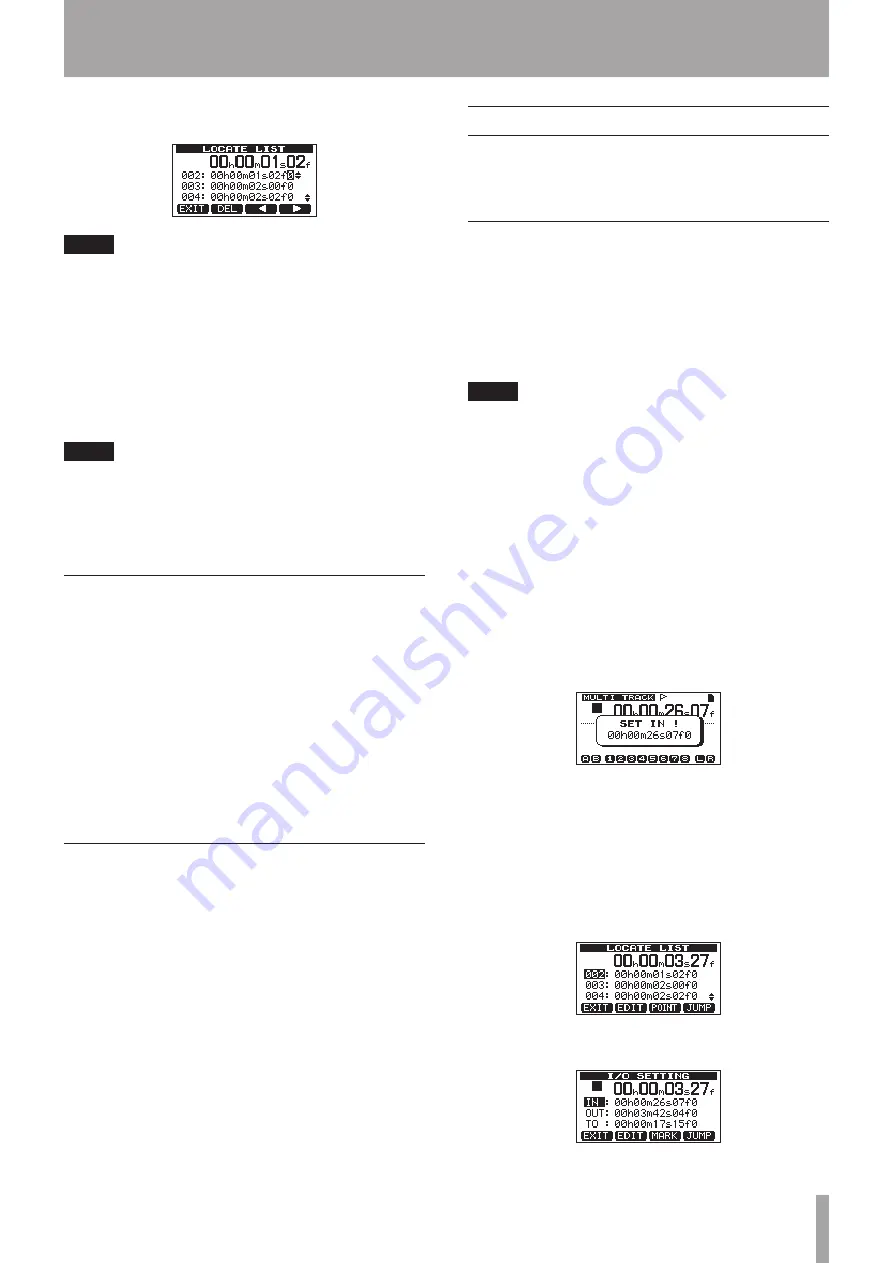
2 Use the DATA wheel to select a mark and press the F2
(
EDIT
) to bring up the edit screen.
NOTE
• The marks are shown in the order they appear in the song,
not by number.
3 Use the F3 (
˙
) and F4 (
¥
) buttons to move the cursor
between time fields.
4 Turn the DATA wheel to change the value above the cursor.
When adjusting, the value will carry over automatically when
it reaches the highest or lowest value in a field. For example,
when turning the DATA wheel to increase the value in the
seconds field, the number will change from 59 to 0 and the
minutes value will increase by one.
NOTE
You can’t move a mark forward past the next mark in the
list, or backwards to before the previous mark in the list.
5 After you have finished editing, press the F1 (
EXIT
) button
to confirm the edited value and return to the
LOCATE
LIST
screen.
Return To Zero (TO ZERO) and Last Recording
Position (TO LAST REC)
Use simple button operations to return to the top of a song or to
the position where recording last started.
Return to the zero point (song beginning at 00:00:00:00)
Press the REW (
Ô
) (TO ZERO) button while pressing and
holding the STOP (
ª
) button. (TO ZERO function)
Last Recording Position (the position recording last started)
Press the F FWD (
) (TO LAST REC) button while pressing
and holding the STOP (
ª
) button.
This function is useful when you want to record the same
passage again.
Fast forward/rewind search
Press the REW (
Ô
) (TO ZERO) or F FWD (
) (TO
LAST REC) button when stopped to rewind or fast forward,
respectively.
Each time you press one of these keys, the speed increases from
10x to 50x, 100x and 1000x.
Press these buttons during playback to search backward or
forward while pressing. The search speed is fixed at 10 times
normal playback speed.
Repeat playback
Use the repeat playback function to play the same part again
and again.
The repeated passage is time between the IN and OUT points.
Using IN, OUT and TO points
In addition to setting the repeat playback interval, the IN and
OUT points are also used to set track editing intervals and as the
punch in and punch out points when automatically punching
in and out. Moreover, these points are used as the starting and
ending points when creating a master track.
You can set these points during recording, playback or when the
unit is stopped.
NOTE
The IN, OUT and TO points cannot be set or edited at the
following times.
• During repeat playback
• When in automatic punch in and out mode
• When the recorder is in MIXDOWN or MASTERING mode
• When the
LOCATE LIST
or
I/O SETTING
screen is open
Setting IN, OUT and TO points
Regardless of whether the unit is stopped, playing back or
recording, you can set these points at the positions you like by
pressing and holding the IN [SET IN], OUT [SET OUT] or TO [SET
TO] button. The corresponding IN, OUT or TO point is set at the
time when you began pressing and holding the button, and the
time set appears below a pop-up message (
SET IN !
,
SET
OUT !
or
SET TO !
as appropriate).
SET IN pop-up message
Locating to IN, OUT and TO points
Regardless of whether the unit is stopped or playing back, you
can press the IN [SET IN], OUT [SET OUT] or TO [SET TO] button
to locate the corresponding point.
You can also use the
I/O SETTING
screen to locate.
1 Press the LOCATE LIST [LOCATE SET] button to open a list
of location marks.
2 Press the F3 (
POINT
) button to open the
I/O
SETTING
screen.


